Deploying Ivanti Connect Secure using AWS Marketplace
Ivanti Connect Secure is made available in AWS Market Place. The CloudFormation templates are available at Amazon marketplace.
Prerequisites and System Requirements on AWS Marketplace
To deploy the Ivanti Connect Secure Virtual Appliance on AWS Marketplace, you need the following:
•An AWS account
•Access to the AWS Marketplace (https://aws.amazon.com/marketplace)
•Ivanti Connect Secure licenses *
Deploying Ivanti Connect Secure on AWS Marketplace
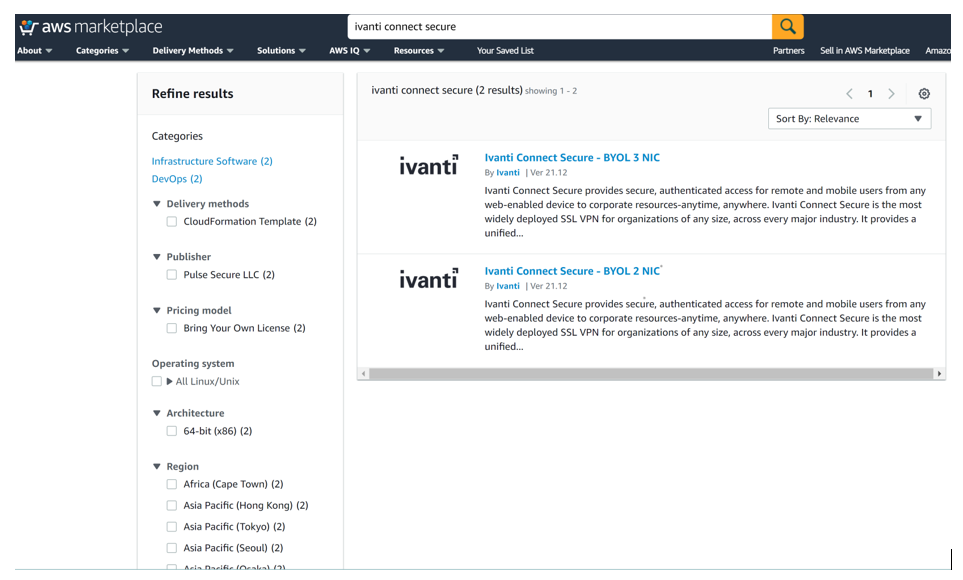
1.Launch AWS Marketplace using the URL: https://aws.amazon.com/marketplace and search with keyword Ivanti.

AWS Marketplace contains the following two Ivanti Connect Secure SKUs:
•Ivanti Connect Secure - BYOL 2 NIC
•Ivanti Connect Secure - BYOL 3 NIC
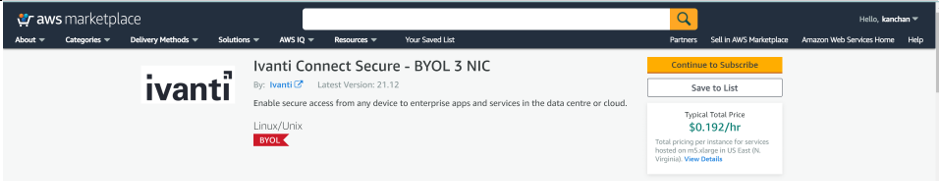
2.Select either 3-NIC model or 2-NIC model based on your requirement. In the Product Subscription page displayed, click Continue to Subscribe. In this section, 3-NIC model is chosen as example.
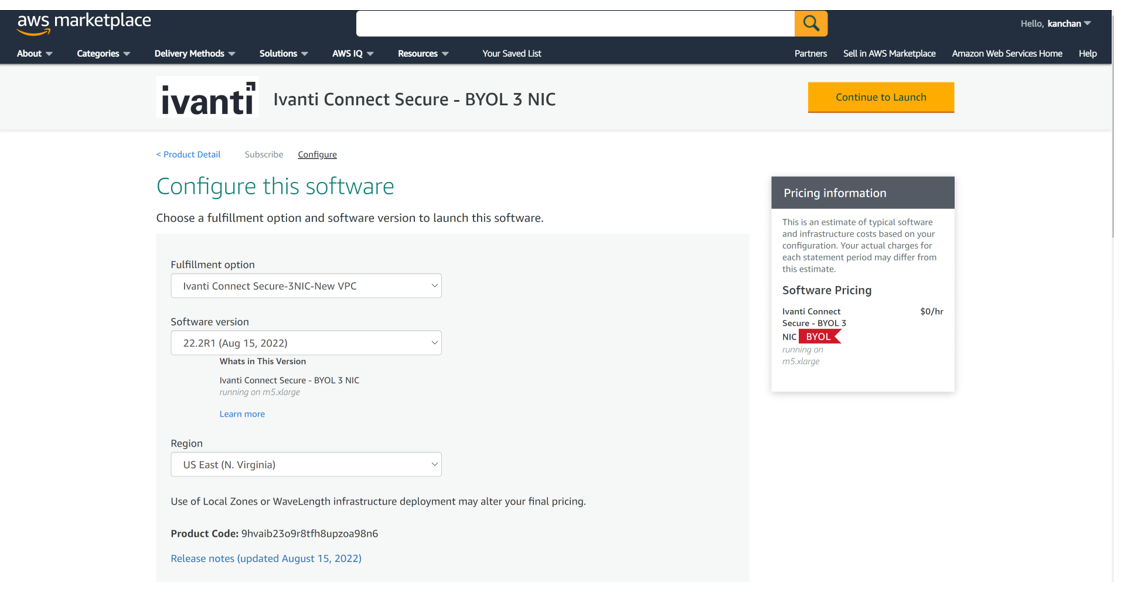
3.After subscribing, proceed to configuration by clicking Continue to Configuration.

4.In Fulfillment Option, select either Existing VPC or New VPC that you want to deploy and click Continue to Launch. In the Launch page displayed, select Launch CloudFormation and click Launch.

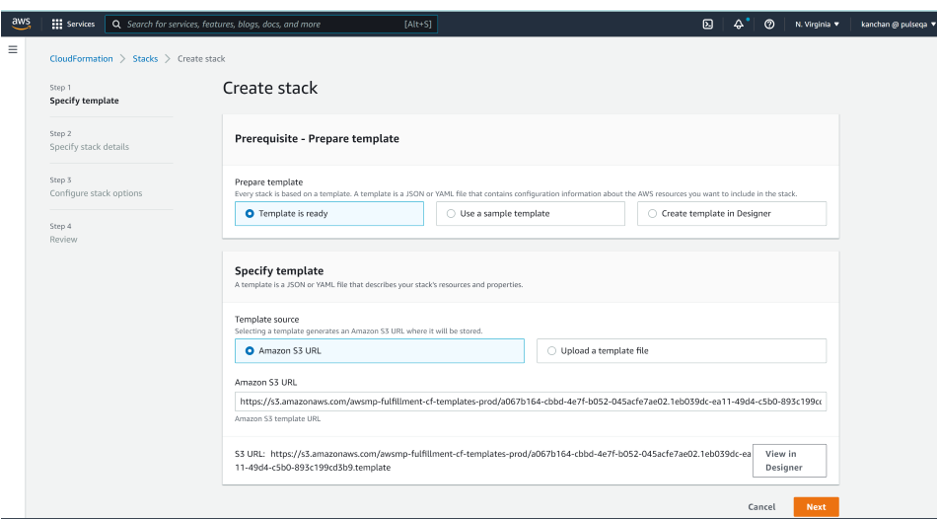
Specify Template
1.In the Create stack wizard, in the Specify Template page choose the template that describes your stack’s resources and their properties and, click Next.
Specify Stack Details
1.In the Specify Stack Details page, specify a name for the stack.
2.In the Parameters section, use the default parameter values. These are defined in the CloudFormation template.
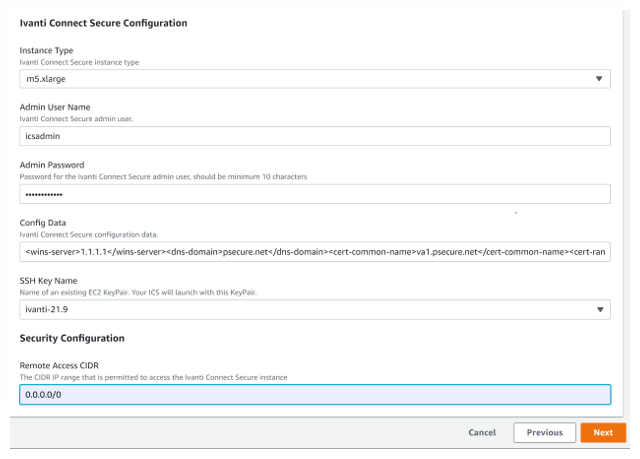
3.In the Ivanti Connect Secure Configuration section:
•Select Ivanti Connect Secure VM size. By default it is set to m5.xlarge.
•By default, ICS admin user name is configured. You can give any other user name if you want to.
•Enter the Admin user password.
•Config Data: This is pre-populated as part of AWS Cloudformation template. In order to customize the config parameters, see Ivanti Connect Secure Provisioning Parameters.
•Select SSH Key Name of EC2 key pair. This key is used to access ICS via SSH. The SSH keys are generated using ssh-keygen on Linux and OS X, or PuTTyGen on Windows. For details about generating the SSH key pairs, refer http://docs.aws.amazon.com/AWSEC2/latest/UserGuide/ec2-key-pairs.html.
Without providing the SSH key, an error is displayed during deployment.
Accessing the ICS using SSH will work on releases prior to 22.4R2 and all FIPS releases.
•In the Security Configuration section, enter Remote Access CIDR IP range that permits end user access to Ivanti Connect Secure instance.
Review
1.In the Review page, verify the details and click Create.

2.Wait for a few minutes while it creates all the resources. This completes deploying ICS on AWS Marketplace.

To access Ivanti Connect Secure Virtual Appliance, see Accessing the Ivanti Connect Secure Virtual Appliance
Resizing a Disk Volume in the AWS portal
From 22.6R2 release, On fresh installation, 80 GB disk space is available by default. You can modify or increase the disk size only once on fresh installation or upgrade of the ICS images, but not on rollback or factory reset images.
If the user is upgrading to 22.6R2 or later, then the disk size change from 40 GB to 80 GB have to be done prior to upgrade on AWS cloud platform.
Disk Size Allocation is supported from 22.6R2 and later releases.
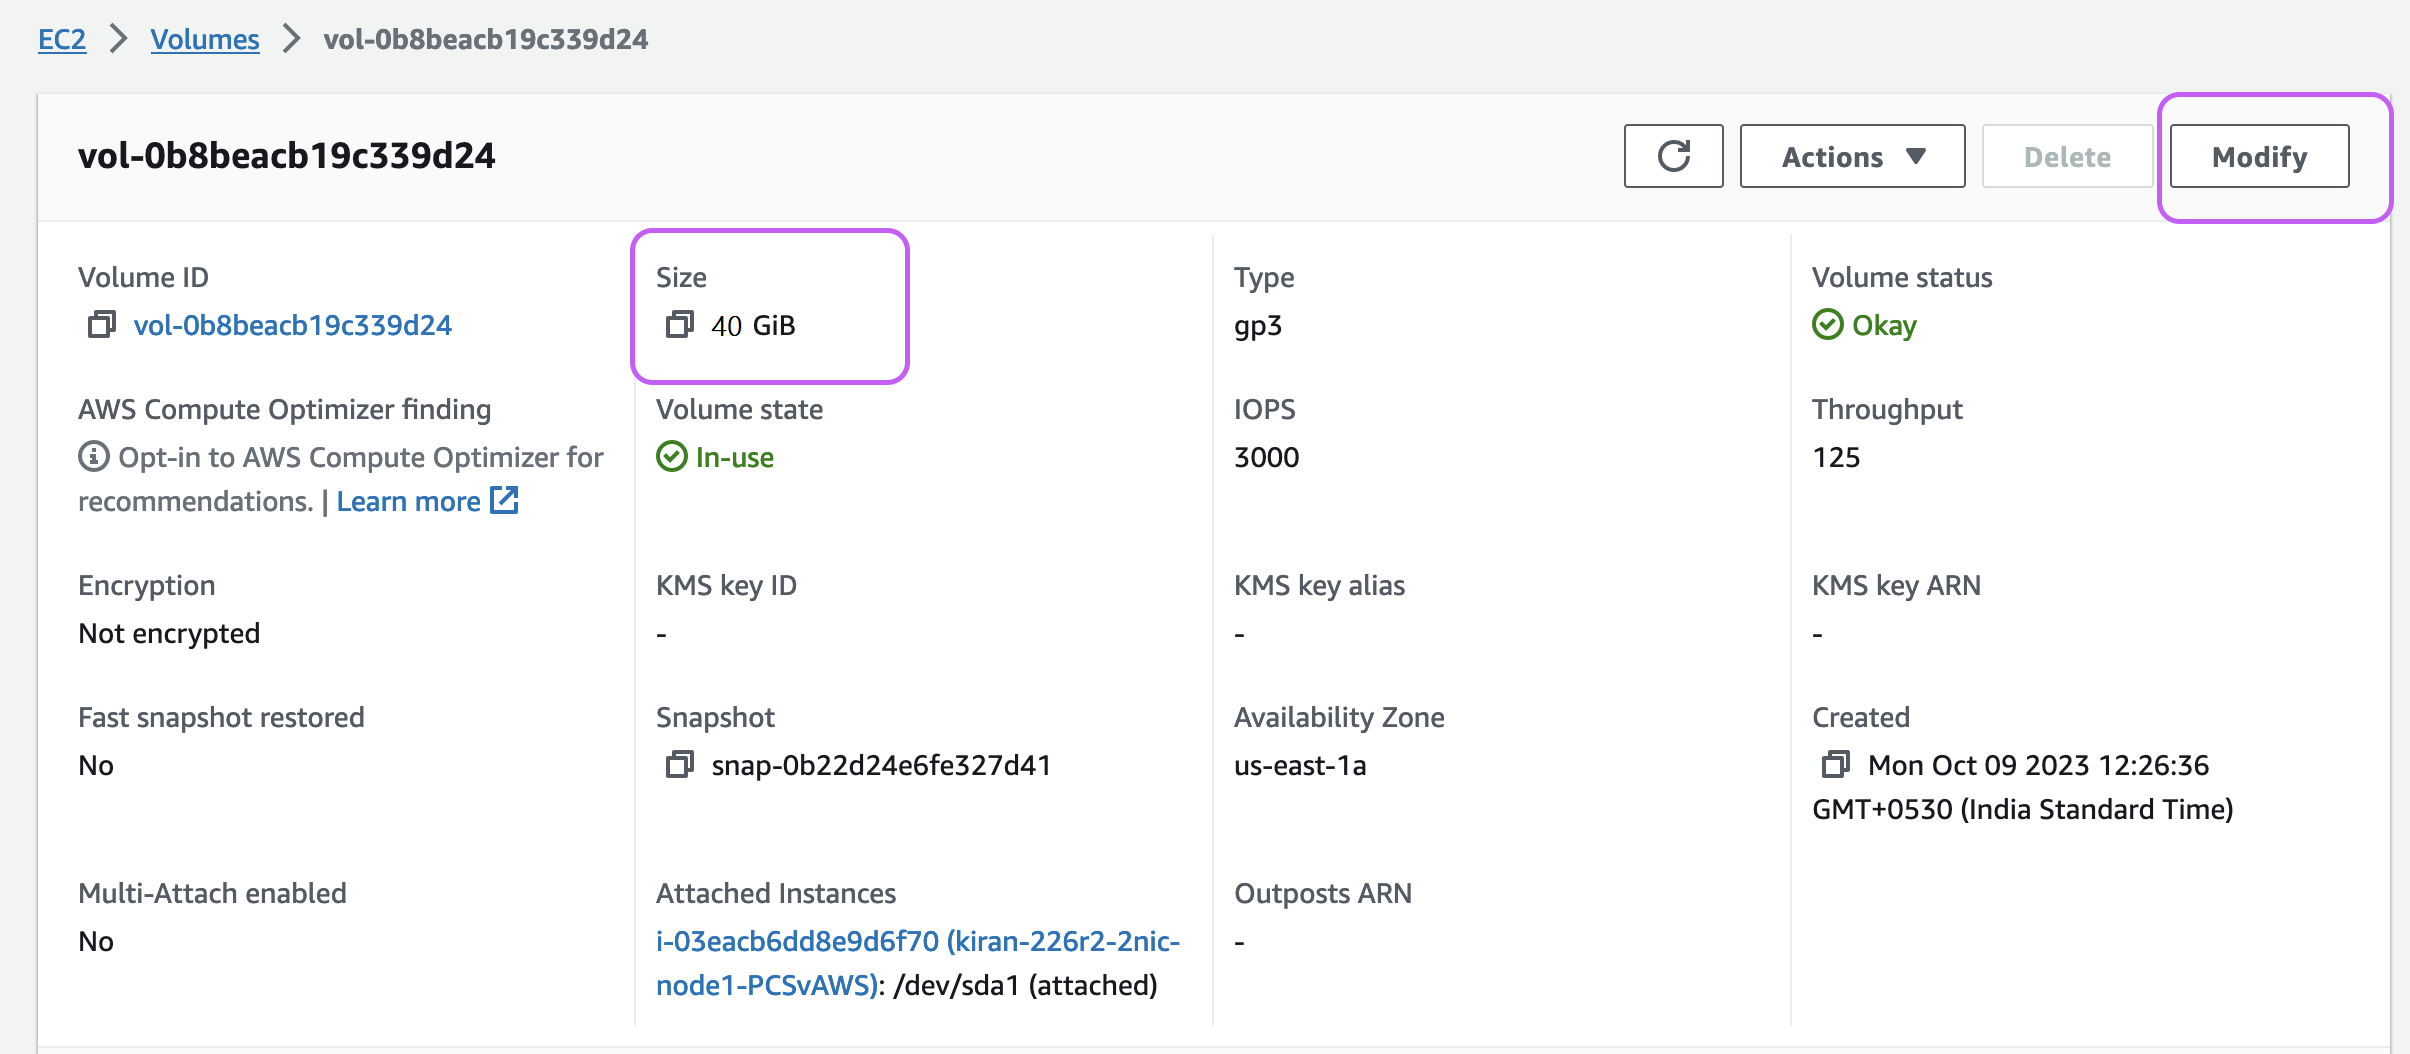
1.To increase the data volume size, in the navigation pane, choose Instances.
2.Under the Storage tab, select the Volume ID of your data volume.
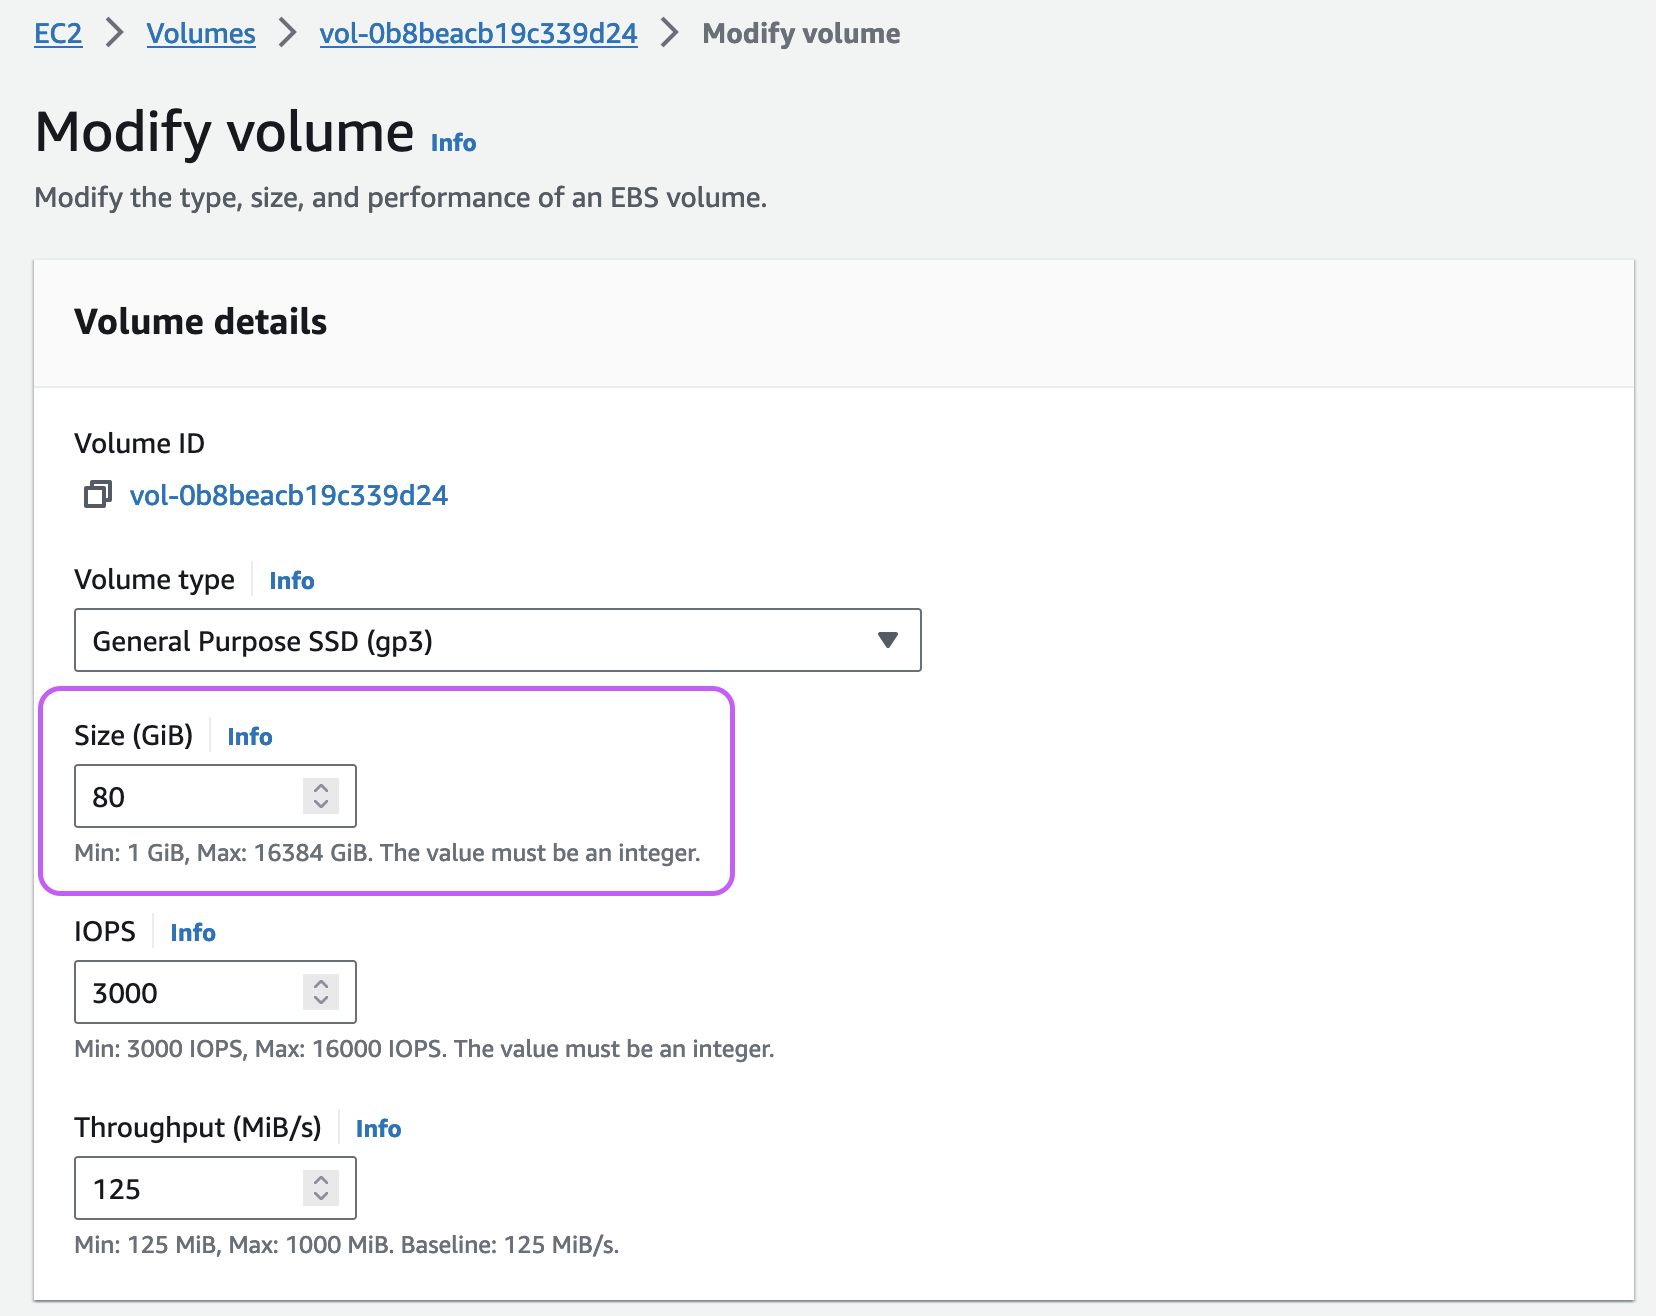
3.Click Modify volume.
4.The Modify volume screen displays the volume ID and the volume’s current configuration, including type, size, input/output operations per second (IOPS), and throughput. Change the Size to 80 GB.
5.Choose Modify, and when prompted for confirmation choose Modify again. You are charged for the new volume configuration after volume modification starts.