Deploying Ivanti Connect Secure on Azure Marketplace
1.Log into Azure portal and navigate to Azure Marketplace by clicking Create a resource.

2.Search with keyword Ivanti Connect Secure.

Azure Marketplace contains the following two Ivanti Connect Secure SKUs:
Ivanti Connect Secure-BYOL 2 NIC
Ivanti Connect Secure BYOL 3 NIC
3.Select Ivanti Connect Secure BYOL 3 NIC and click Create. In this section, 3-NICs model is chosen as example.
Basic Configuration
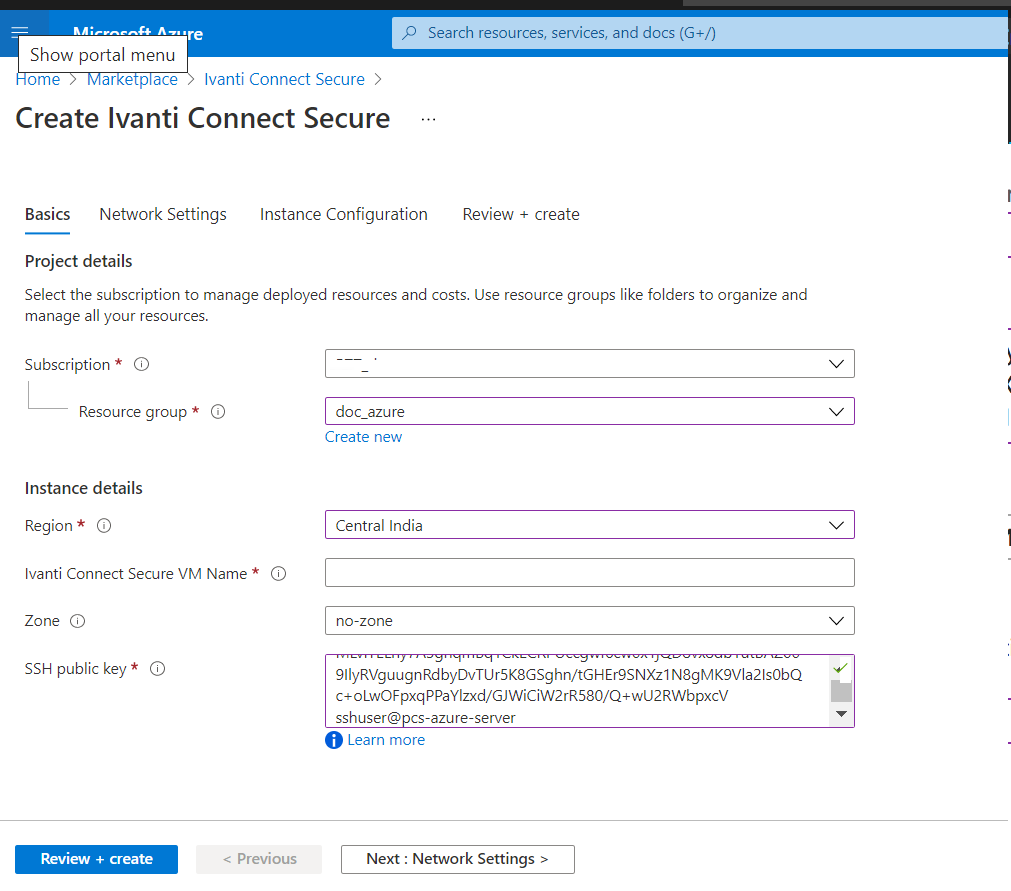
4.In the Basic Configuration step, enter the following parameters and click Next : Network Settings:
•Select the Region and Zone
•VM name: Name of the Ivanti Connect Secure to be deployed. Virtual name can be only lower-case letters and numbers, and must be 1-9 characters long.
•SSH public key: Copy and paste an RSA public key in the single-line format or the multi-line PEM format. This key is used to access ICS via SSH. The SSH keys are generated using ssh-keygen on Linux and OS X, or PuTTyGen on Windows. For details about generating the SSH key pairs, refer:
For Windows: https://docs.microsoft.com/en-us/azure/virtual-machines/linux/ssh-from-windows
For MacOS and Linux: https://docs.microsoft.com/en-us/azure/virtual-machines/linux/mac-create-ssh-keys
Without providing the SSH key, an error is displayed during deployment.
Accessing the ICS using SSH will work on releases prior to 22.4R2 and all FIPS releases.
•Resource group: Name of the resource group to be deployed.
Network Settings
5.In the Network Settings configuration step, enter the following parameters and click Next: Instance Configuration
•Virtual Network:
•Select an existing virtual network from the list or
•Create a new virtual network. Specify the virtual network name and the address space.

•Subnets: Four subnets – external, internal, management and tunnel subnets - are auto-populated with names and address prefix values. Make any changes if required.
•Public IP name and DNS prefix for the External and Management interfaces are auto-populated. Make any changes if required.
In a 2-NICs model, Public IP name and DNS prefix name for the External and Internal interfaces are auto-populated
Instance Configuration
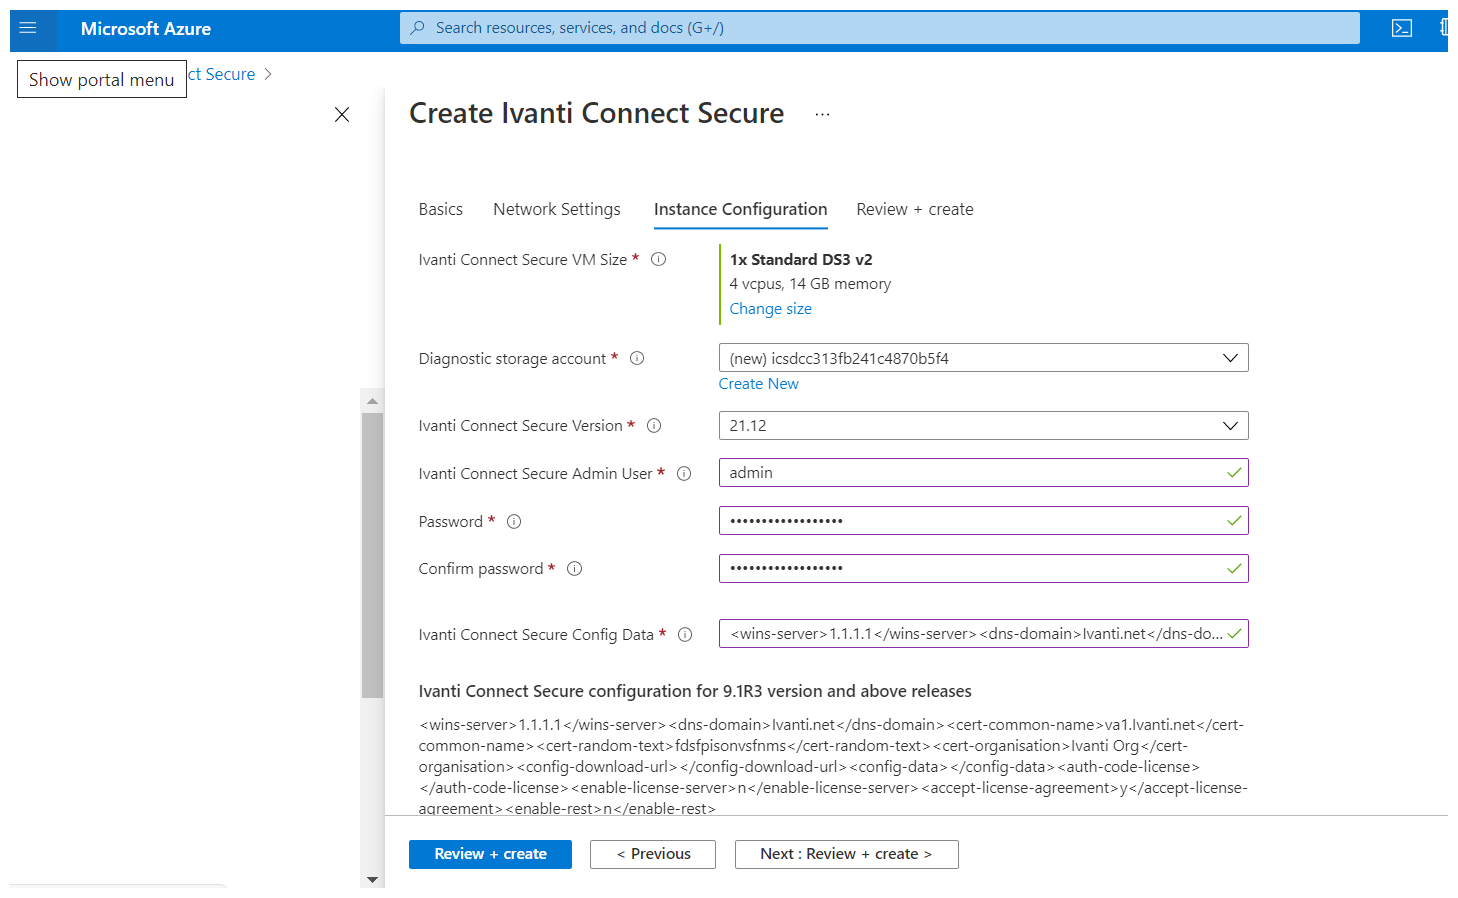
6.In the Instance Configuration step, enter the following parameters:
•Ivanti Connect Secure VM Size: Specify the size of VM. By default, 1x Standard DS3-v2 is set for 3-NICs model and 1x Standard DS2-v2 is set for 2-NICs model.
•Diagnostic storage account: Storage account for the Virtual Machine’s diagnostics
•Ivanti Connect Secure Version: Enter the version
•Ivanti Connect Secure admin and Password: Enter the admin credentials
•Ivanti Connect Secure Config Data: Provisioning parameters in an XML format. Refer the section ‘‘Ivanti Connect Secure Provisioning Parameters’
Ensure that the attribute “accept-license-agreement” in pulse-config is set to “y”.
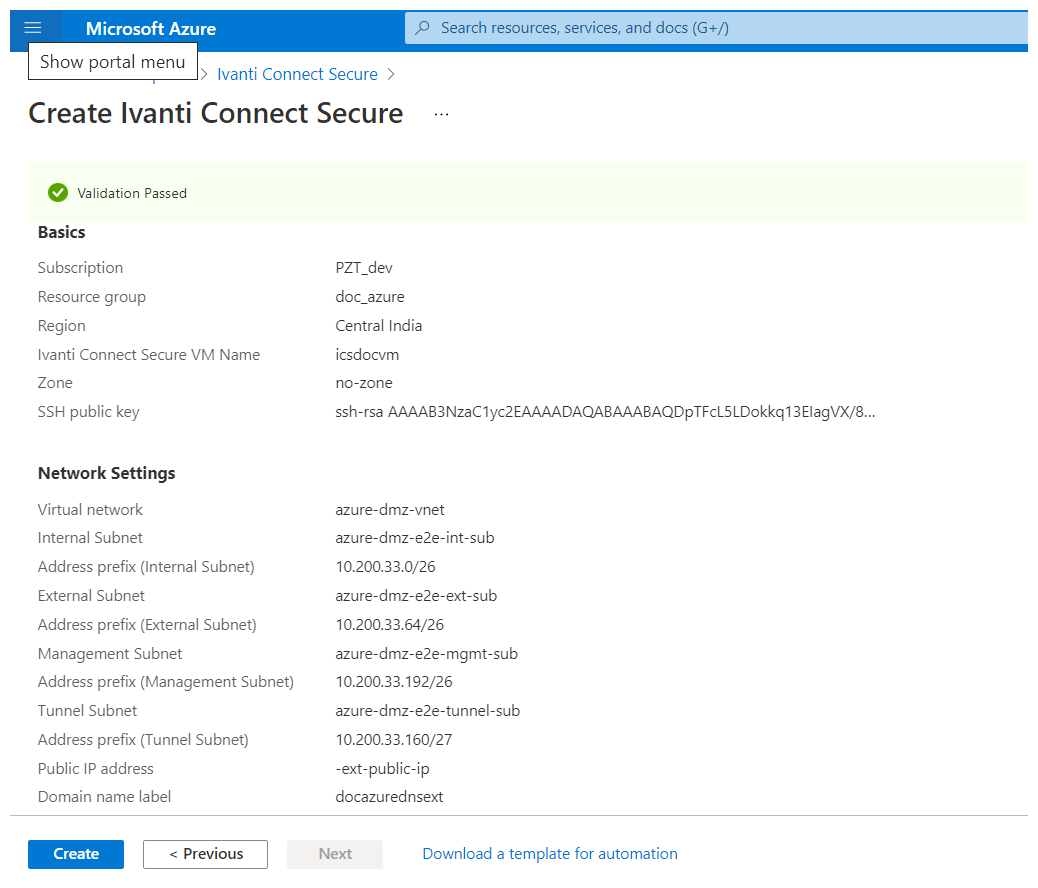
Summary Step
7.In the Summary step, once the final validation is complete, click Create.
Configuration Validation
8.Wait for a few minutes while it creates all the resources. This completes deploying ICS on Azure Marketplace.
For L3 connectivity, make sure that "<ICS VM name>-UDR" is properly associated with the subnet where Backend/Protected resources are connected. For example:
- If ICS internal, external and management interfaces are connected to subnet1, subnet2 and subnet3 respectively and Backend/Protected resources are in subnet5, then we need to associate <ICS VM name>-UDR to subnet5.
- If Backend/Protected resources are in Datacenter or in different virtual network, then associate <ICS VM name>-UDR to GatewaySubnet.
Supported Platform Systems
This section helps you in choosing the instance types that should be deployed with Ivanti Connect Secure for Azure.
•ISA4000-V
•ISA6000-V
•ISA8000-V
|
Model |
vCPU
|
RAM |
Disk Space |
|---|---|---|---|
|
ISA4000-V (Standard_D4ds_v5 - 2NICs) |
4 |
16 GB |
80 GB |
|
ISA6000-V (Standard_D8ds_v5 - 2NICs) |
8 |
32 GB |
80 GB |
|
ISA6000-V (Standard_D8ds_v5 - 3NICs) |
8 |
32 GB |
80 GB |
|
ISA8000-V (Standard_D16ds_v5 - 2NICs) |
16 |
64 GB |
80 GB |
|
ISA8000-V (Standard_D16ds_v5 - 3NICs) |
16 |
64 GB |
80 GB |
|
ISA4000-V (Standard_D4d_v5 - 2NICs) |
4 |
16 GB |
80 GB |
|
ISA6000-V (Standard_D8d_v5 - 2NICs) |
8 |
32 GB |
80 GB |
|
ISA6000-V (Standard_D8d_v5 - 3NICs) |
8 |
32 GB |
80 GB |
|
ISA8000-V (Standard_D16d_v5 -2NICs) |
16 |
64 GB |
80 GB |
|
ISA8000-V (Standard_D16d_v5 -3NICs) |
16 |
64 GB |
80 GB |
|
ISA4000-V (Standard DS3 V2 - 3NICs) |
4 |
14 GB |
80 GB |
|
ISA4000-V (Standard_D4s_v3 - 2NICs) |
4 |
14 GB |
80 GB |
|
ISA6000-V (Standard DS4 V2 -3 NICs ) |
8 |
28 GB |
80 GB |
|
ISA6000-V (Standard D8s V3) |
8 |
32 GB |
80 GB |
|
ISA8000-V (Standard D16s V3) |
16 |
64 GB |
80 GB |
|
ISA4000-V (F4s_v2) |
4 |
8 GB |
80 GB |
|
ISA6000-V (F8s_v2) |
8 |
16 GB |
80 GB |
|
ISA8000-V (F16s_v2) |
16 |
32 GB |
80 GB |
Resizing a managed disk in the Azure portal
From 22.6R2 release, On fresh installation, 80 GB disk space is available by default. You can modify or increase the disk size only once on fresh installation or upgrade of the ICS images, but not on rollback or factory reset images.
If the user is upgrading to 22.6R2 or later, then the disk size change from 40 GB to 80 GB have to be done prior to upgrade on Azure cloud platform.
Disk Size Allocation is supported from 22.6R2 and later releases.
To modify the disk size:
1.In the Azure portal, go to the virtual machine in which you want to expand the disk. Select Stop to de-allocate the VM.
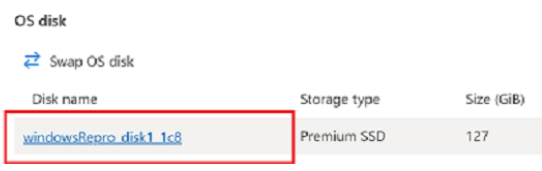
2.In the left menu under Settings, select Disks.
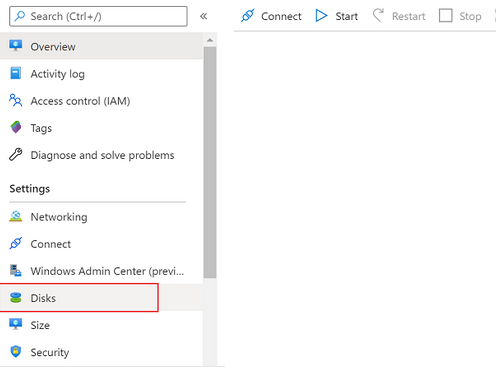
3.Under Disk name, select the disk you want to expand.
4.In the left menu under Settings, select Size + performance.
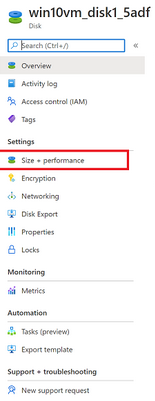
5.In Size + performance, select the disk size you want resize and click Save.
