Deployment Procedure
This procedure describes how to deploy a virtual appliance on Nutanix.
•Uploading the ICS image to Nutanix Hypervisor
•Creating new virtual machine (VM)
Uploading the ICS image to Nutanix Hypervisor
1.Before you deploy a virtual appliance on Nutanix, you must obtain the latest ICS image. Use the following link to download the latest image: NUTANIX-ICS-Build
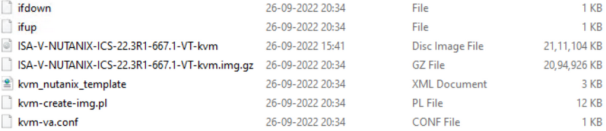
2.The zip file contains ISAV-NUTANIX-xxx-kvm.image.gz, extract it using winzip/winrar or any application and locate the ISAV-NUTANIX-xxx-kvm.img and kvm_nutanix_template.xml files.
3.The kvm_nutanix_template.xml file needs to be converted to ISO format, to do so, navigate to the directory where the xml file exists on a Linux terminal and run the command as shown below.
Command:
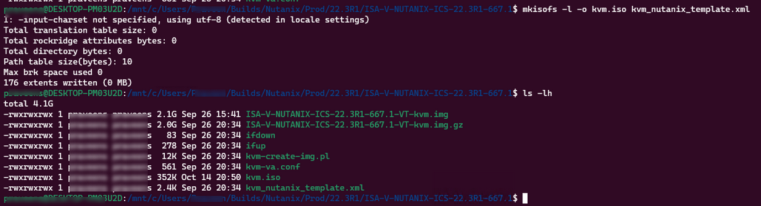
mkisofs -l -o kvm.iso kvm_nutanix_template.xml
After running the above command, iso file will be created in the same directory as shown below
kvm.iso can be renamed to any <name>.iso but kvm_nutanix_template.xml file name shouldn't be changed.
4.After you obtain the image file, upload the file to Nutanix Prism Central.
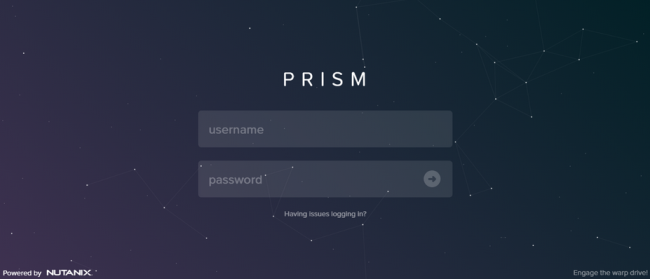
Login to Prism Central from a browser Prism Portal
5.Select Compute and Storage > Images, and click Add Image.
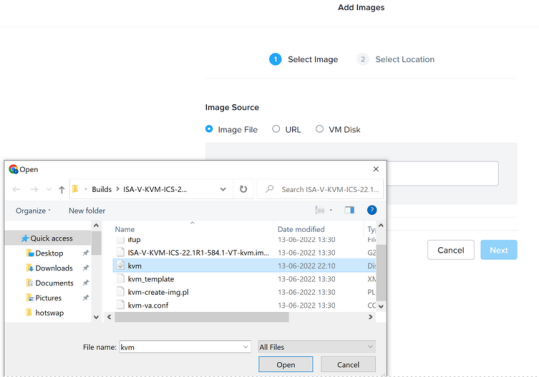
6.In the Add Images page, ensure the image source is set to Image File, and click +Add File.
7.Select the downloaded file and click open and then upload the xxx-kvm.img and iso files.
8.Click Next, select the location by defining the Placement Method and Select Clusters settings.
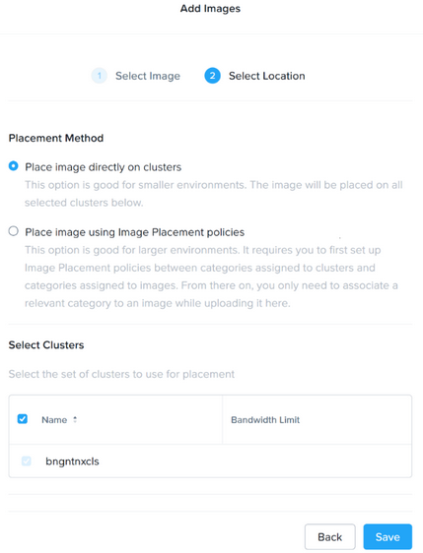
9.Click Save.
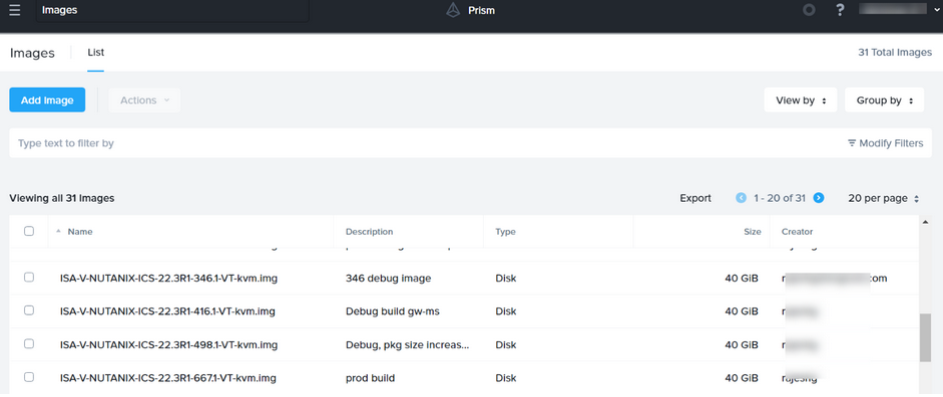
The image will now be listed in the list of images.
Creating new virtual machine (VM)
1.Click on the three horizontal lines on the top left side on the screen and navigate to Compute & Storage > VMs.
2.Click Create VM from Catalog Items and select Catalog Type as Image.
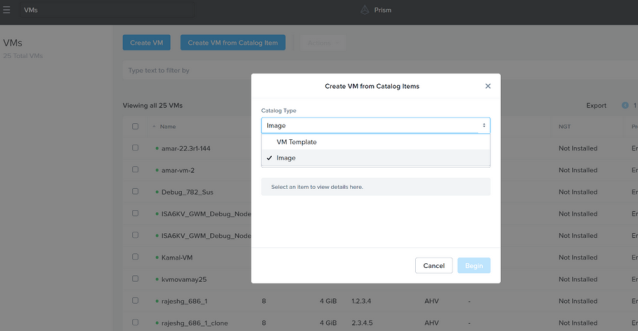
3.Select the kvm.iso and img files in the Catalog items dropdown and click Begin.
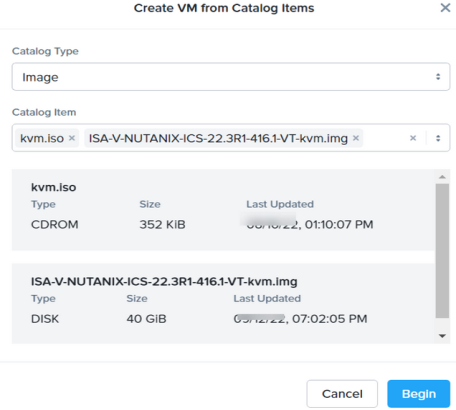
If multiple kvm.iso files are present make sure to pick up correct kvm.iso by matching the time stamp.
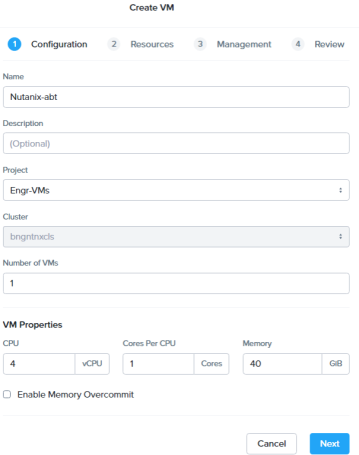
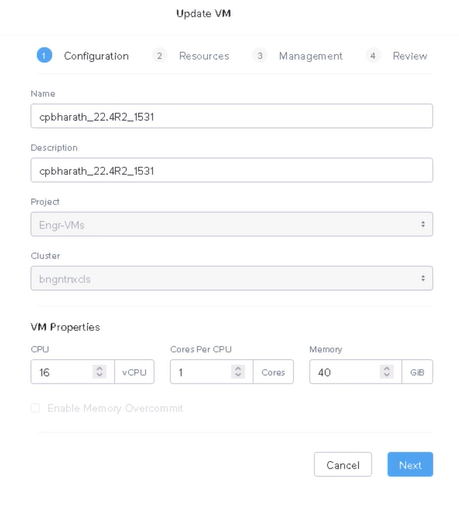
4.In the Create VM screen, set the following Configuration fields.
•Name—Specify a name for the new VM.
•Description (Optional) —Specify a description to identify the VM.
•Number of VMs—Select the number of VMs you want to create. The default is set to 1.
•VM Properties—
•CPU—Select 4/8/12 CPUs.
•Cores per CPU—Select the number of cores to create for each CPU. The default number is 1.
•Memory—Select 8GB/16GB/32GB as the allotted memory for the VM.
For configuring the desired flavour, you can refer Supported Platforms.
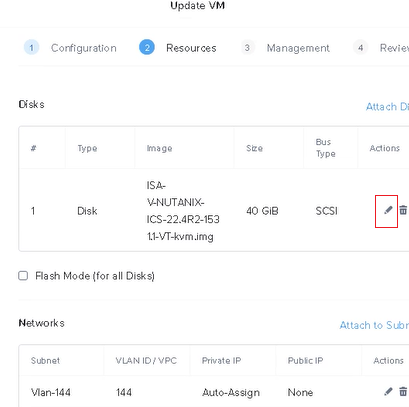
5.Configure the Resource fields,
•Disks—Leave the default settings.
•Networks—Attach to Subnet and set the following field settings.
•Subnet—Select the subnet from the list.
•Network Connection State—Leave the default Connected option selected. When you finish, click Save
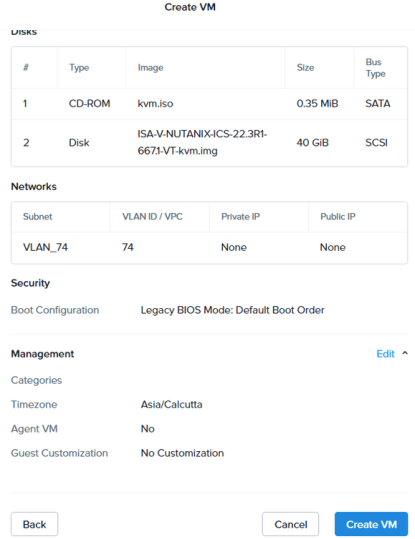
•Boot Configuration—Leave the default Legacy BIOS Mode selected.
6.Select the appropriate Vlans for internal, external and management ports to connect to this VM and click Next.
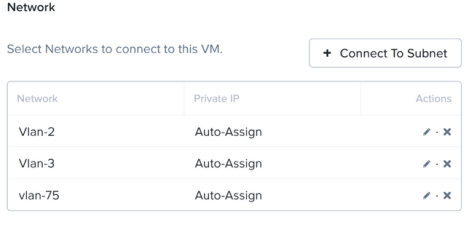
Add the configuration in the order of internal, external and management vlans.
7.Set the Management fields, select the Timezone and click Next, review.
8.Click Create VM.
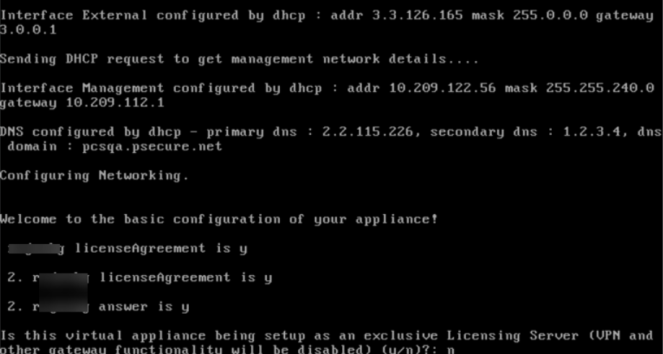
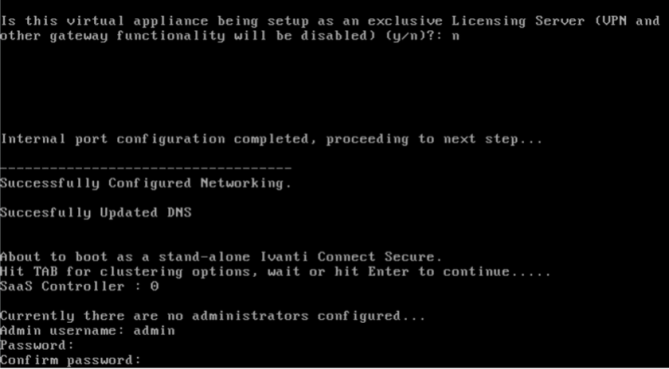
9.Let the installation complete and when prompted with "Is this virtual appliance being setup as an exclusive licensing server?", type "n"
10.Create username, password and other configurations to complete the ICS setup.
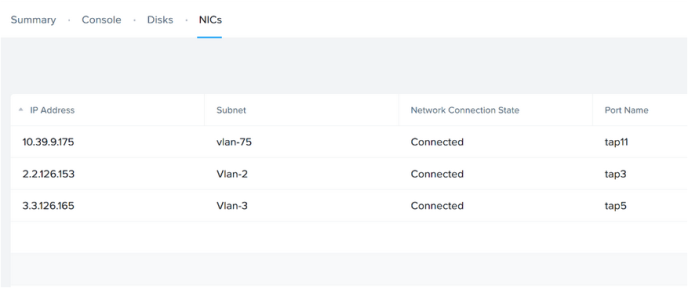
11.Review the VM details for connecting to the VM. Select Summary NICs to get the management IP for the VM.
Creating the VM can take up to 15 minutes. The ICS web user interface is not accessible during this time.
12.The Admin Web console can be accessed from your laptop browser using the link https://<management ip>/admin
Resizing a managed disk in Nutanix
From 22.6R2 release, On fresh installation, 80 GB disk space is available by default. You can modify or increase the disk size only once on fresh installation or upgrade of the ICS images, but not on rollback or factory reset images.
If the user is upgrading to 22.6R2 or later, then the disk size change from 40 GB to 80 GB have to be done prior to upgrade on Nutanix platform.
Disk Size Allocation is supported from 22.6R2 and later releases.
To modify the disk size:
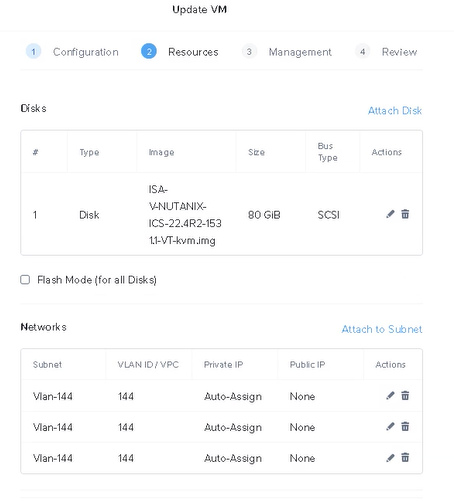
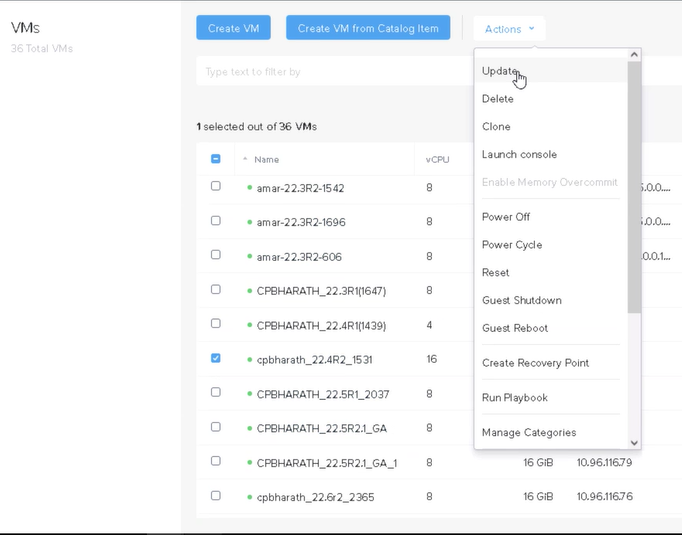
1.In the VM portal, select the virtual machine in which you want to increase the disk size. Click Actions > Update.
2.Click Next and move to Resources
3.Click Edit in Disks
4.Change the Capacity and click Save
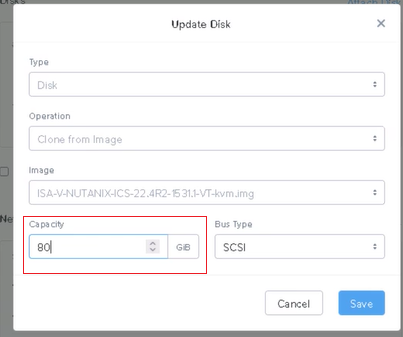
Size change shown in figure below