Deploying Ivanti Security Appliance on Hyper-V
Overview of ICS Hyper-V Enablement
Ivanti Security Appliance are now supported on Microsoft's Hyper-V hypervisor in addition to VMWare platform.
The following table contains data regarding the Number of cores to be allocated to each Hyper-V model:
|
Platform |
Cores Per VM |
RAM |
Disk Space |
|---|---|---|---|
|
ISA4000-V |
4 |
8 GB |
40 GB |
|
ISA6000-V |
8 |
16 GB |
40 GB |
|
ISA8000-V |
12 |
32 GB |
40 GB |
Limitations
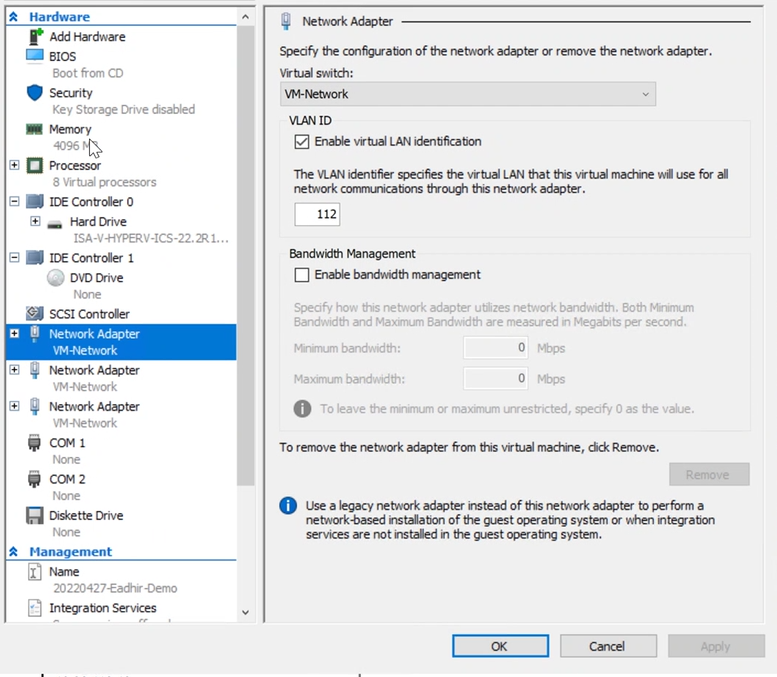
•Hyper-V does not support more than one VLAN on a Network Adapter. Due to this limitation, VLAN functionality provided by ICS cannot be used on Hyper-V VA. Please refer to the ‘To allow a virtual machine to use a VLAN’ section from https://technet.microsoft.com/en-us/library/cc816585(v=ws.10).aspx.
•The image supports only IDE disks and will support only the ‘Generation 1’ type of Virtual machine in Hyper-V Manager due to the above limitation.
Deploying a Hyper-V ISA-V through the Hyper-V Manager
To deploy a Ivanti Security appliance through the Hyper-V Manager:
1.Copy the Hyper-V ISA-V Package to the Hyper-V Server
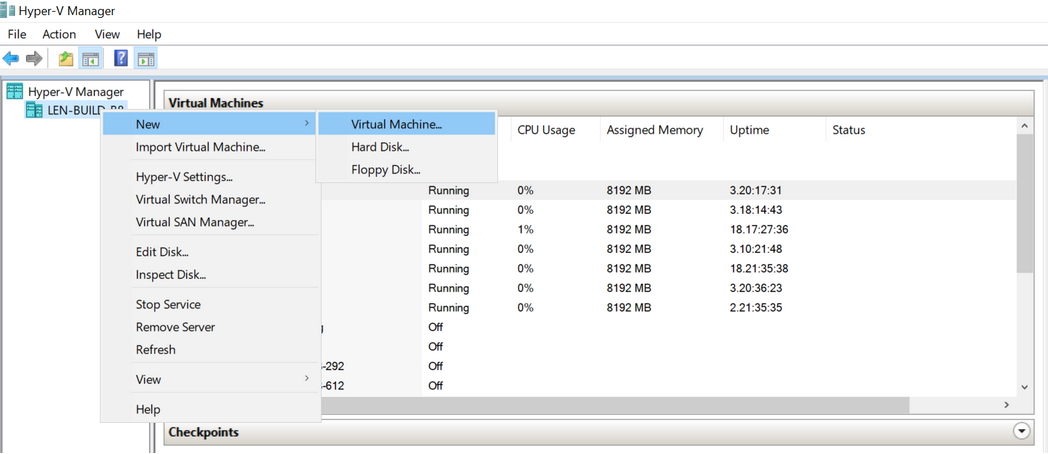
2.Open Hyper-V Manager.
3.Deploy Hyper-V ISA-V
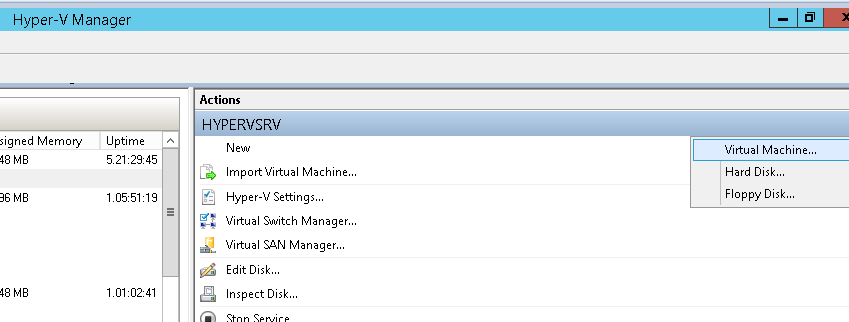
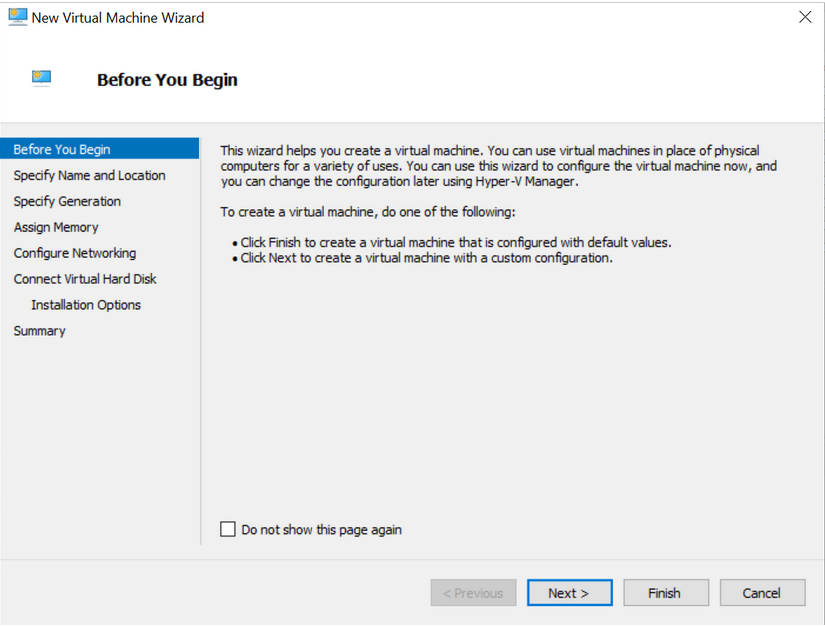
4.On Before you Begin screen click Next.
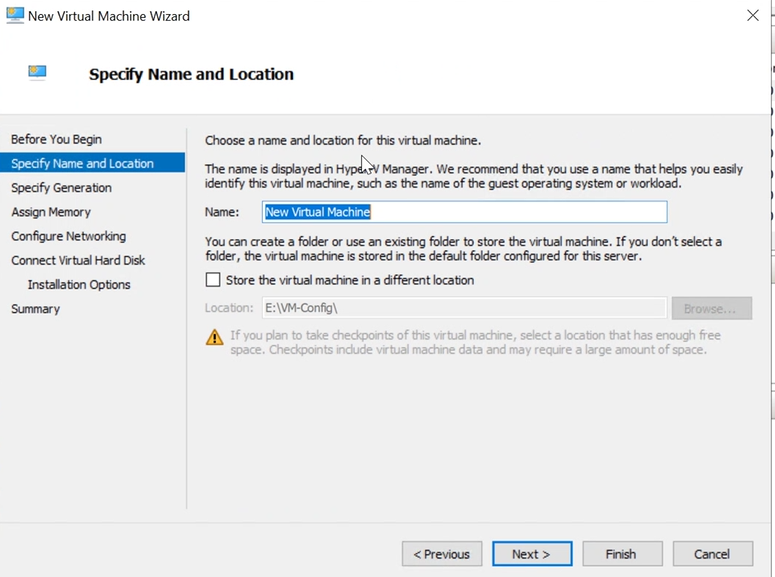
5.Enter Specify Name and Location and Click Next.
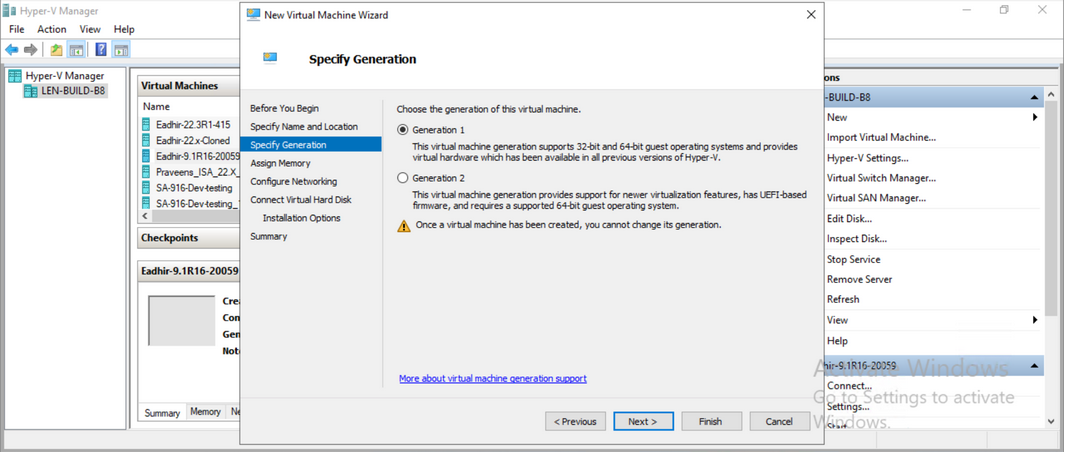
6.Select Generation 1 as Hyper-V ISA-V does not support Generation 2 and click on Next.

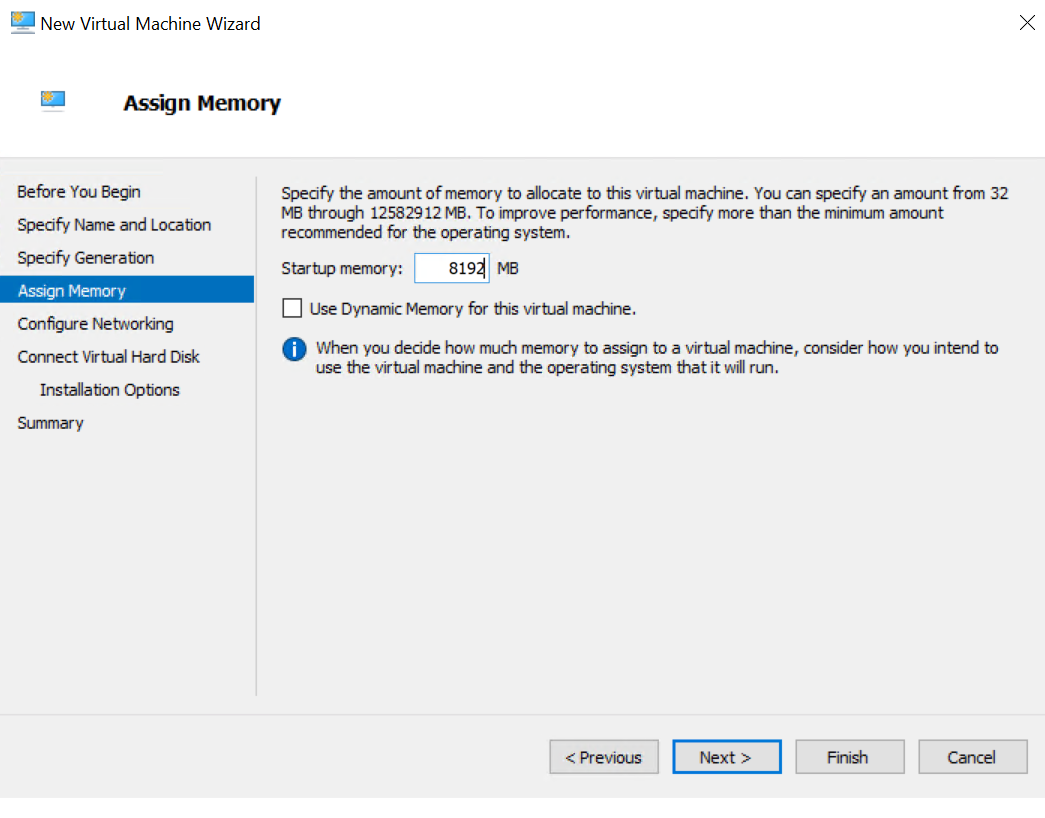
7.Now assign the appropriate memory. Enter 8192 MB for ISA-V and click on Next.
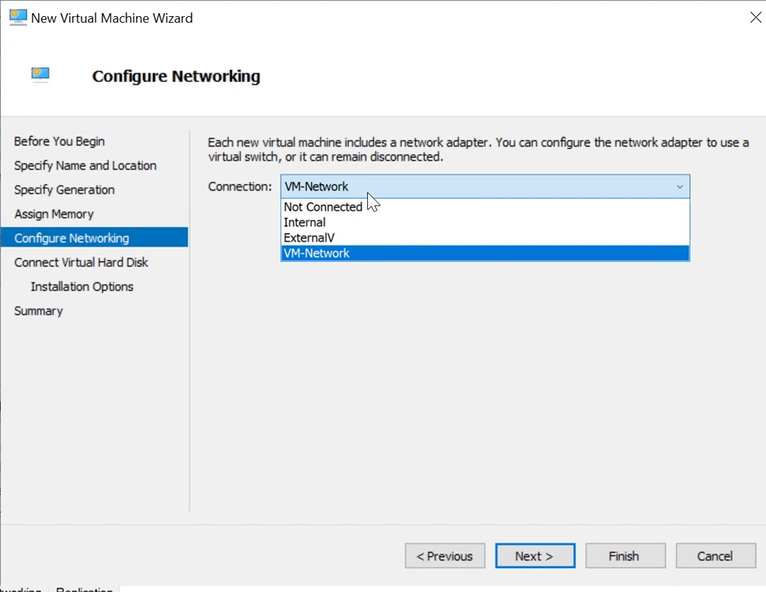
8.The Configure Networking page opens. Select a virtual switch to be used by the network adapter and click on Next.
9.The Connect Virtual Hard Disk page appears. Select the Use an existing virtual hard disk button and provide the location of the Hyper-V ISA-V package.vhdx (step 1).

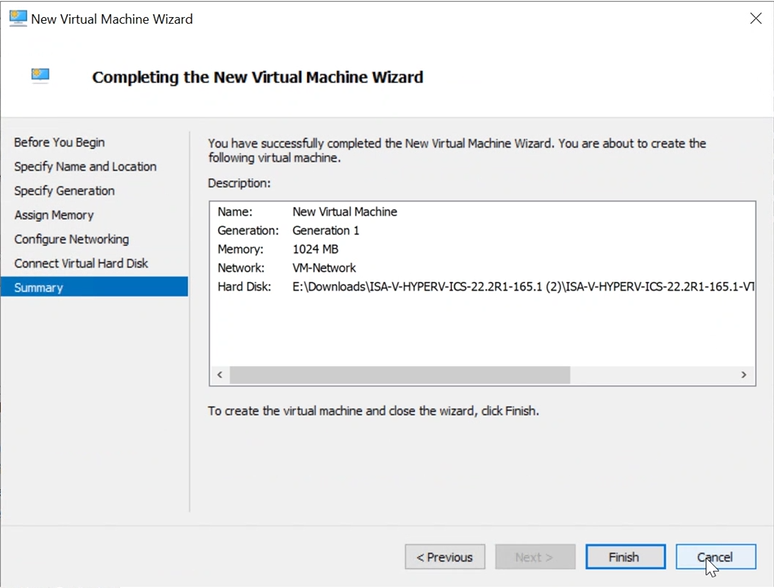
10.Click on Finish. Hyper-V Server creates an entry under Virtual Machines.
11.Now, add a network adapter for External Port and Management Port.
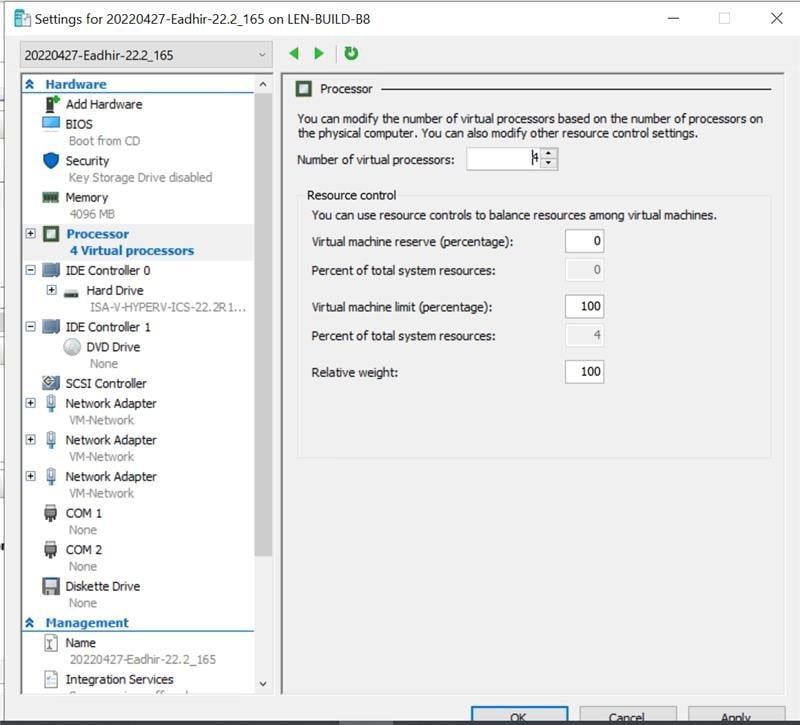
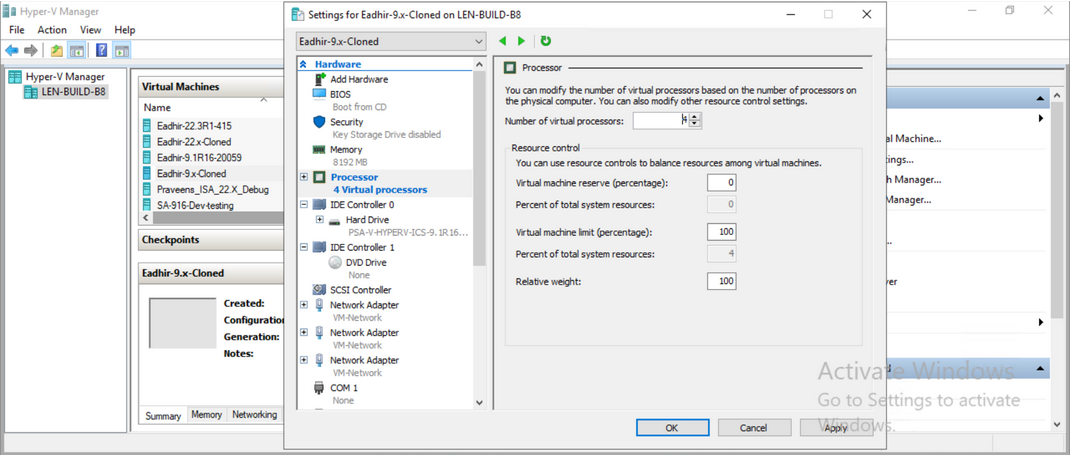
a. Right Click on the VM Name and click on Settings.
b. Enter Number of virtual processors required.
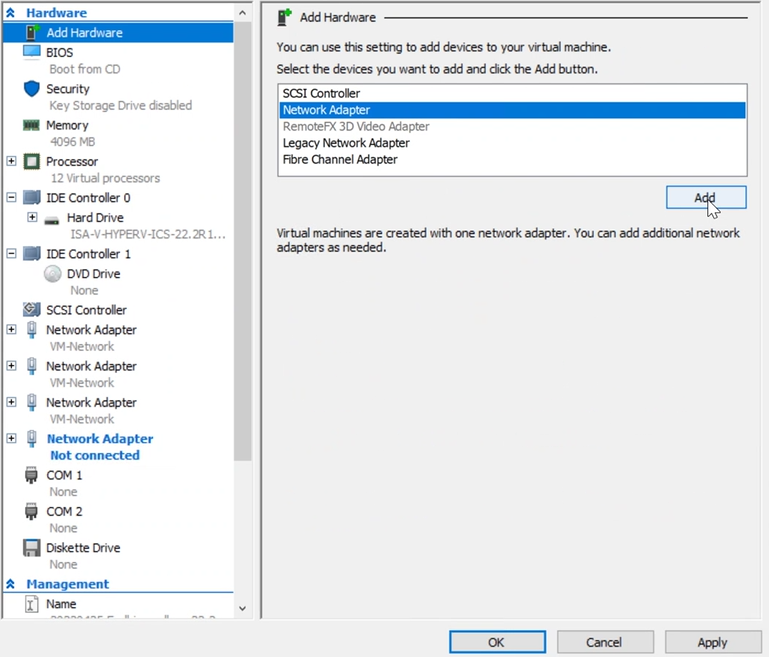
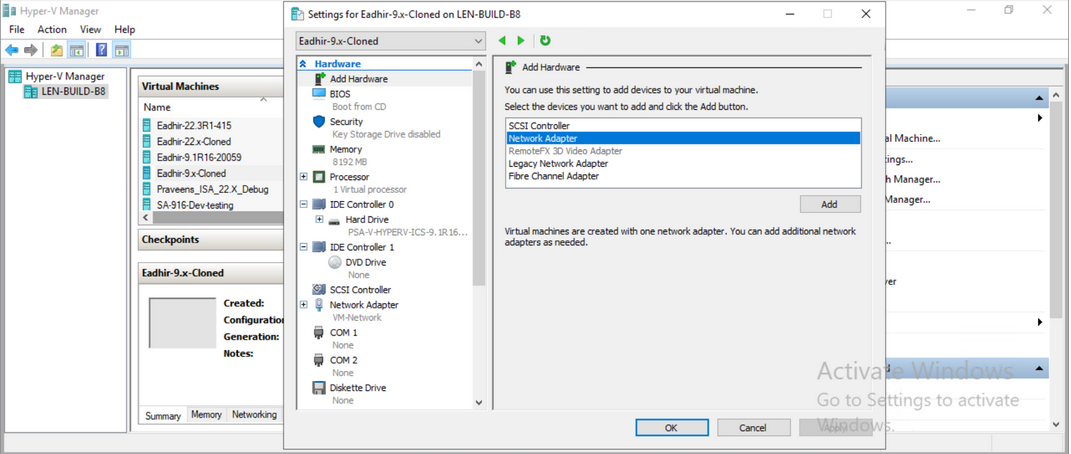
c. In the dialog box that opens, click on Add Hardware in the left pane.
d. On the right pane, select Network Adapter.
e. Click on Add.
It is important to add all the three network adapters to Hyper-V ISA-V before powering on the VM. Adding network adapters after powering-on the Hyper-V ISA-V may result in network connectivity issues. The following list indicates the order of virtual adapters:
1. Network Adapter: Internal
2. Network Adapter 2: External
3. Network Adapter 3: Management
12.Select the virtual switch for the External Port. Click on apply.

13. Now add network adapter for management port.
a. Click on Add Hardware on the left pane. Select Network Adapter. Click on Add.
b. Select the Virtual Switch for the Management Port. Click on Apply.
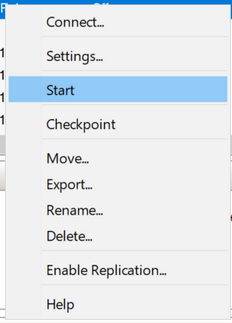
14.Select Start to power on the virtual machine.
Once Deployment is successful, You can see the deployed VM Console.

Deploying Connect Secure with Automatic Initial Configurations
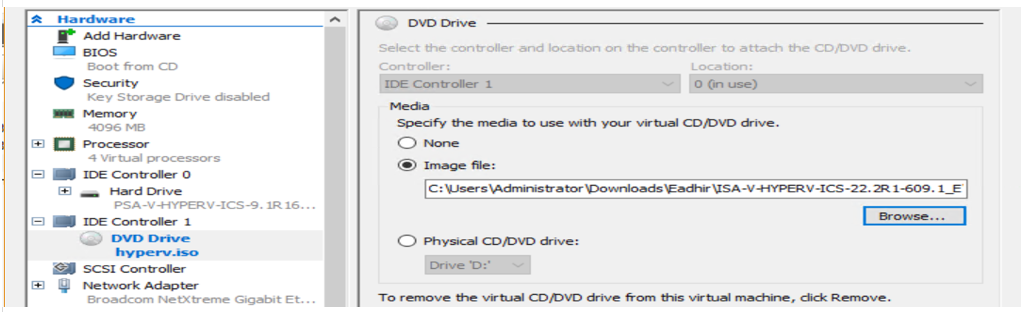
1.Download the Hyper-V package file and find the hyperv_template.xml file.
2.Customize the required fields like IP address/Subnet Mask/Default Gateway for internal, external, and management ports and then convert to .iso image (hyperv.iso) using the following command.
Command Sample: mkisofs -l -o hyperv.iso hyperv_template.xml.
3.Under DVD Drive, click Browse and upload the .iso file and then start the VM.
Deploying a Hyper-V ISA-V through Powershell cmdlets
To deploy a Hyper-V ISA-V through Powershell cmdlets:
1.Copy the Hyper-V ISA-V Package to the Hyper-V Server.
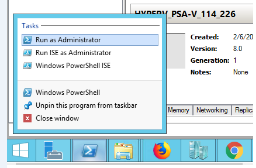
2.Open PowerShell as administrator.
3.Enter the vm-name, memory (in MB), location of VHDx file, and the internal network switch name. Use the example below to perform this step. Create a Hyper-VA ISA-V on the Hyper-V server.
For example, for deploying the ISA-V:
PS> New-VM -Name hyper-v-va -MemoryStartupBytes 2048MB -VHDPath F:\hyper_v_packages/ISA-V-HYPERV-ICS-<Version No.>-VT-hyperv.vhdx -SwitchName Int_Network_Switch -Generation 1
4.Now, add two network adapters for the External Port and Management Port.
|
Port |
Format |
Example |
|---|---|---|
|
External Port |
PS> ADD-VMNetworkAdapter –VMName <vm-name> –Switchname <External Network Switch Name> |
PS> ADD-VMNetworkAdapter –VMName hyper-v-va –Switchname Ext_Network_Switch -Name External_Port |
|
Management Port
|
PS> ADD-VMNetworkAdapter –VMName <vm-name> –Switchname <Management Network Switch Name> |
PS> ADD-VMNetworkAdapter –VMName hyper-v-va –Switchname Mgmt_Network_Switch -Name |
5.Set the number of processors to assign to the Hyper-V
PS> SET-VMProcessor –VMName <vm-name> –count <cpu-count>
For example:
PS> SET-VMProcessor –VMName hyper-v-va –count 1
6.Perform the following steps to change the name of internal network adapter:
PS> Get-VMNetworkAdapter -VMName <vm-name>
Sample Output:
Name IsManagementOs VMName SwitchName MacAddress Status IPAddresses
---- -------------- ------ ---------- ---------- ------ ------
Network
Adapter False hyper-v-va IntSwitch 000000000000 {}
Ext_Port False hyper-v-va ExtSwitch 000000000000 {}
Mgmt_Port False hyper-v-va MgmtSwitch 000000000000 {}
Now, change the name of Internal Network Adapter:
PS> Rename-VMNetworkAdapter -VMName user1_ISA-V_115_132 -Name "Network Adapter" -NewName "Int_Port"
Sample Output
PS> Get-VMNetworkAdapter -VMName <vm-name>
Name IsManagementOs VMName SwitchName MacAddress Status IPAddresses
---- -------------- ------ ---------- ---------- ------ -----------
Int_Port False hyper-v-va IntSwitch 000000000000 {}
Ext_Port False hyper-v-va ExtSwitch 000000000000 {}
Mgmt_Port False hyper-v-va MgmtSwitch 000000000000 {}
7.To power on the Hyper-V VA enter:
PS> Start-VM -name <vm-name>
Cloning of VM on Hyper-V
In this type of cloning it generates unique license id. (Licensing hardware ID will be unique in both existing machine and cloned machine). If we clone 22.2R1 and higher releases, it supports automatic initial configurations. By passing iso files with overwrite IP address = 1 before starting the VM, we can get the new IP address/Mask/GW. So that we can avoid assigning IP addresses manually after the VM comes up.
This is the recommended method for Hyper-V cloning.
1.Login to Hyper-V Manager and shutdown the VM which you want to clone.

2.Right click on the VM and specify the location and export the files.

3.Navigate to Hyper-V manager, New > Virtual Machine
4. On Before you Begin dialog, click Next

5.On Specify Name and location dialog, enter the name for the machine.

6.On Specify Generation dialog, select Generation 1
7.On Assign Memory dialog, enter 8192 MB for 4 core processors, 16 GB for 8 core processors, and 32 GB for 12 core processors.

8.On Configure Networking dialog, select configure the network adaptor to use the virtual switch.

9.On Connect virtual Hard disk dialog, provide the virtual hard disk file path from the exported file.

10.Click Next and then Finish. Now, you can see the virtual machine is listed under virtual machines.
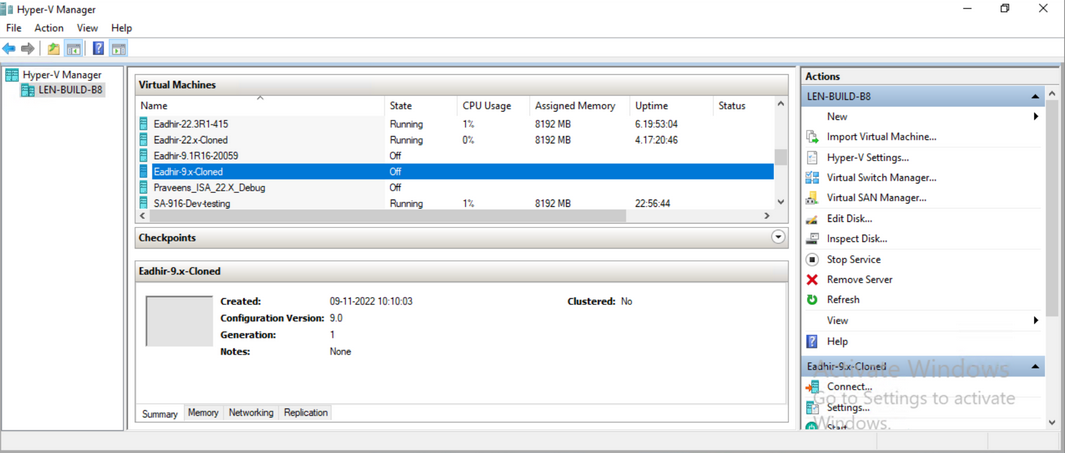
11.Right click on the machine and go to settings. Add the network adapters as required and change the number of processors as required.
12.Click Start to start the machine

13.Once the VM is up, change the IP address/Mask/GW because it clones the same IP addresses from the existing machine. Now we can use the VM. If we clone 22.2R1 and higher releases, it will support automatic initial configurations. By passing iso files with overwrite IP address = 1 before starting the VM, we can get the new IP address/Mask/GW. So that we can avoid assigning IP addresses manually after the VM comes up.