Cloud Secure User Experience
Cloud Secure is designed to provide seamless user experience across mobile devices and desktops. Cloud Secure gives better user experience by using features like Certificate authentication and On demand VPN for session establishment.
End-User Flow on Mobile Devices
Once administrator configures Cloud Secure and creates a new user if not present in Pulse Workspace, user must follow below steps to register the mobile device with Pulse Workspace and get seamless secure Single Sign-On access. For PWS registration, see Provisioning Devices.
Install Ivanti Secure Access Client on the mobile device. VPN profile will get configured automatically on Ivanti Secure Access Client.
1.On Android devices, open Ivanti Secure Access Client and establish VPN connection manually. VPN tunnel will automatically get established on iOS devices when managed application configured with Per App VPN is accessed.
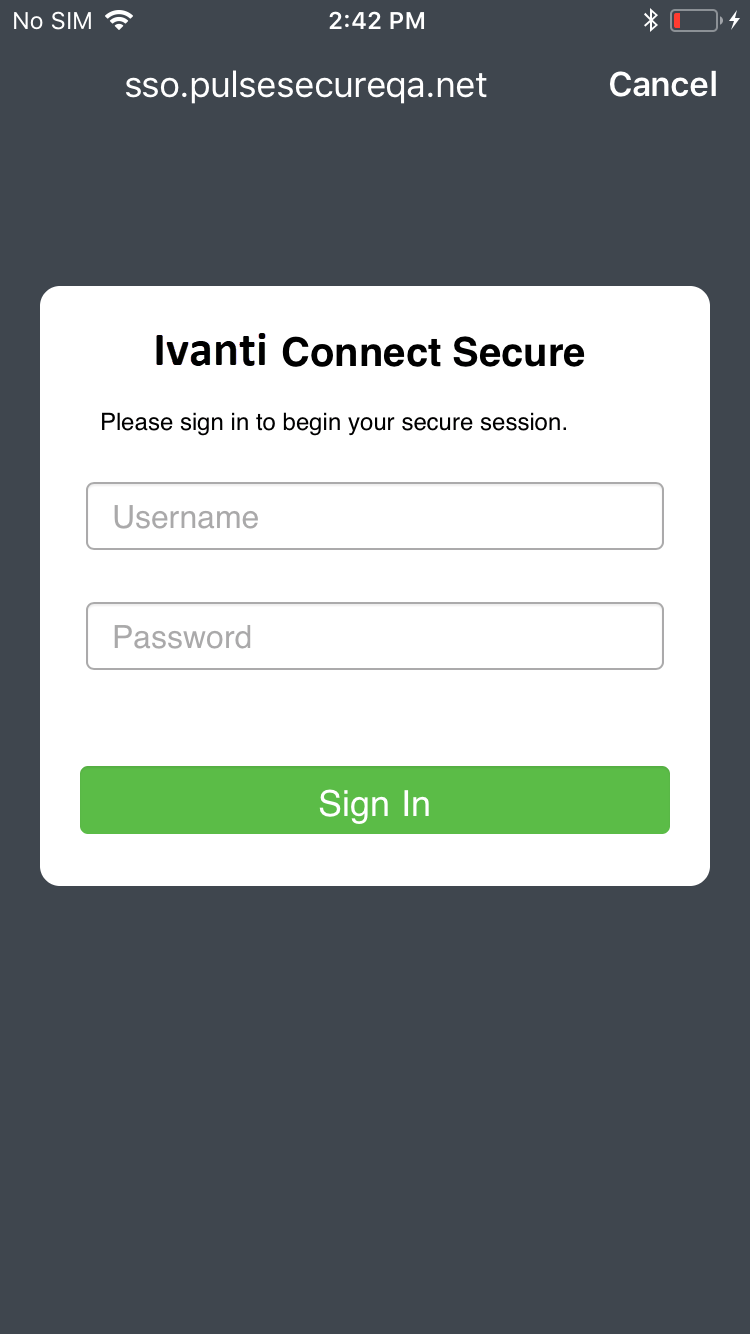
2.Access the application, provide the custom domain or the user name for accessing applications.
3.Sign-On will happen and user will get access to the application.
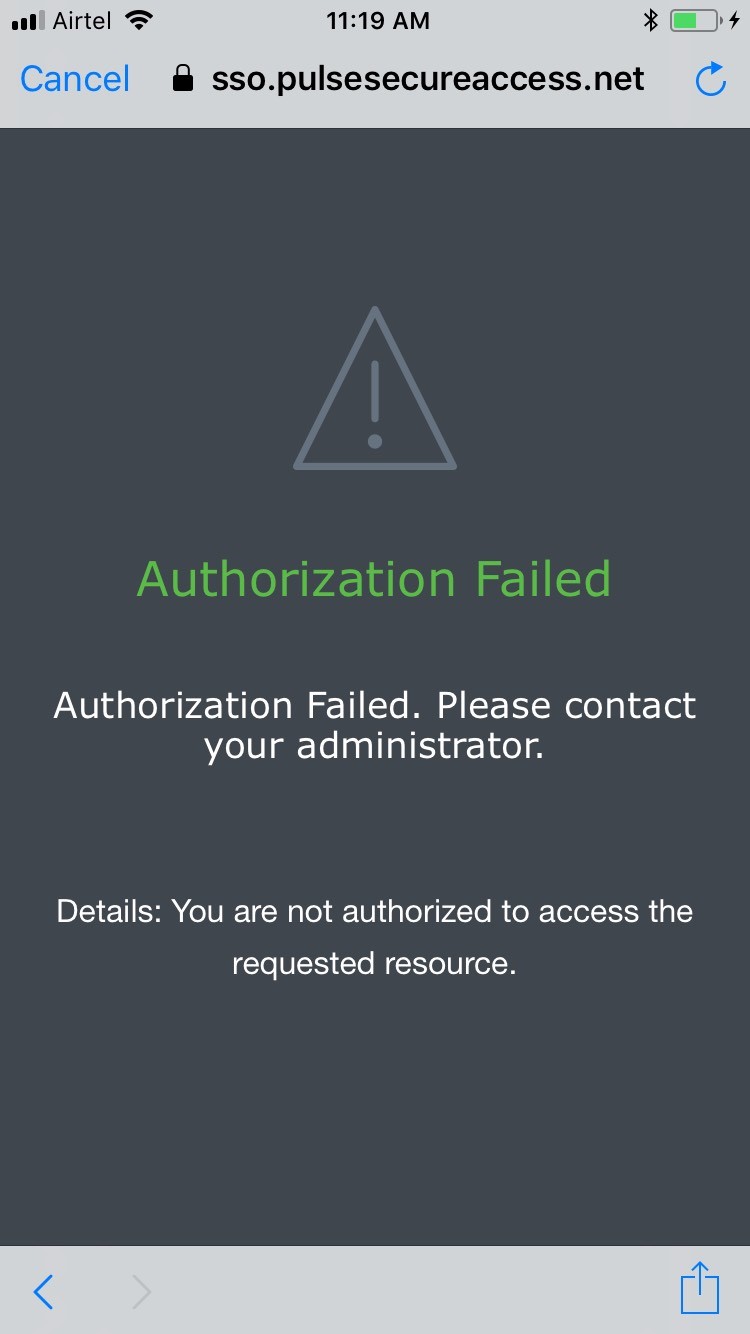
Screenshots
End-User Flow on Desktops
Once administrator configures Cloud Secure, user can access application URL via browser from Windows/MAC OS X Desktops. Follow below steps to enable Secure Single Sign-On browser-based access to Cloud Service:
1.Launch Ivanti Secure Access Client and establish a VPN session with Ivanti Connect Secure.
2.Open any web browser on the desktop and access cloud service.
If the user has an existing VPN session, ‘Re-use existing Session’ is used. Ivanti Connect Secure sends SAML response to cloud service and the user access is granted.
If the user did not establish VPN session as mentioned in Step 1, user is redirected to Ivanti Connect Secure user login page for authentication depending on the Ivanti Connect Secure configuration. Once authenticated, Ivanti Connect Secure will send SAML response to cloud service and the user access is granted.
Automatic VPN connection, based on location through Ivanti Secure Access Client in Desktops and through On-demand VPN support in mobile devices eliminates users triggering manual VPN connections.
Screenshots
1.Open the web application (For example, Google), enter the email ID and click Next.
2.Log in to the Ivanti Connect Secure server using the user name and password and click Sign-In.
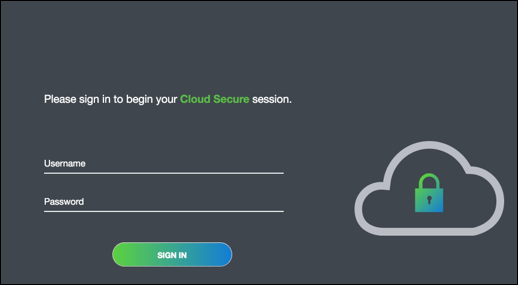
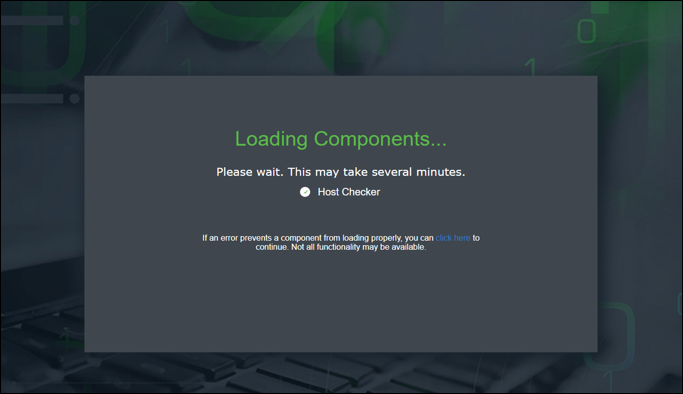
3.The host checker process starts and the following page is displayed.
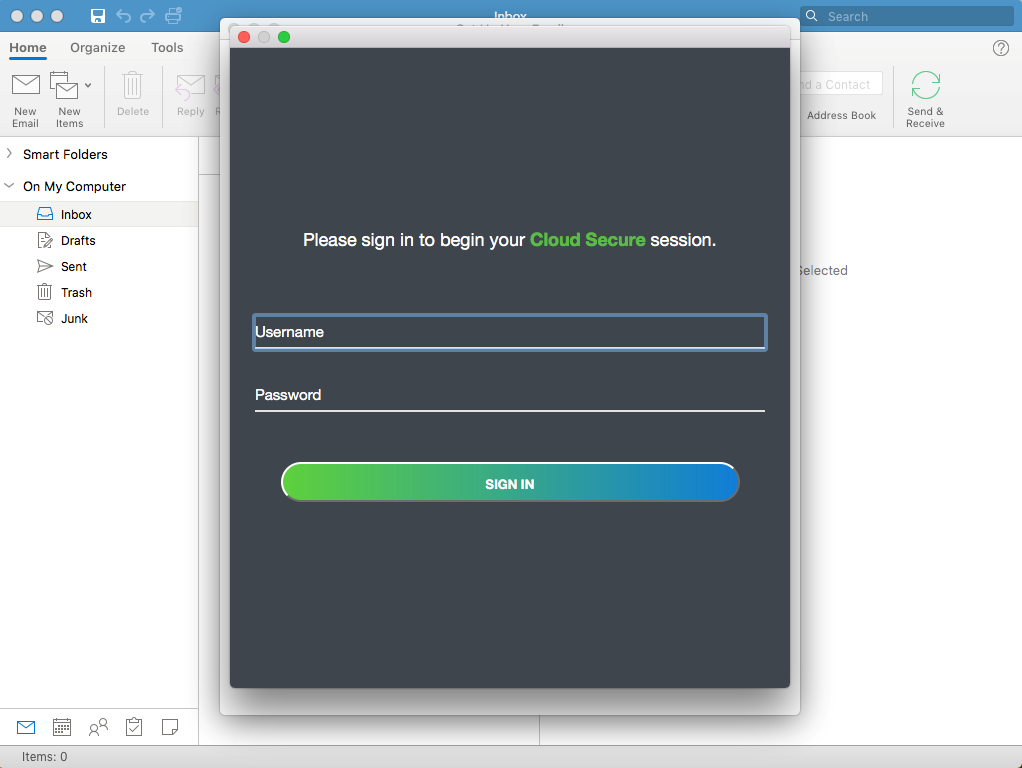
Screenshots for Outlook Application on Mac OS
1.Open the Outlook application, enter the username and password and click Sign-In.
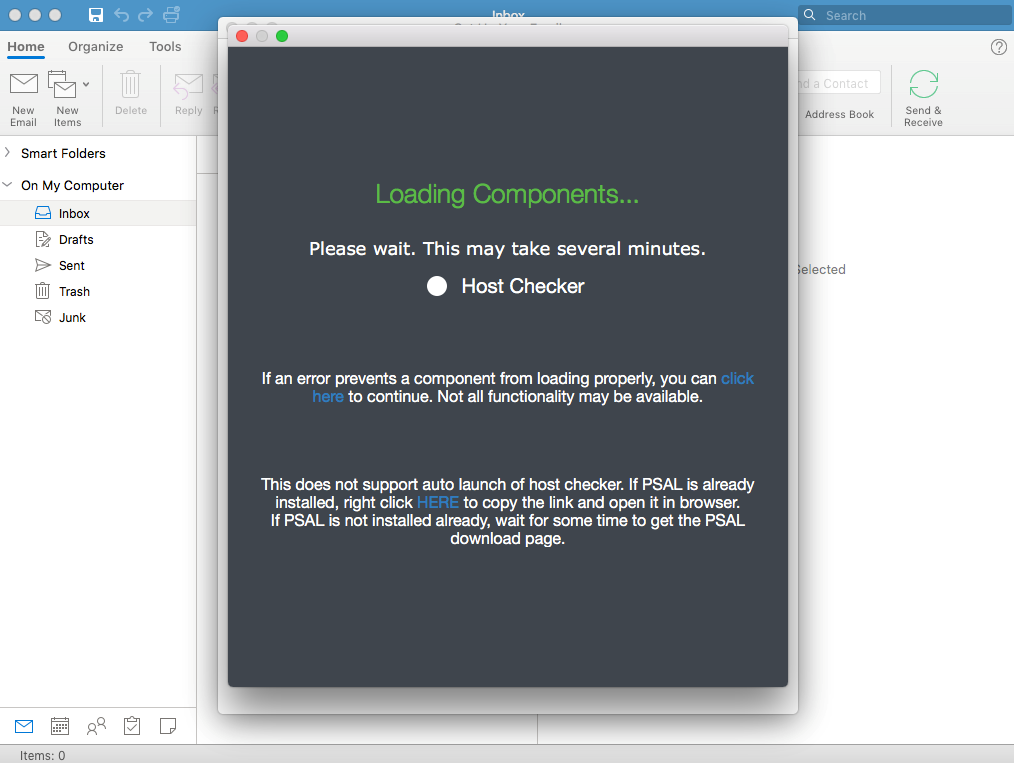
2.The HC page is displayed.
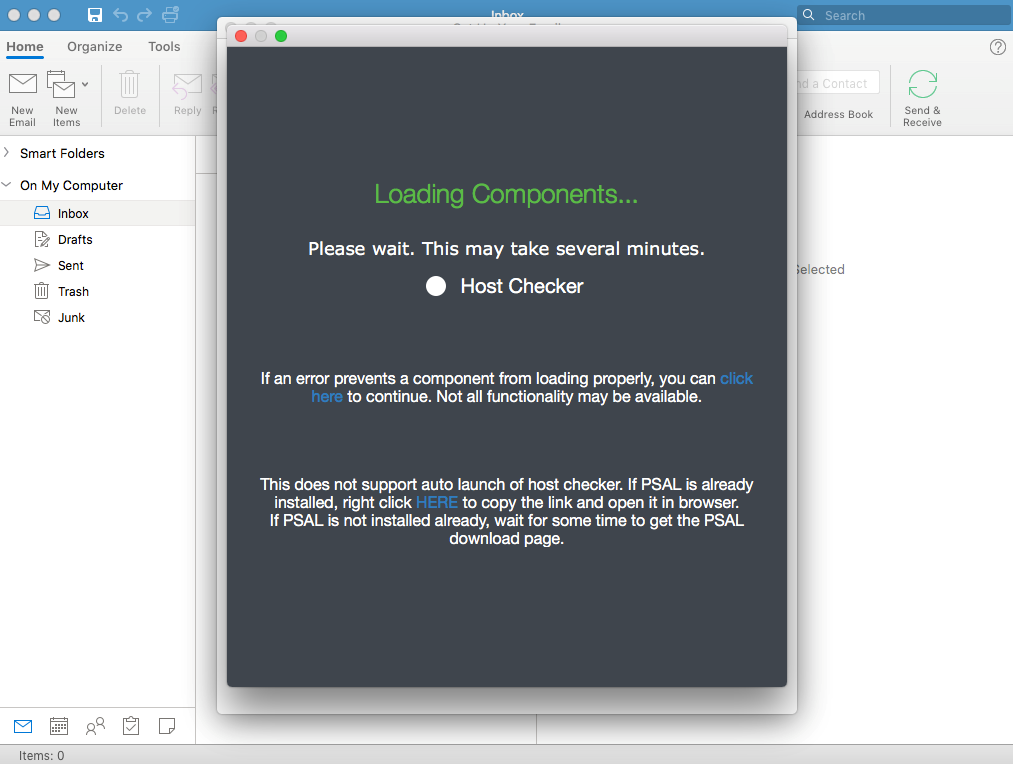
3.If PSAL is not installed wait for the PSAL download page.
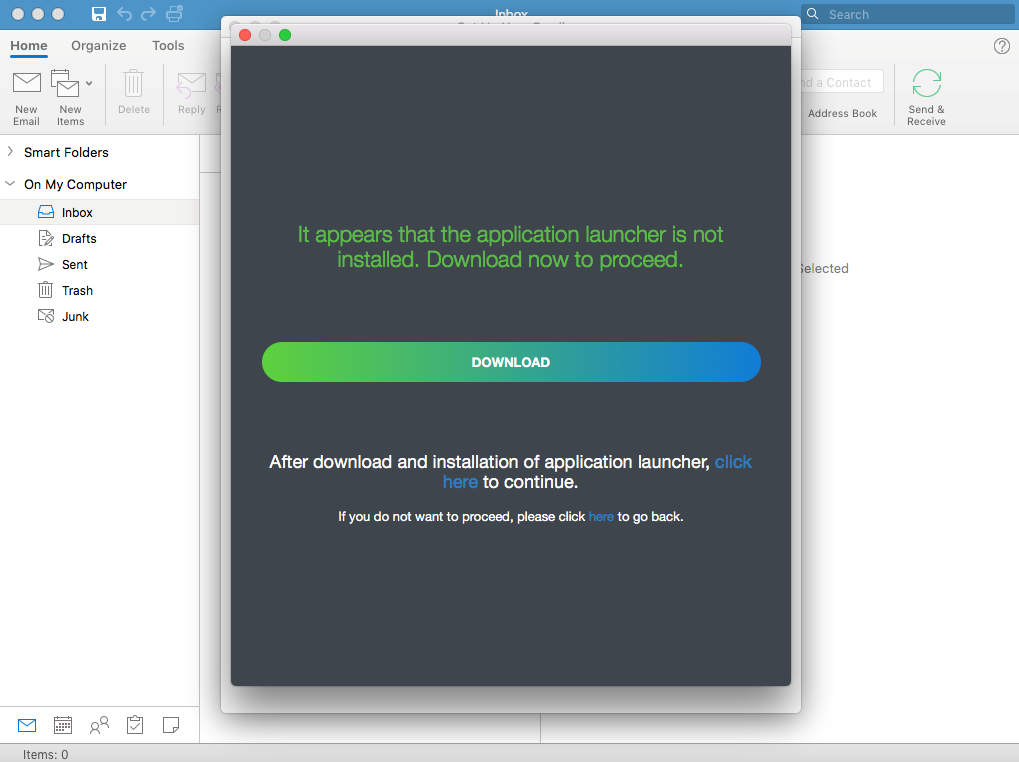
4.After clicking on Download, click the Click Here link to download and install PSAL.
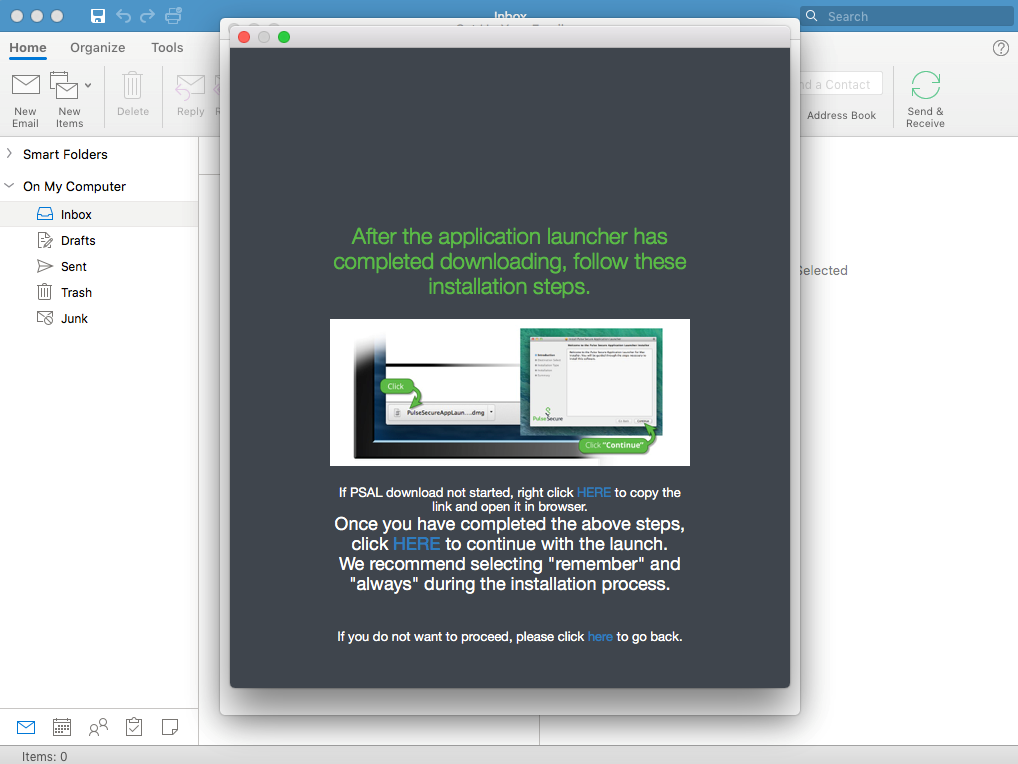
5.Right click and copy the link and open it in a browser to launch the Host Checker.
