Configurations
This section covers the configurations required on ADFS and Ivanti Connect Secure for Cloud Secure integration with ADFS.
Active Directory Federations Services configurations include:
•Downloading Metadata from Ivanti Connect Secure and upload it in ADFS
•Adding Cloud Secure(Ivanti Connect Secure) as Claims Provider Trust in ADFS
•Adding Claim rules to process the SAML authentication requests
•Enabling RelayState for Idp initiated single sign-on
Ivanti Connect Secure configurations include:
•Enabling and configuring SAML in Ivanti Connect Secure
•Adding ADFS metadata
•Configuring ADFS as Service Provider in Ivanti Connect Secure
•Configuring bookmark for Idp initiated single sign-on
ADFS Configurations
Before configuring Ivanti Connect Secure as Claims Provider Trust in ADFS, download metadata from Ivanti Connect Secure and upload it in ADFS.
Download Ivanti Connect Secure metadata
To download Ivanti Connect Secure SAML metadata:
1.Login to Ivanti Connect Secure admin console.
2.Go to Authentication > Signing In > Sign-in SAML > Metadata Provider
3.Click Download Metadata and save the file
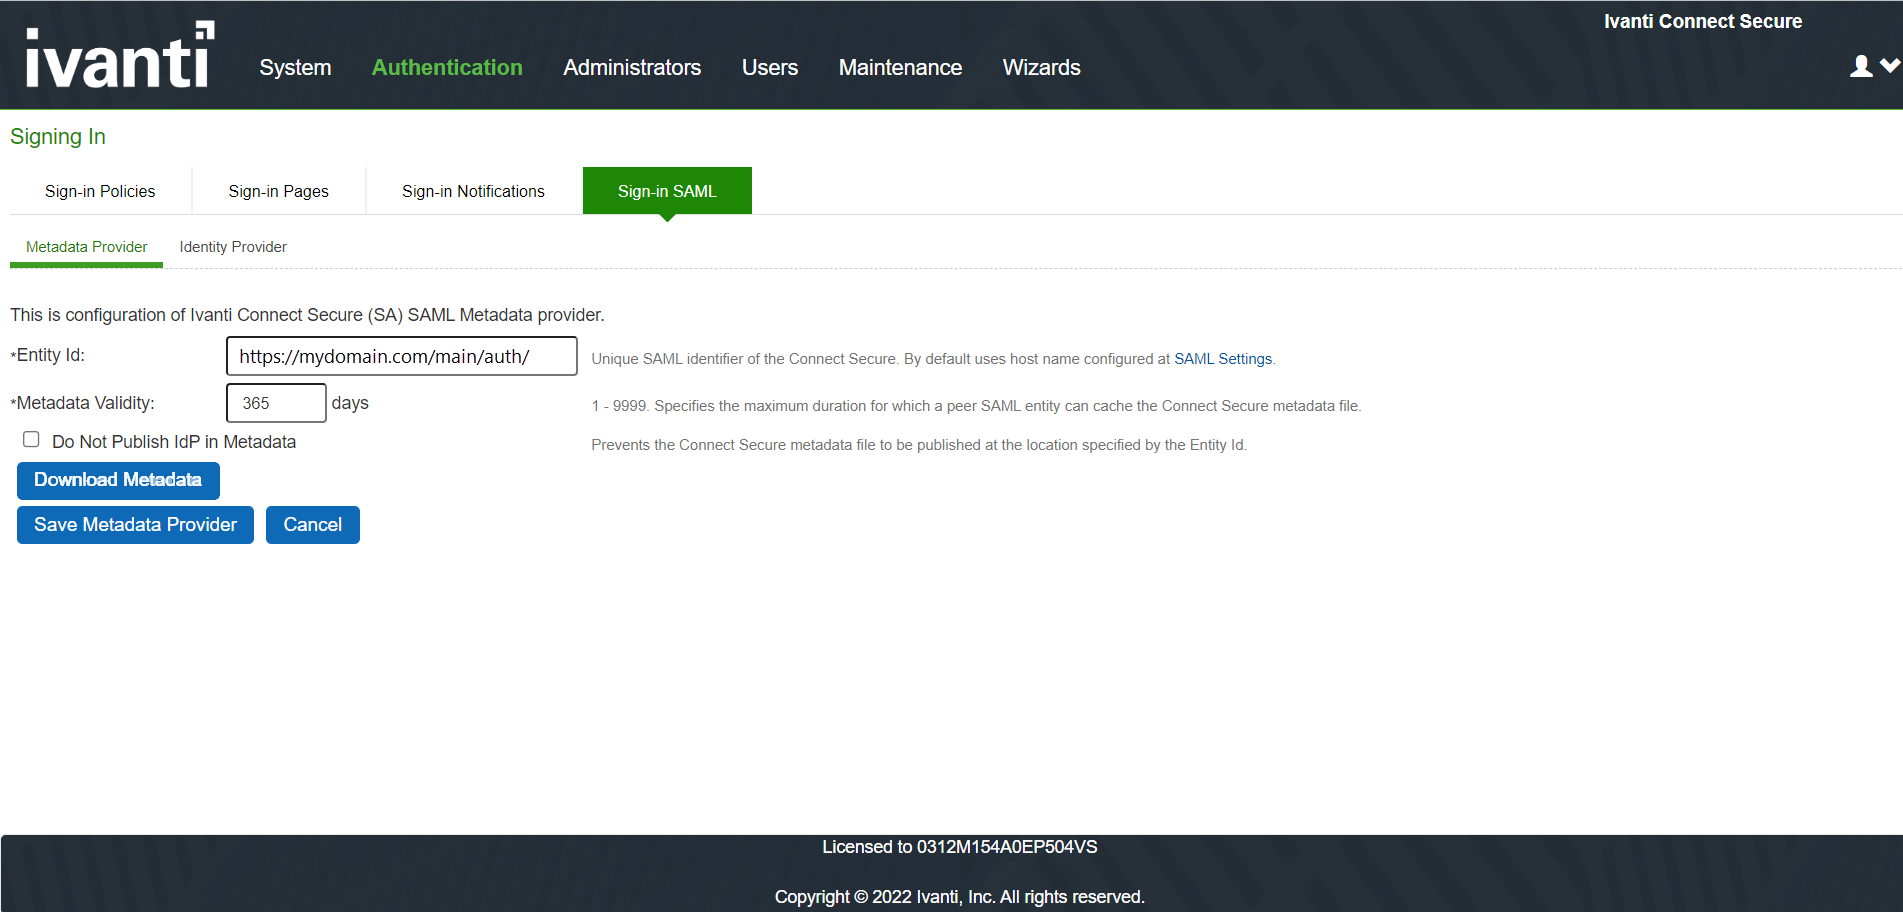
The Metadata should be downloaded only after finishing the basic SAML configurations in Ivanti Connect Secure.
Adding Cloud Secure (Ivanti Connect Secure) as Claims Provider trust
1.Login to AD Server where ADFS services are enabled
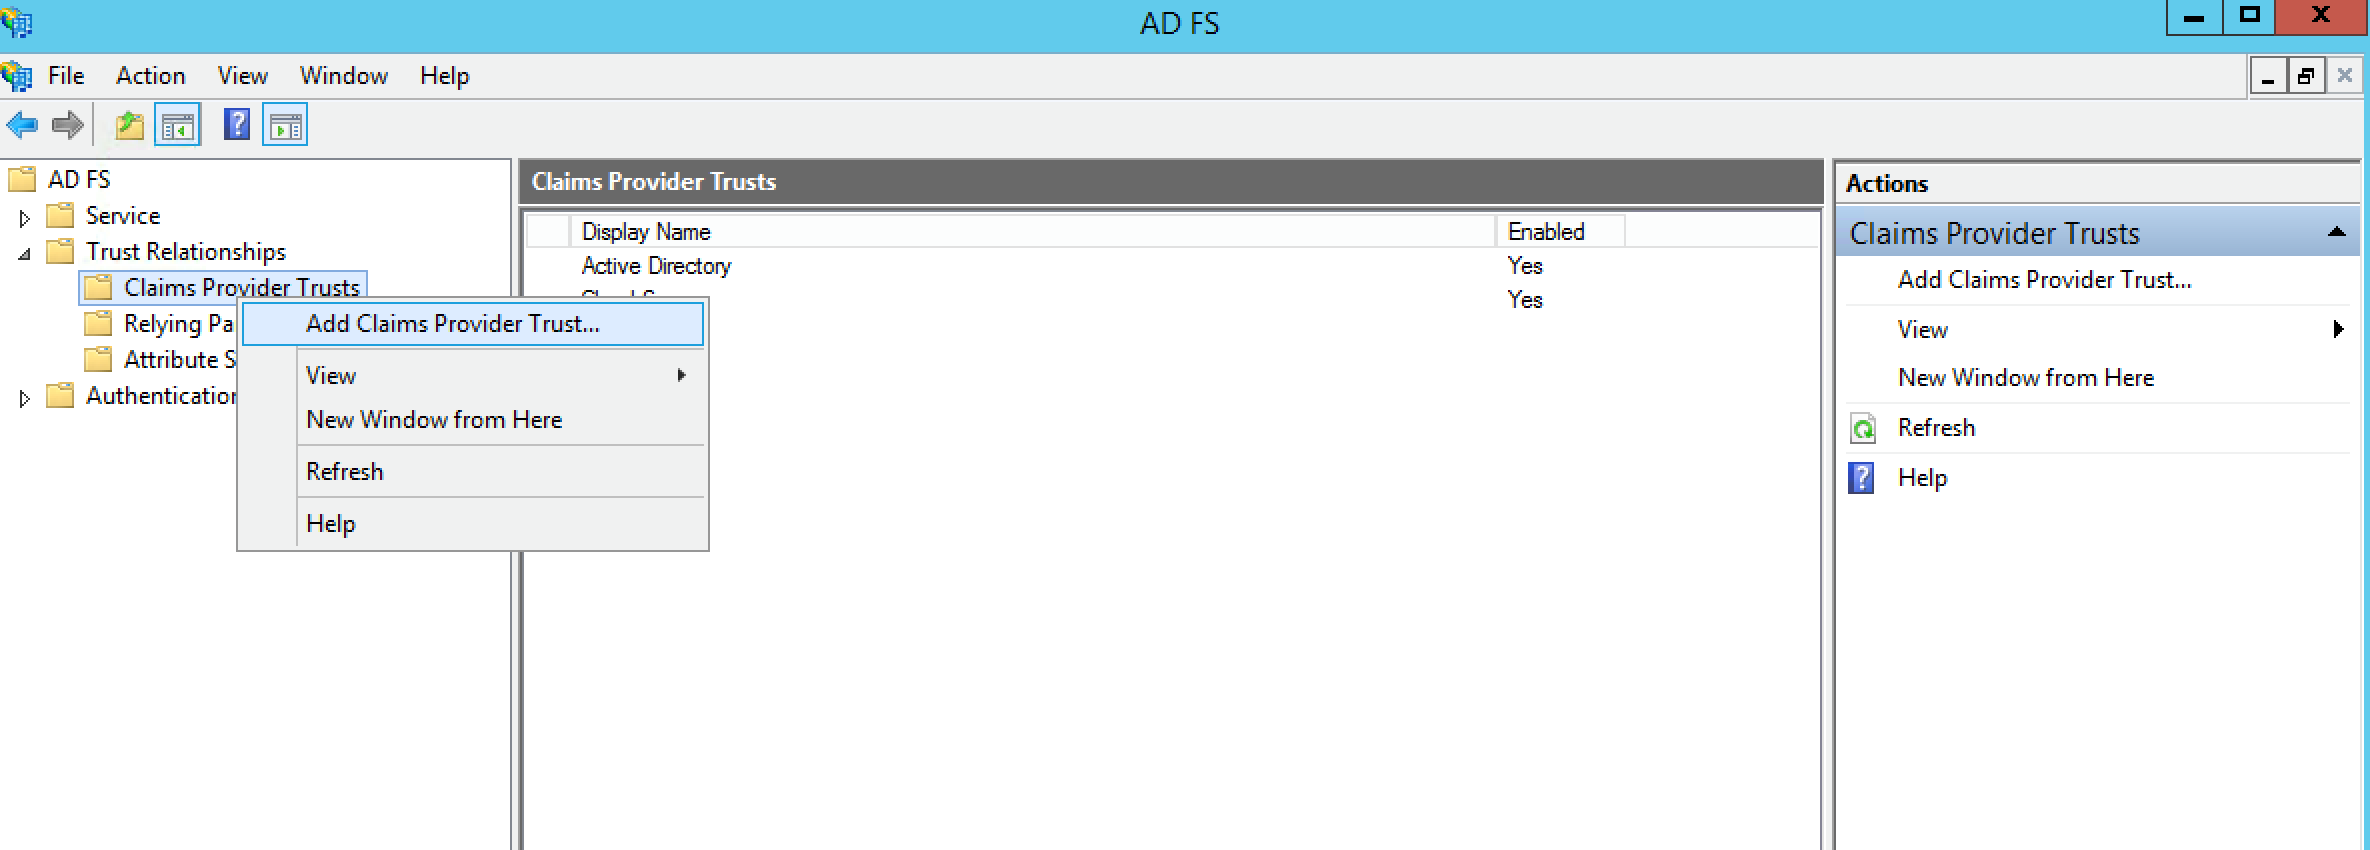
2.Open ADFS management snap-in
3.Right Click on “Claims Provider Trusts” and Select “Add Claims Provider Trust”
4.Click Start

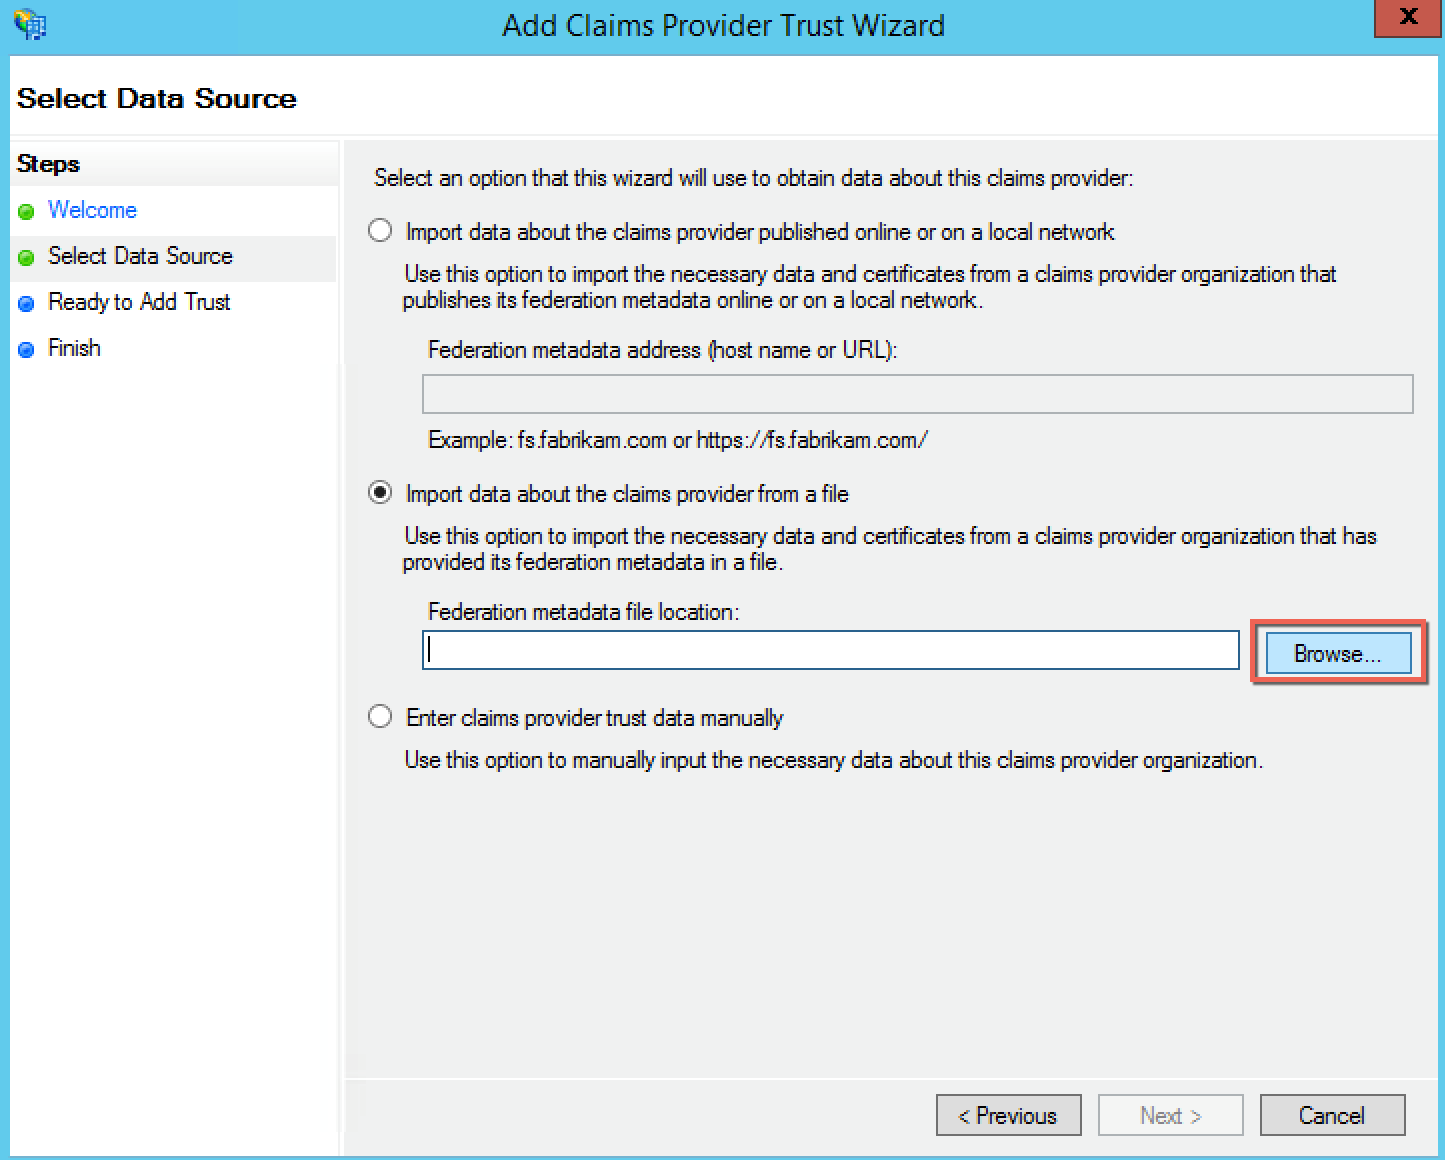
5.Click Browse and select Ivanti Connect Secure Metadata file (As mentioned in “Download ICS metadata” section)
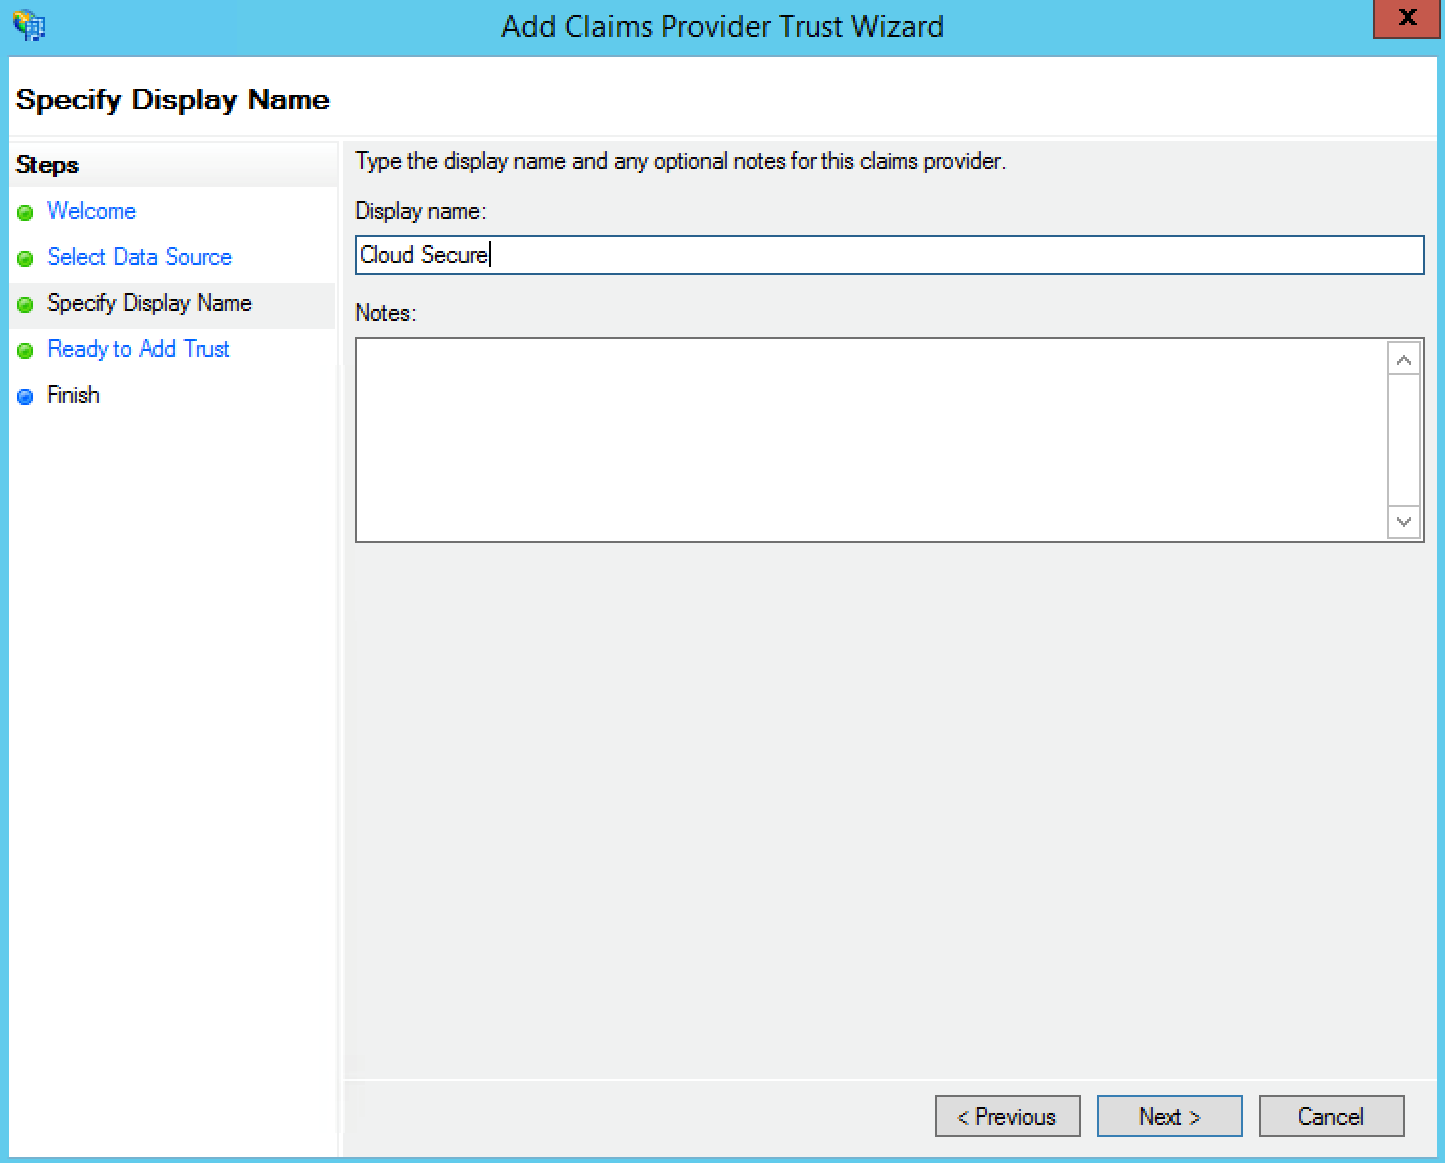
6.Provide the claims provider display name
7.Select Next
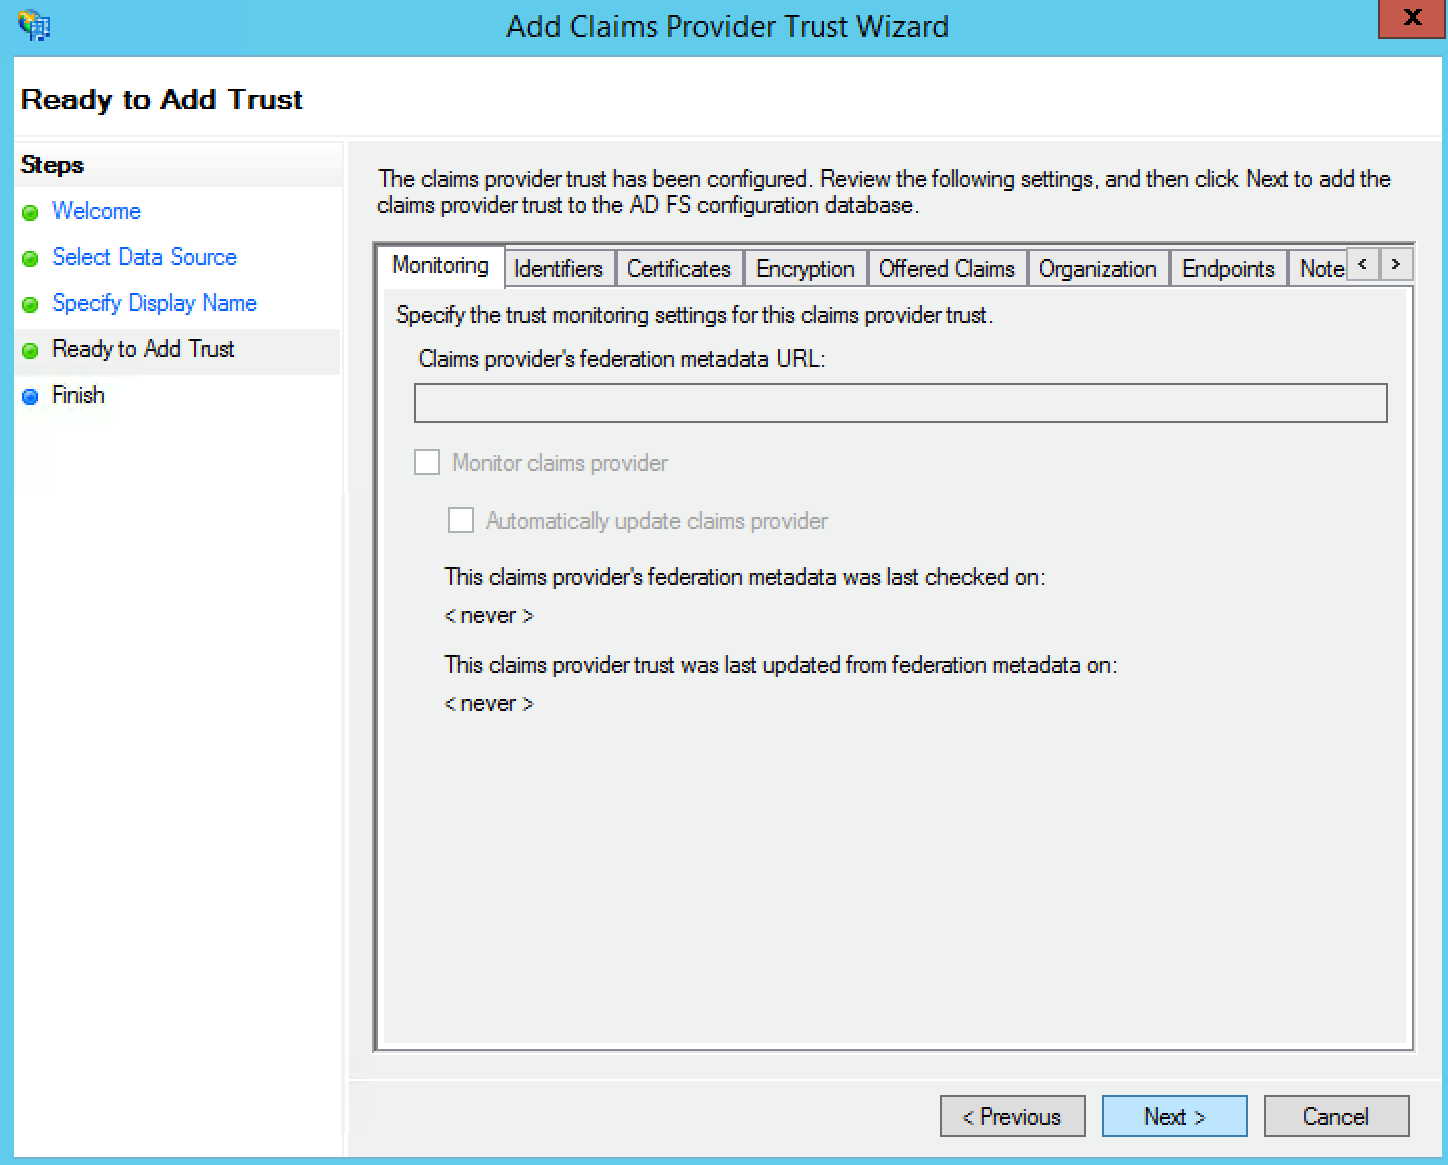
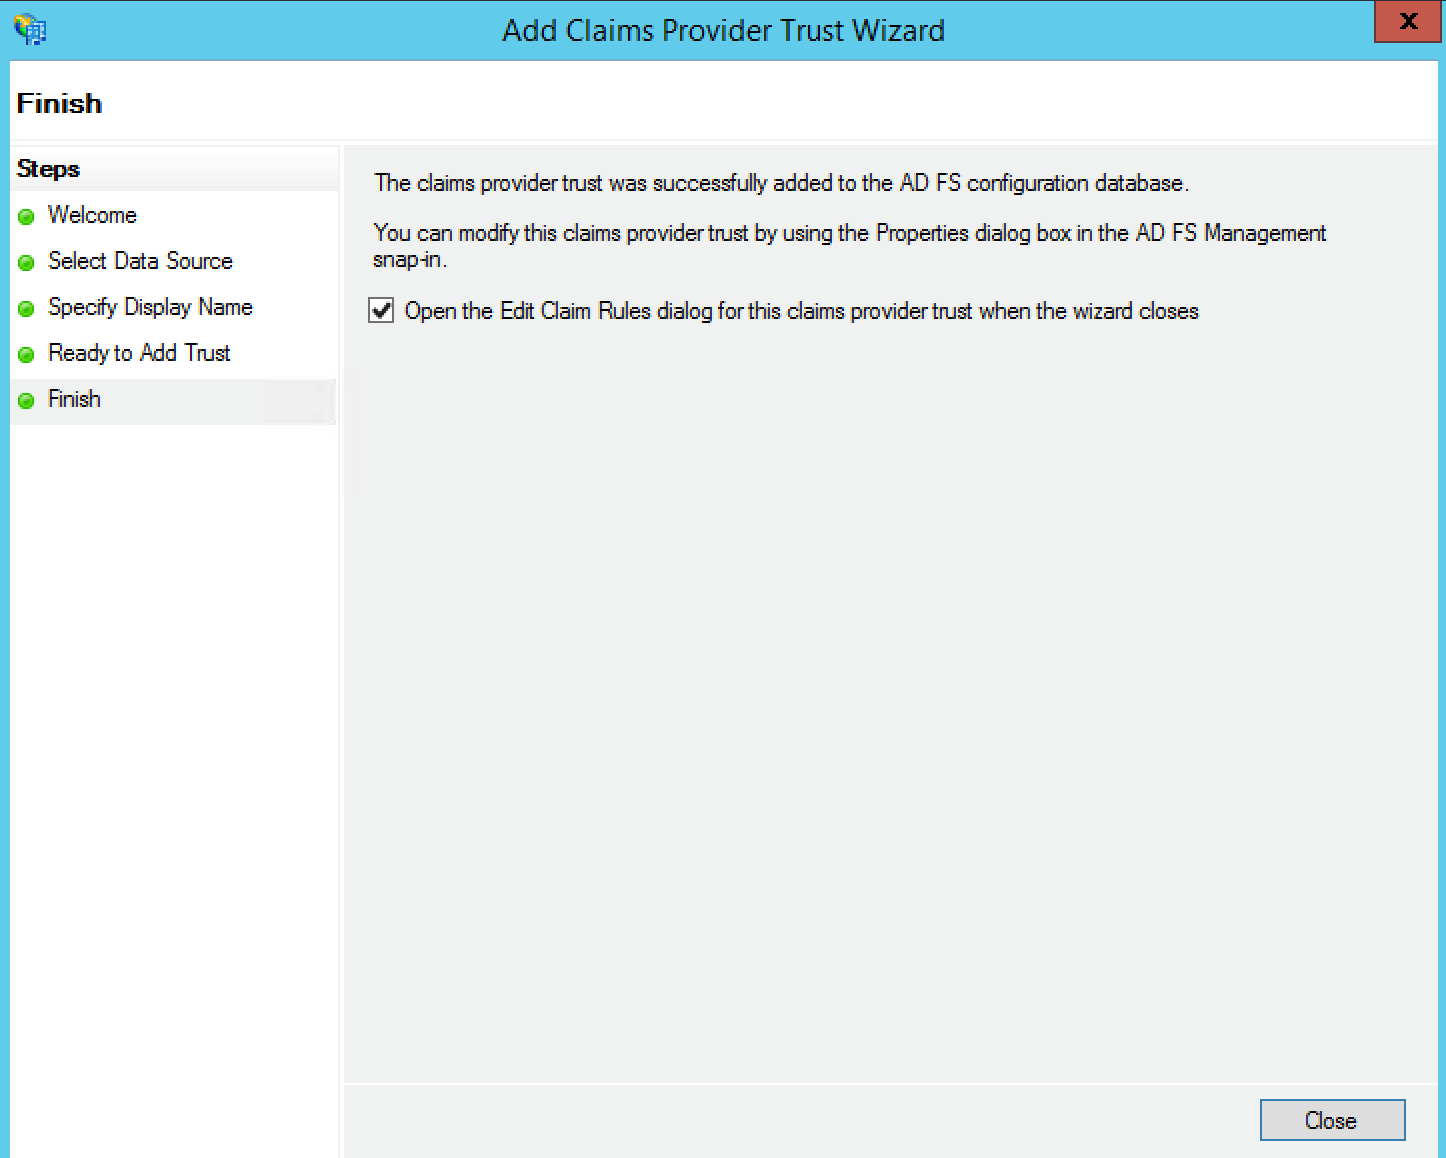
8.Click Close
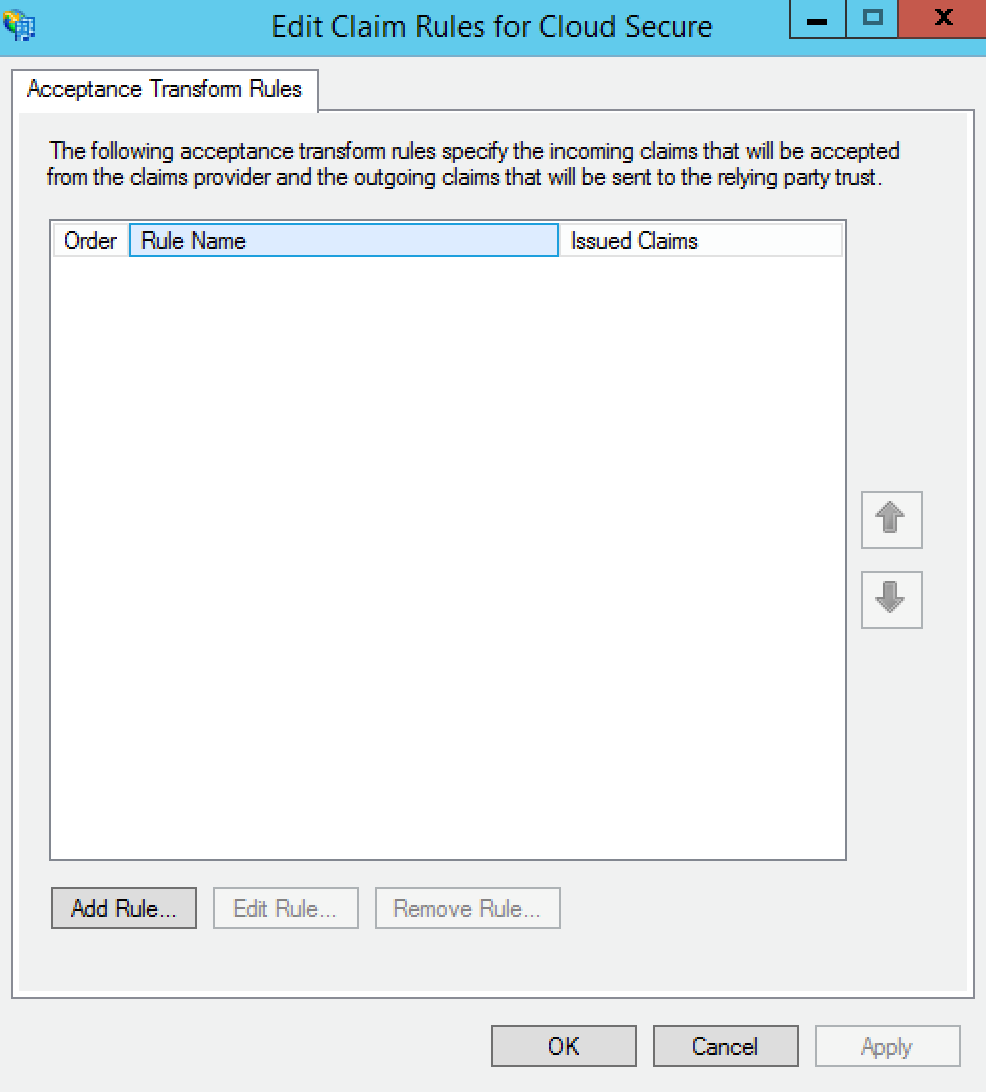
9.ADFS claim rules page is displayed, Do not add any rule. Click OK.
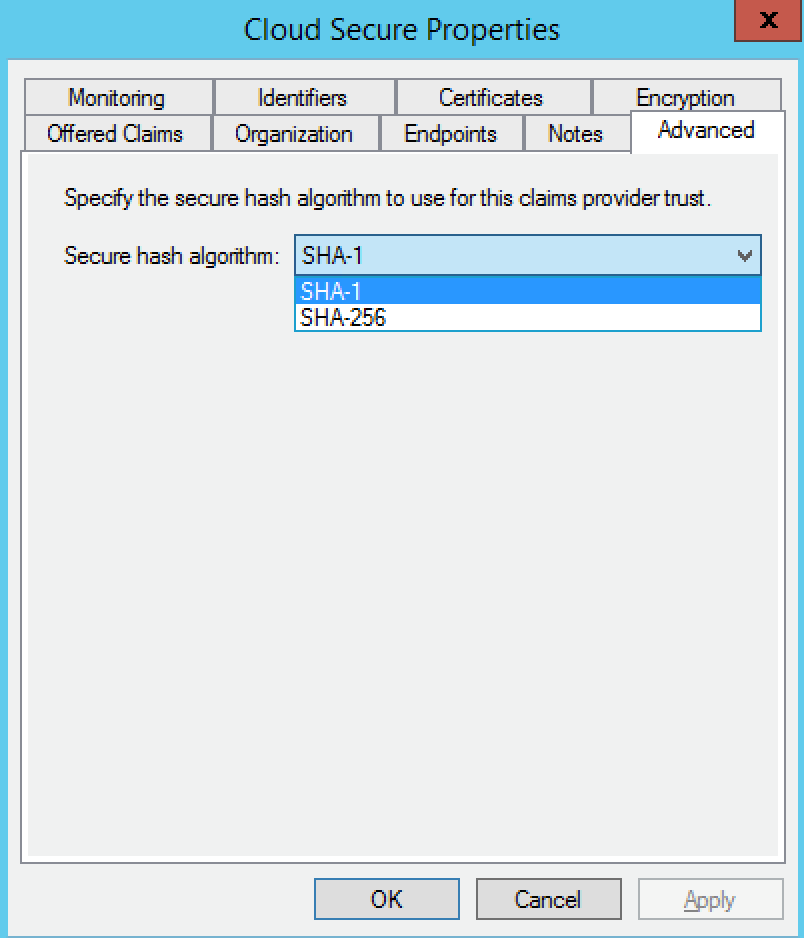
10.ADFS sets SHA-256 as default Secure hash algorithm, change it to SHA-1. To change Secure hash algorithm:
•Go to "Claims Provider Trusts". Right click on Cloud Secure (Claims provider added above).
•Select "Properties" and click "Advanced" tab.
•Select "SHA-1" Secure hash algorithm from the drop-down list.
Adding Claim Rules
1.Select "Relying Party Trusts". Right Click on "Office365" and click "Edit Claim Rules"
2.Select "Issuance Transform Rules" tab and click "Add Rule"

Office365 federates the authentication to ADFS and this happens only when it is configured as "Relying Party Trusts" in ADFS and ADFS is configured as IdP in Office365
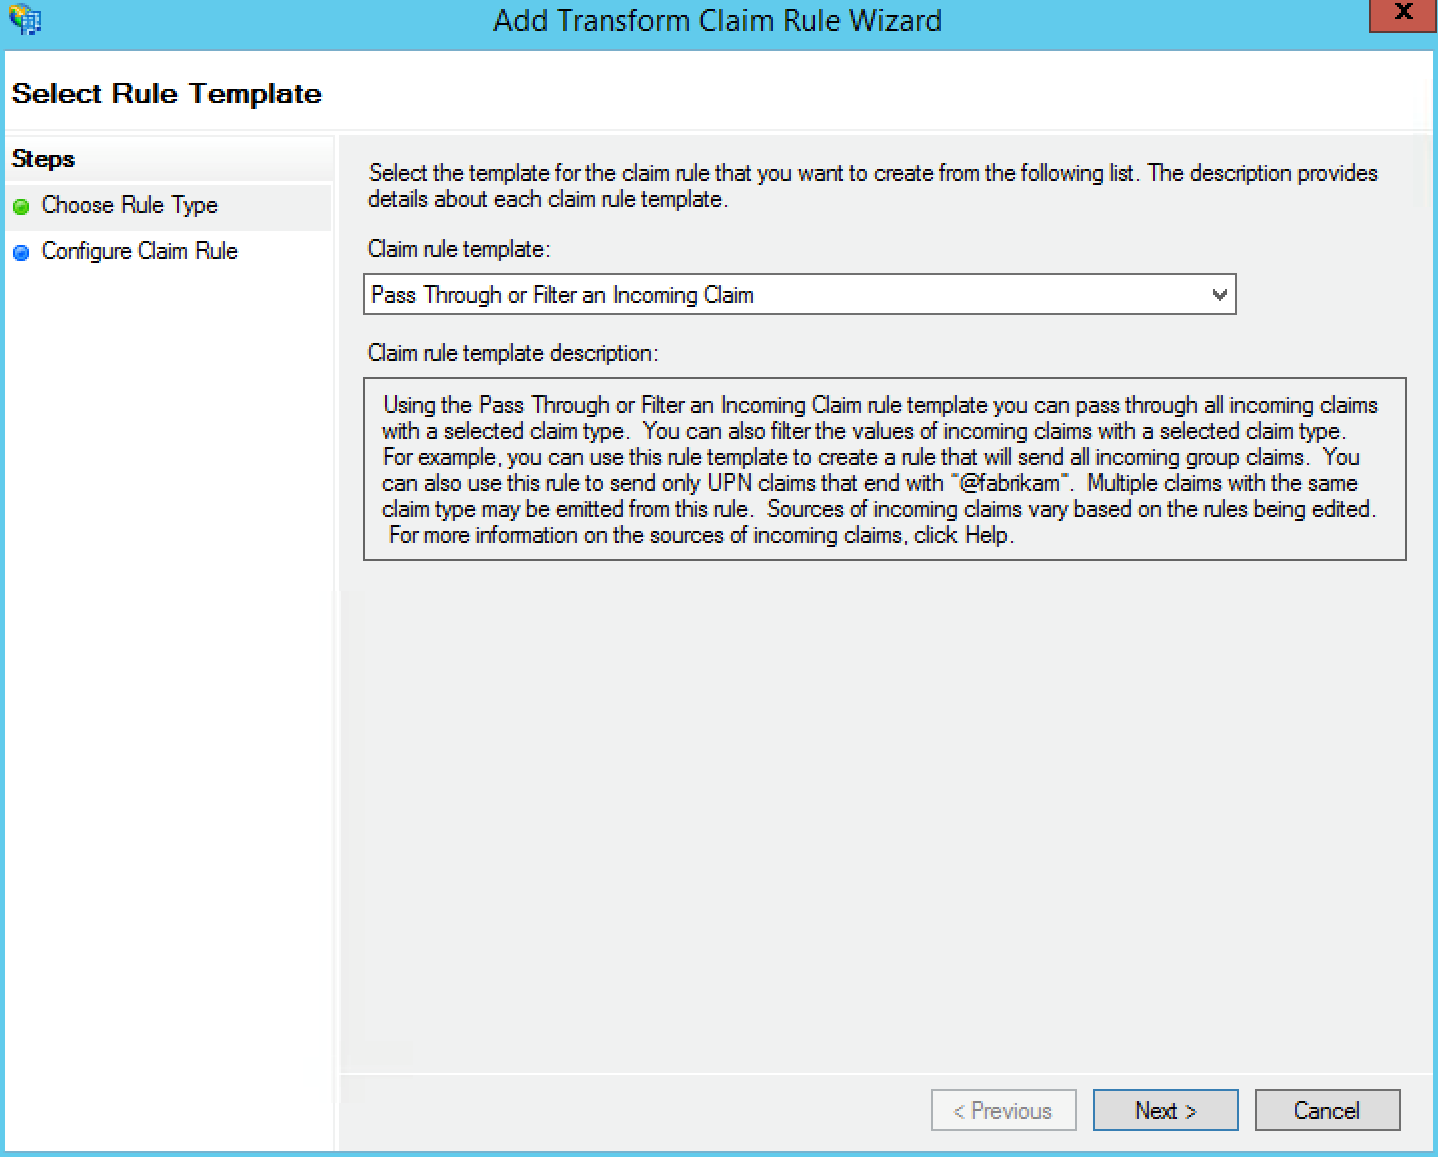
3.Select "Pass Through or Filter an Incoming Claim" as Claim rule template.
4.Click "Next"
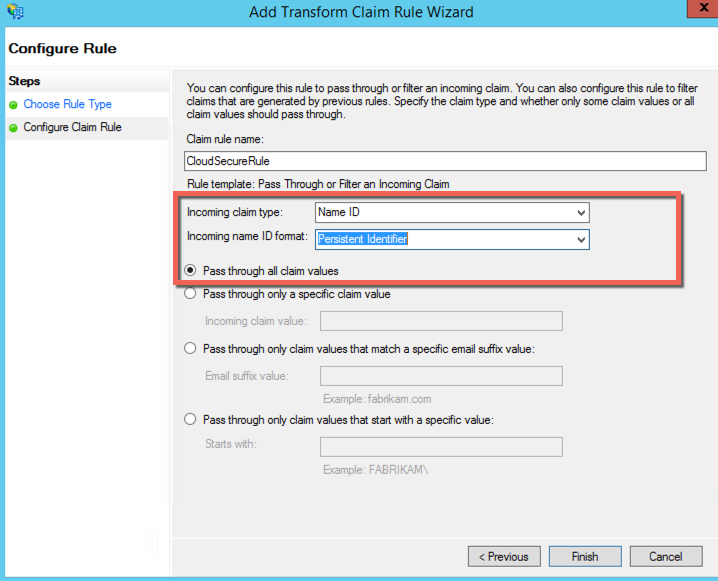
5.Provide "Claim rule name"
6.Select Incoming Claim type as "Name ID" and Incoming name ID format as "Persistent Identifier"
7.Select "Pass through all claim values"
8.Click Finish
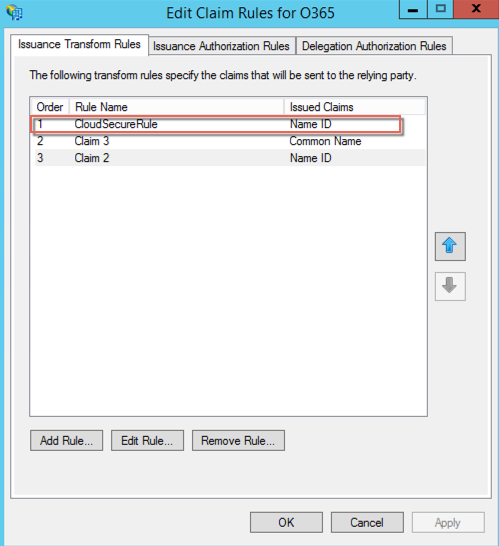
9.Click on "Up arrow" on right side of the screen and move "CloudSecureRule" above the existing rules
10.Select "OK"
11.With all the above configurations, Cloud Secure is successfully added as "Claims Provider" in ADFS. When the user access Office365 services then a login page prompts up asking user to select either "ADFS" or "Cloud Secure" for authentication.
12.Select "Cloud Secure" to get Secure Single Sign-on experience with existing VPN connection.
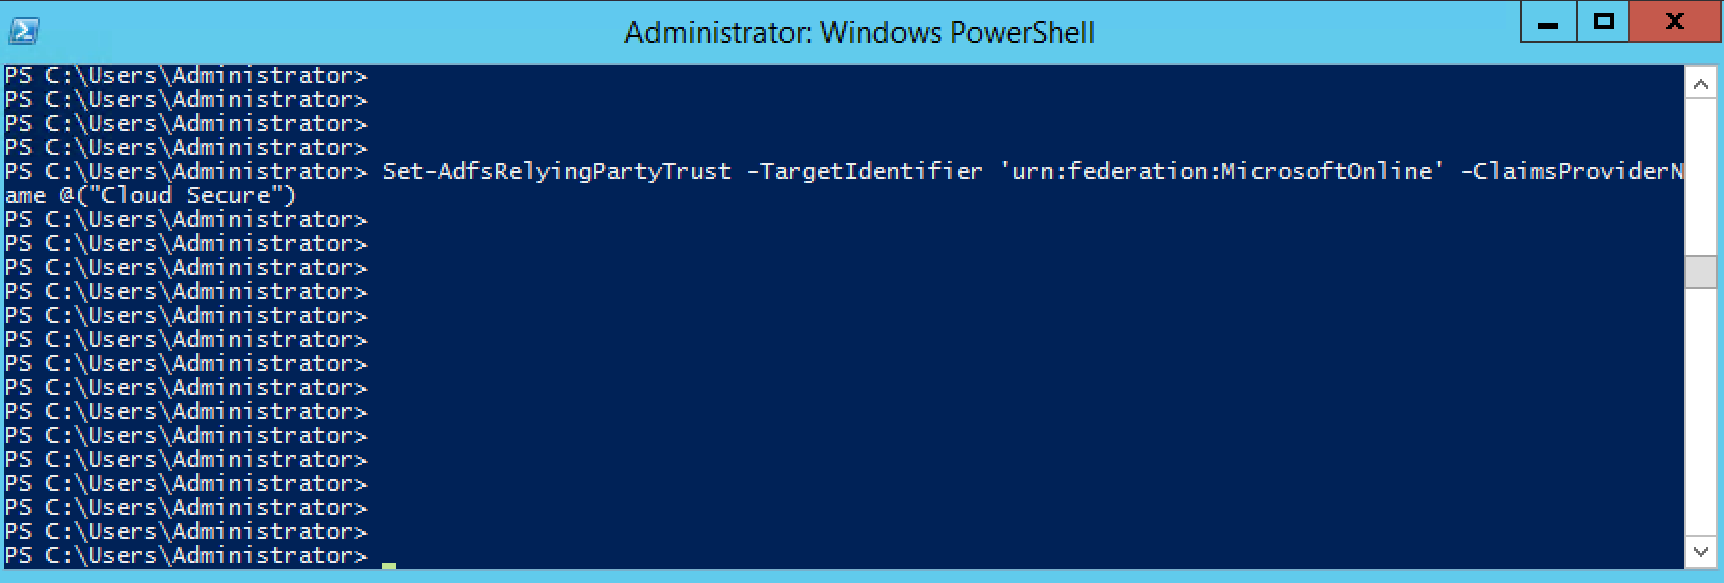
13.To avoid the additional selection page and use only Cloud Secure for Office 365 authentication federation, Launch "Windows PowerShell" and give the following command:
•Set-AdfsRelyingPartyTrust -TargetIdentifier 'urn:federation:MicrosoftOnline' -ClaimsProviderName @("Cloud Secure")
Enable Relay State for Idp Initiated Single Sign-on
In IdP initiated scenario, Ivanti Connect Secure triggers SAML assertion to ADFS when the user clicks on ADFS bookmark. However, user is not redirected to Office 365 portal, as ADFS is not aware of where the user should be redirected further. Below configuration settings enables ADFS service to relay the SAML assertion from ADFS to target cloud service
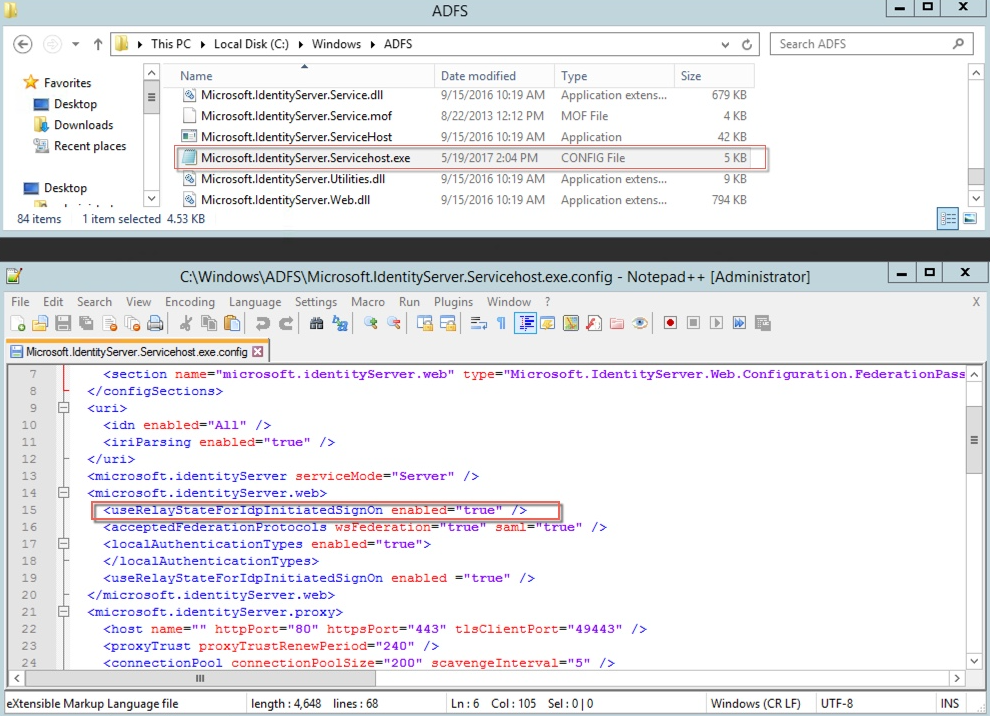
1.Go to C:\Windows\ADFS
2.Open the file Microsoft.IdentityServer.Servicehost.exe.config
3.Insert <useRelayStateForIdpInitiatedSignOn enabled="true" /> under the section <microsoft.identityServer.web>
Ivanti Connect Secure Configuration
This section outlines the configurations for enabling Ivanti Connect Secure as SAML Identity Provider and configuring ADFS as Service Provider in Ivanti Connect Secure.
Basic Role, Realm and VPN configurations are not covered in this guide.
For basic configurations details, refer Cloud Secure Administration Guide > Configurations > Basic Configurations (Mandatory)
Ivanti Connect Secure configurations include:
•Enabling and configuring SAML in Ivanti Connect Secure.
•Adding ADFS metadata.
•Configuring ADFS as Service Provider.
Download/Upload ADFS metadata
After configuring and enabling Cloud Secure in ADFS, it gives metadata file. This file should be uploaded in Ivanti Connect Secure.
Download the AD FS server metadata file by navigating to this URL.
https://<ADFS FQDN>/FederationMetadata/2007-06/FederationMetadata.xml
Configure ADFS as Service Provider
SAML allows cloud services to delegate user authentication to IdP. The IdP can also delegate the authentication to another IdP, which is called IdP federation.
To add ADFS as third-party IdP provider:
1.Click Add New and select the Third-party IdP as Microsoft ADFS
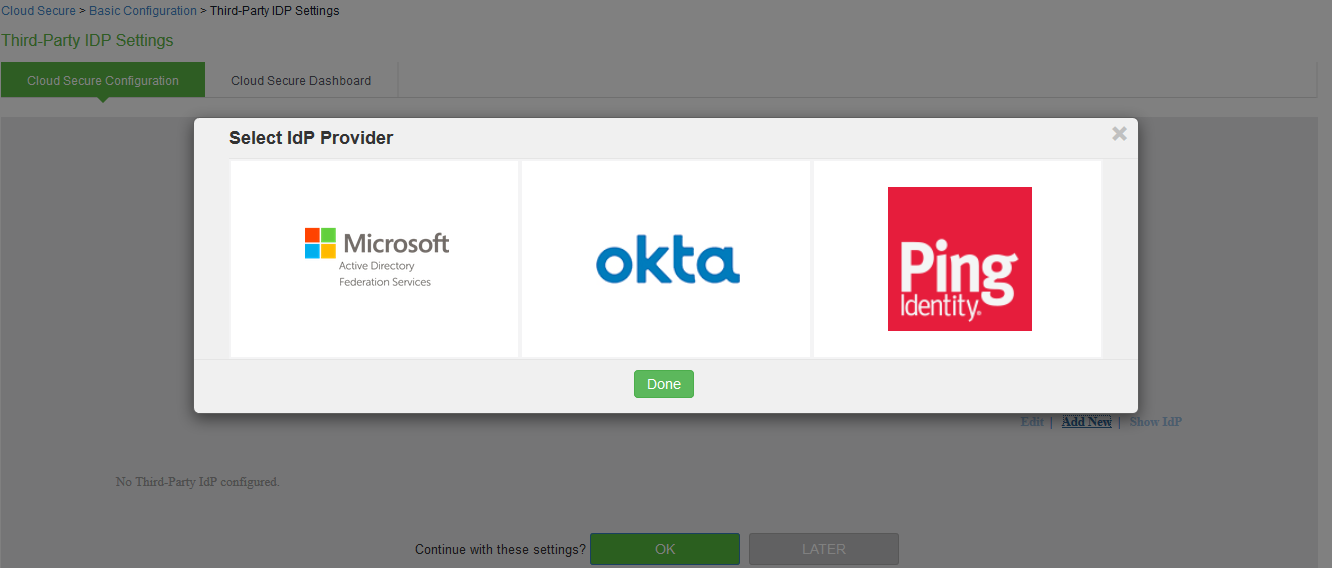
2.Click Done
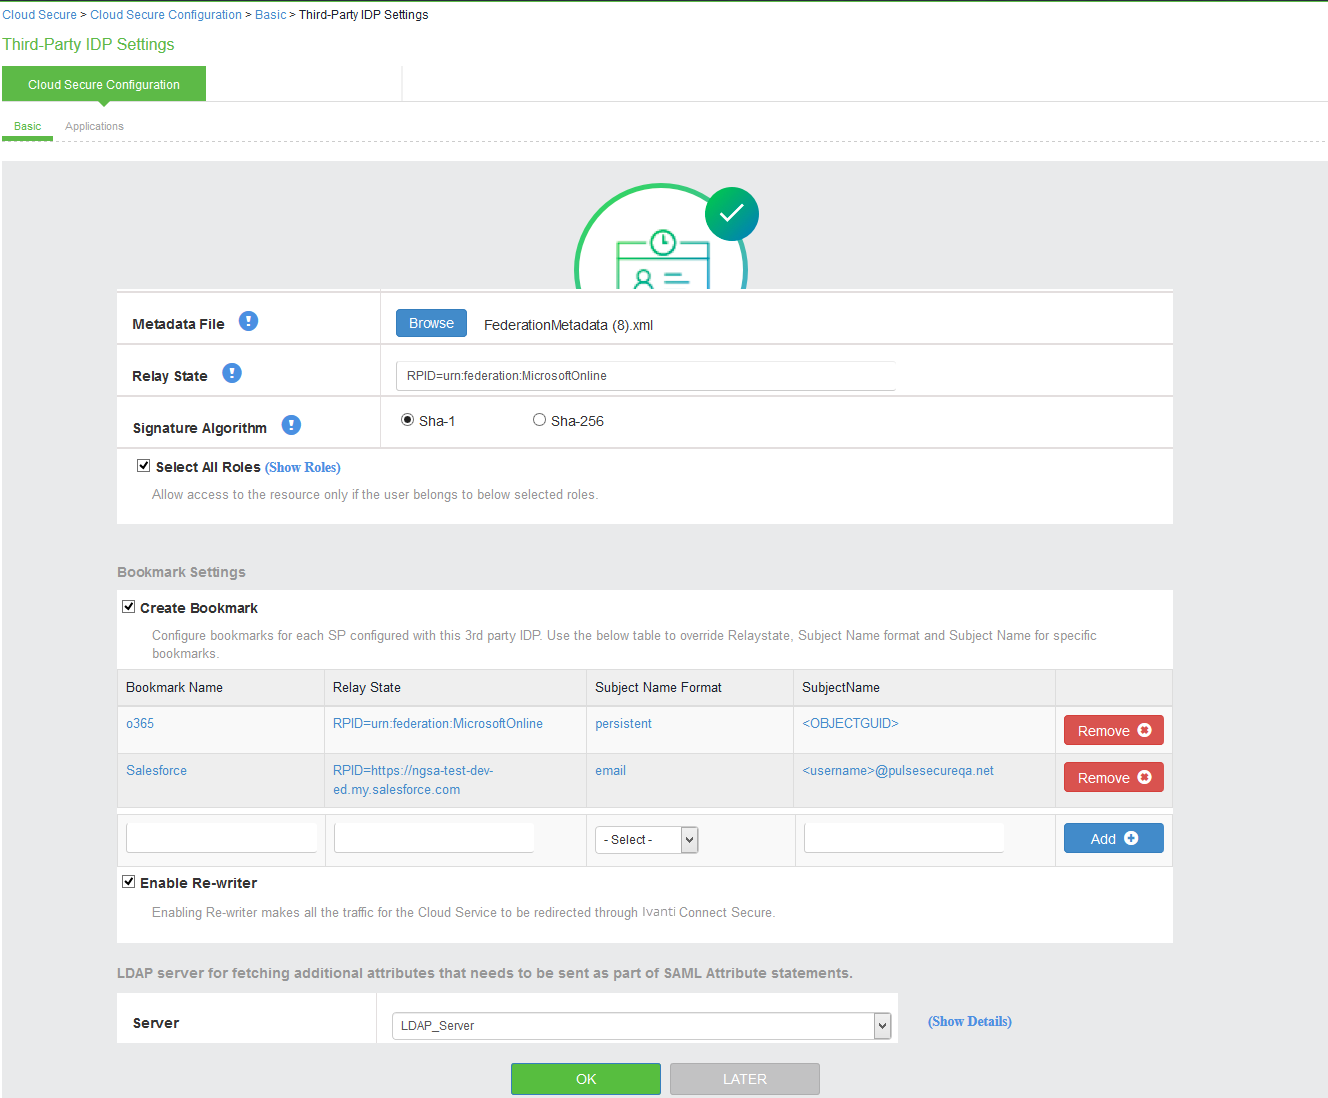
3.Under User Identity, select the Subject Name format
4.Enter the Subject Name
5.Click Browse and upload the metadata file.
6.Enter the relay state.
7.Set the signature algorithm to Sha-1 or Sha-256.
8.Select the desired roles.
9.Under Bookmark settings, enable the checkbox for Create Bookmark to configure bookmarks for each SP configured with the third-party IDP.
•You can configure multiple bookmarks for each SP configured with the Microsoft Active Directory Federation Service (ADFS) server.
•Enter the bookmark name.
•Enter the relay state.
•Enter the subject name format.
•Enter the subject name.
•Click Add.
10.Enable the checkbox Enable Re-writer to redirect all the Cloud Secure traffic through Ivanti Connect Secure.
11.Configure the LDAP server for fetching the additional details.
12.Click OK.
Click Show IdP to view the details of the configured Third-Party IdP servers.