Deploying Ivanti Connect Secure on Azure using Azure CLI
Before proceeding with the deployment, refer Upload Ivanti Connect Secure Virtual Appliance Image to Azure Web Portal.
1.Download and Install Azure CLI from https://azure.github.io/projects/clis.
2.Visit www.pulsesecure.net and download the ics-azure-psa-v-<releaseno>-<buildno>-package.zip file.
3.Unzip the file and look for the ics-3-nics.zip file. Unzip the file to get azuredeploy.json
4.Ensure that parameters section has correct default values:
•ICS Storage Account Name: Storage account name where the Ivanti Connect Secure Virtual Appliance image is available
•ICS Storage Account Resource Group: Resource group where the Ivanti Connect Secure Virtual Appliance image is copied
•ICS Image Location URI: URI to the Ivanti Connect Secure Virtual Appliance Image
•ICS VM Name: Name of the Ivanti Connect Secure Virtual instance
•ICS Config: Provisioning parameters in an XML format. Refer “Ivanti Connect Secure Provisioning Parameters”
•DNS Label Prefix Ext: Prefix for the external interface DNS label
•DNS Label Prefix Mgmt: Prefix for the management interface DNS label
•Vnet Address Space: Virtual network address space
•Internal Subnet: Subnet from which the Ivanti Connect Secure internal interface needs to lease IP
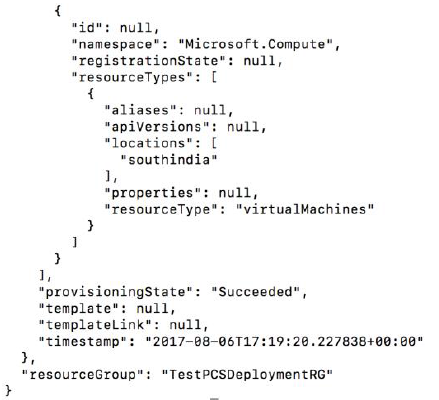
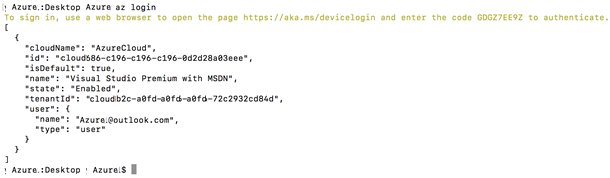
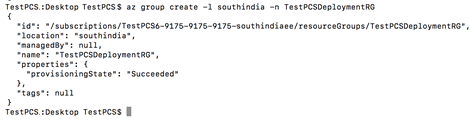
5.To deploy Ivanti Connect Secure using Azure CLI, run the following commands
$ az login
$ az group create -l <location> -n <resource group name>
$ az group deployment create -g <resource group name> --template-file <json file name>
For example:
$ az login
$ az group create -l southindia -n TestPCSDeploymentRG
$ az group deployment create -g TestPCSDeploymentRG --template-file azuredeploy.json