Deploying Ivanti Connect Secure on Azure Marketplace
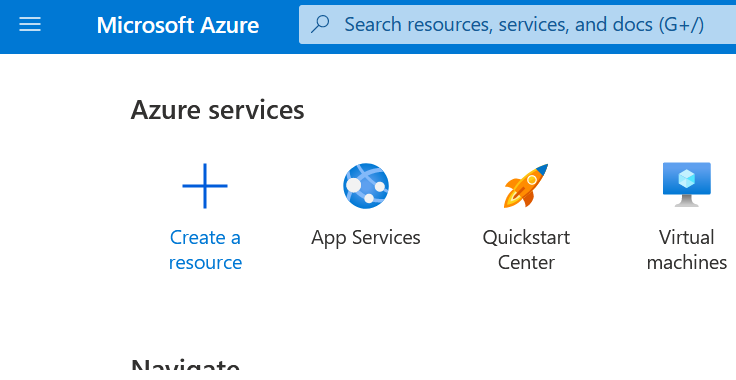
1.Log into Azure portal and navigate to Azure Marketplace by clicking Create a resource.
2.Search with keyword Ivanti Connect Secure.
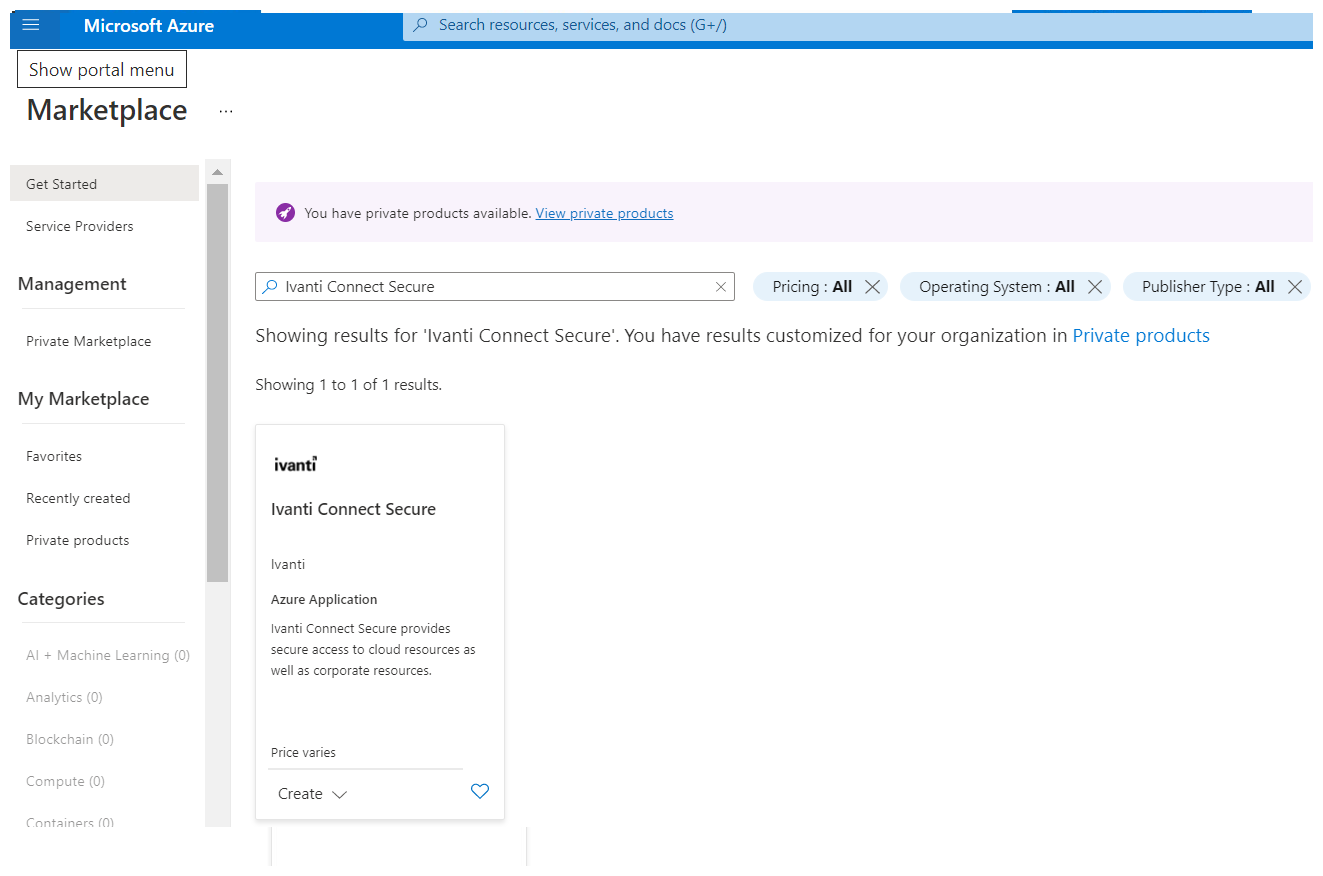
Azure Marketplace contains the following two Ivanti Connect Secure SKUs:
Ivanti Connect Secure-BYOL 2 NIC
Ivanti Connect Secure BYOL 3 NIC
3.Select Ivanti Connect Secure BYOL 3 NIC and click Create. In this section, 3-NICs model is chosen as example.
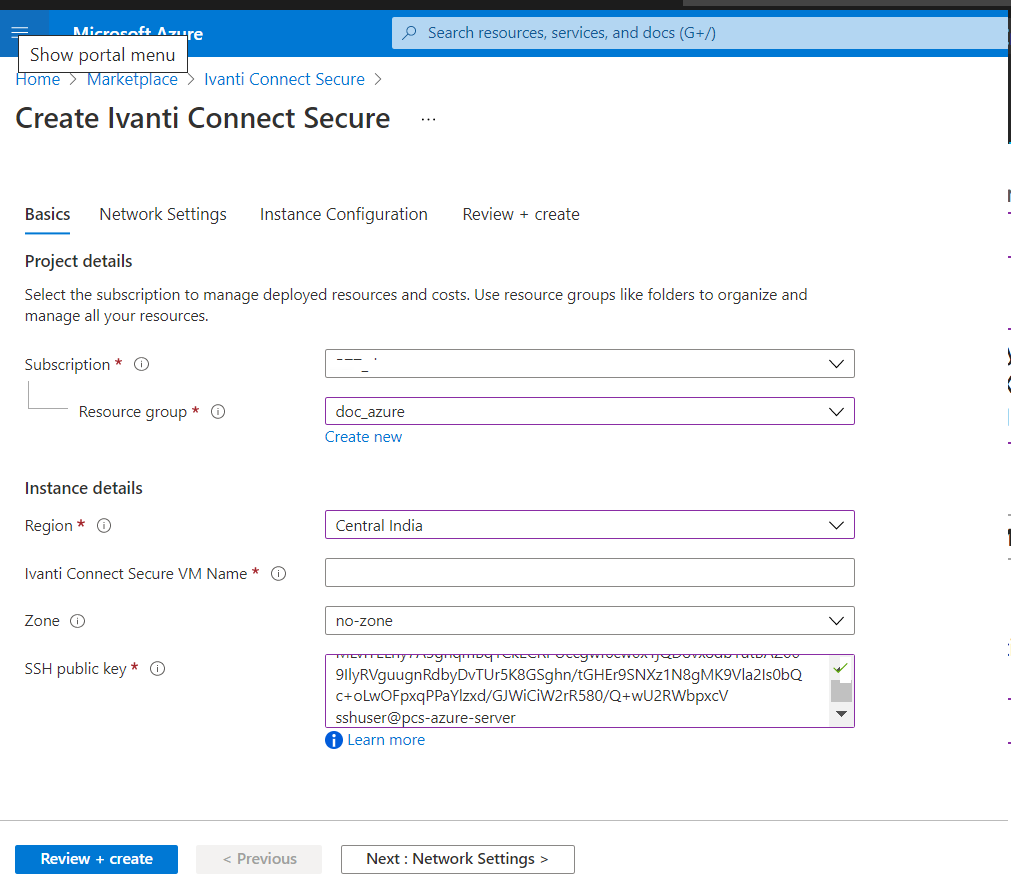
Basic Configuration
4.In the Basic Configuration step, enter the following parameters and click Next : Network Settings:
•Select the Region and Zone
•VM name: Name of the Ivanti Connect Secure to be deployed. Virtual name can be only lower-case letters and numbers, and must be 1-9 characters long.
•SSH public key: Copy and paste an RSA public key in the single-line format or the multi-line PEM format. This key is used to access ICS via SSH. The SSH keys are generated using ssh-keygen on Linux and OS X, or PuTTyGen on Windows. For details about generating the SSH key pairs, refer:
For Windows: https://docs.microsoft.com/en-us/azure/virtual-machines/linux/ssh-from-windows
For MacOS and Linux: https://docs.microsoft.com/en-us/azure/virtual-machines/linux/mac-create-ssh-keys
•Resource group: Name of the resource group to be deployed.
Network Settings
5.In the Network Settings configuration step, enter the following parameters and click Next: Instance Configuration
•Virtual Network:
•Select an existing virtual network from the list or
•Create a new virtual network. Specify the virtual network name and the address space.
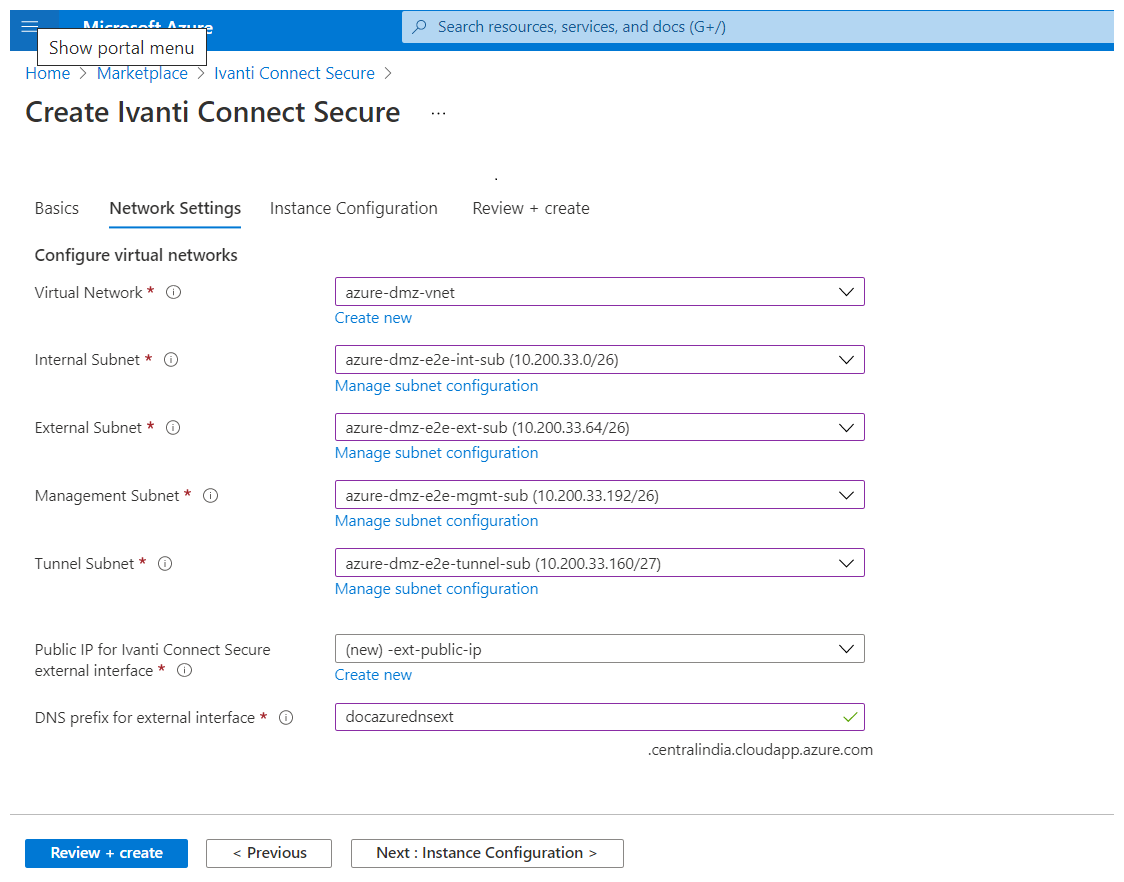
•Subnets: Four subnets – external, internal, management and tunnel subnets - are auto-populated with names and address prefix values. Make any changes if required.
•Public IP name and DNS prefix for the External and Management interfaces are auto-populated. Make any changes if required.
In a 2-NICs model, Public IP name and DNS prefix name for the External and Internal interfaces are auto-populated
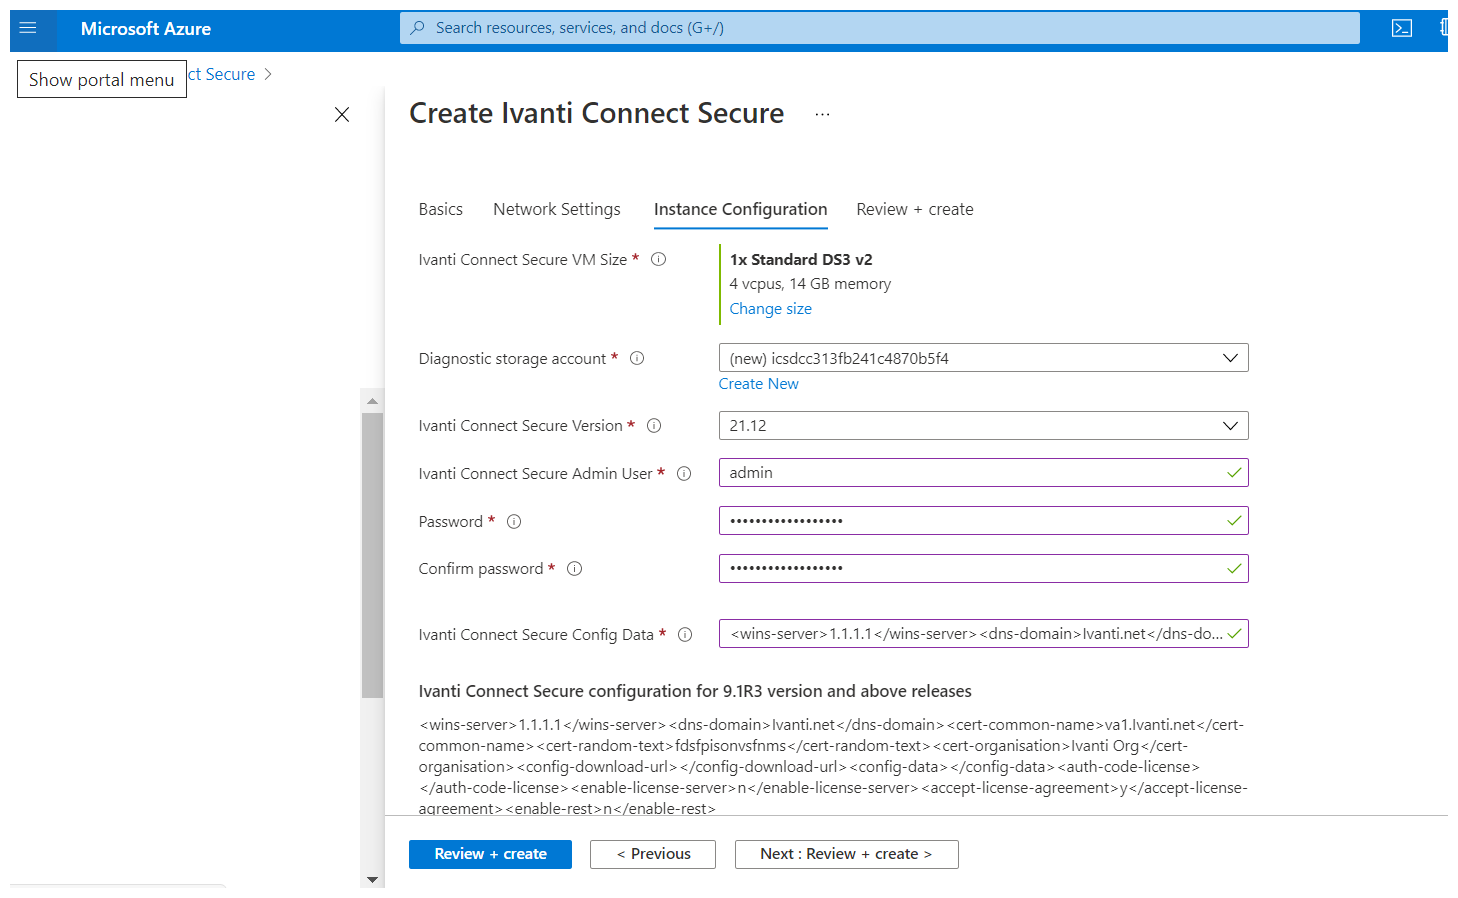
Instance Configuration
6.In the Instance Configuration step, enter the following parameters:
•Ivanti Connect Secure VM Size: Specify the size of VM. By default, 1x Standard DS3-v2 is set for 3-NICs model and 1x Standard DS2-v2 is set for 2-NICs model.
•Diagnostic storage account: Storage account for the Virtual Machine’s diagnostics
•Ivanti Connect Secure Version: Enter the version
•Ivanti Connect Secure admin and Password: Enter the admin credentials
•Ivanti Connect Secure Config Data: Provisioning parameters in an XML format. Refer the section ‘‘Ivanti Connect Secure Provisioning Parameters’
Ensure that the attribute “accept-license-agreement” in pulse-config is set to “y”.
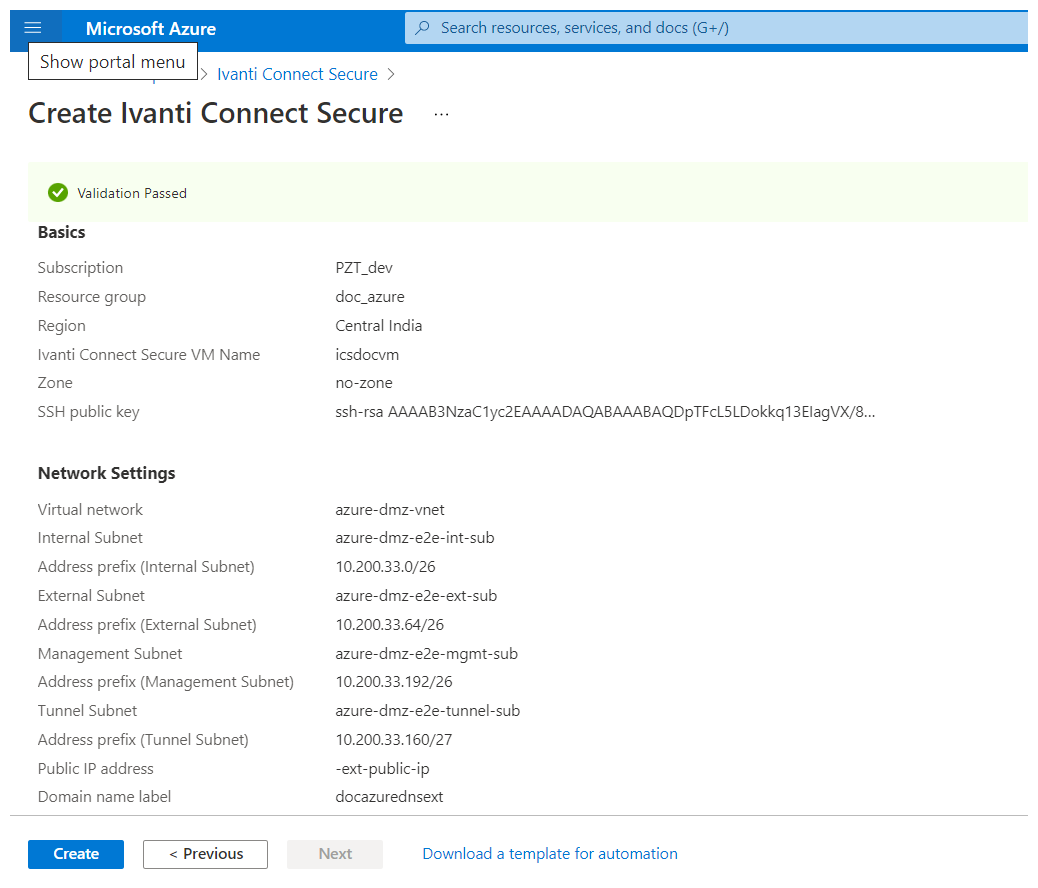
Summary Step
7.In the Summary step, once the final validation is complete, click Create.
Configuration Validation
8.Wait for a few minutes while it creates all the resources. This completes deploying ICS on Azure Marketplace.
For L3 connectivity, make sure that "<ICS VM name>-UDR" is properly associated with the subnet where Backend/Protected resources are connected. For example:
- If ICS internal, external and management interfaces are connected to subnet1, subnet2 and subnet3 respectively and Backend/Protected resources are in subnet5, then we need to associate <ICS VM name>-UDR to subnet5.
- If Backend/Protected resources are in Datacenter or in different virtual network, then associate <ICS VM name>-UDR to GatewaySubnet.