Configuration on ICS
Create an OAuth Server on ICS using the ICS Admin console
- Log in to the ICS Admin console as admin and navigate to Authentication > Auth Servers.

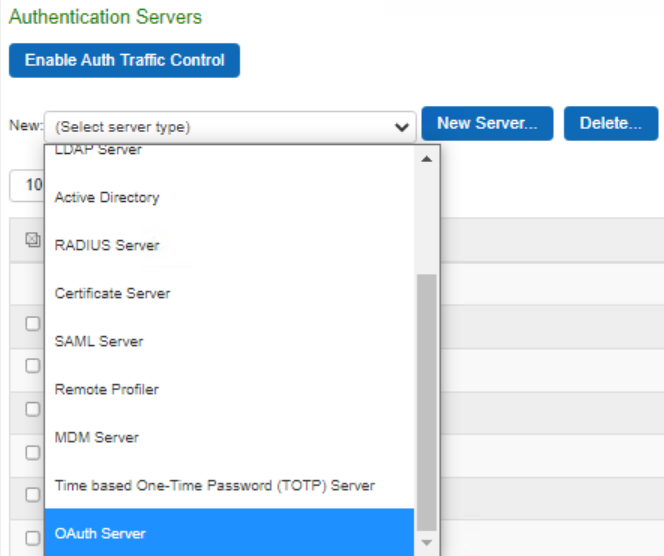
- From the dropdown list, select OAuth Server and click New Server.

- Provide all the required parameters. Select Force Authentication to re-authenticate end users though a valid session is available at OAuth Provider.
Select Manual to manually download the OAuth provider metadata from well-known openid URL in JSON format and upload to ICS.
Select Dynamic to enter the well-known openid URL of the OAuth provider. ICS automatically fetches the OAuth Provider metadata from the location.

-
To enable traffic segregation, under Authentication > Auth.Servers enable Traffic decoupling at Auth server level. Select the OAuth server under Port Selection, choose an interface to route interactions between ICS and OAuth Provider.
- To create a new user realm, navigate to Users > User Realms > New User Realm.

- Provide required Names and from the drop down Auth Servers, choose the OAuth Server created in the above Step.

- Save Changes and complete the rest of the steps for Role mapping rules.
- To create a Sign in policy, navigate to Authentication > Signing In > Sign-in Policies.

- Click New URL to create a New Sign-in policy.

- Provide the required fields like Name and then from the Available Realms list in left column, choose OAuth Realm Created in the Step above and click Add.

- Click Save Changes.