Configuring IPS for Sponsored Guest Access
This section describes the configuration that is required for configuring Sponsored Guest access.
- Enable “Sponsored Guest Access" checkbox under Guest Authentication Server.
- Create a list of Sponsor's names in Guest Authentication Server.
- Create Role mapping rule in "Guest Admin" realm to point to "Sponsor" role for the list of sponsor's.
- If sponsor reside in AD, then AD needs to be selected as authentication server instead of "Guest Authentication" under "Guest Admin" realm.
- As part of default configuration, "sponsor" role is created with enabled sponsor management rights. This role can be used for sponsor approved guest access.
To configure IPS for Sponsored Guest access:
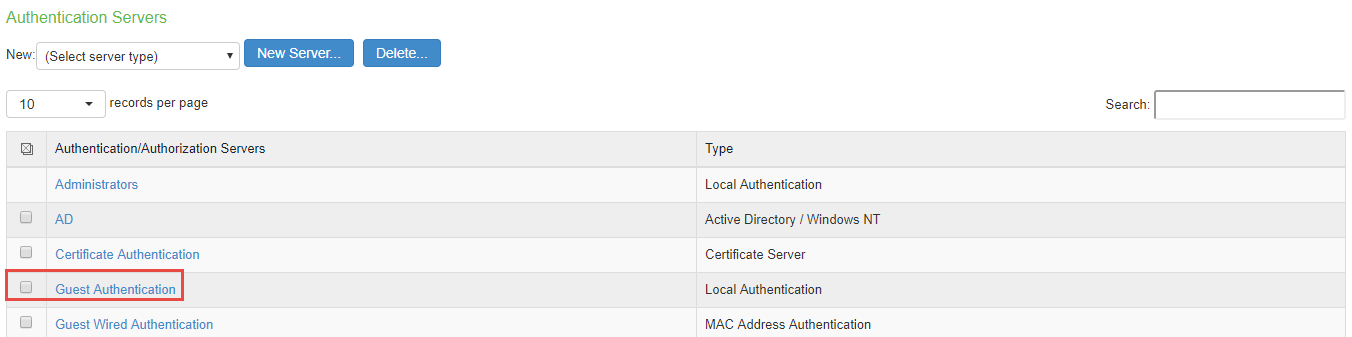
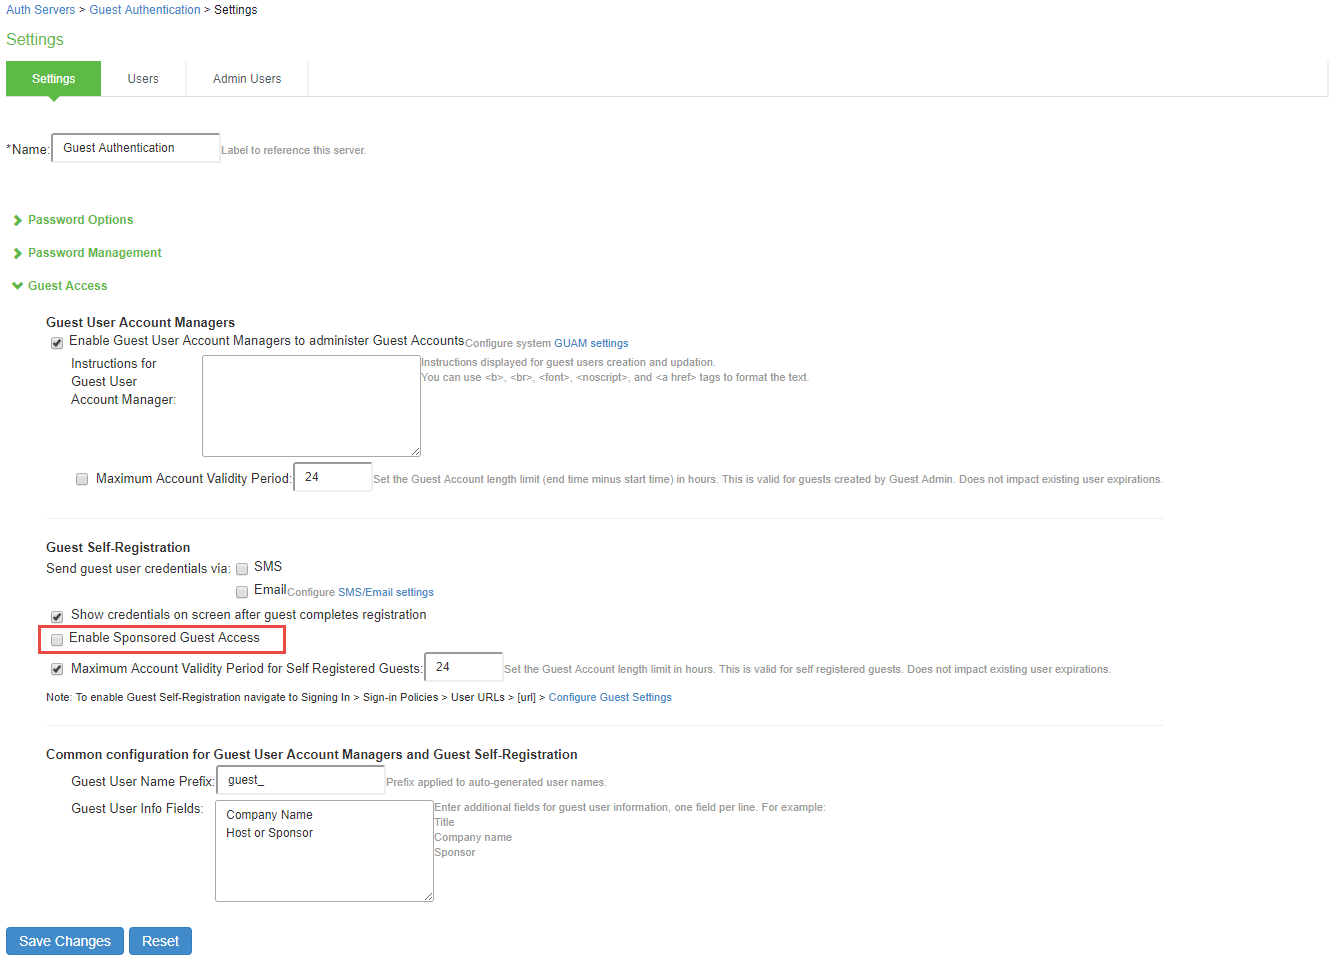
- Select Authentication > Auth. Servers. The Authentication Servers screen appears. Click Guest Authentication available by default to view the settings.
- Select Enable Sponsored Guest Access.
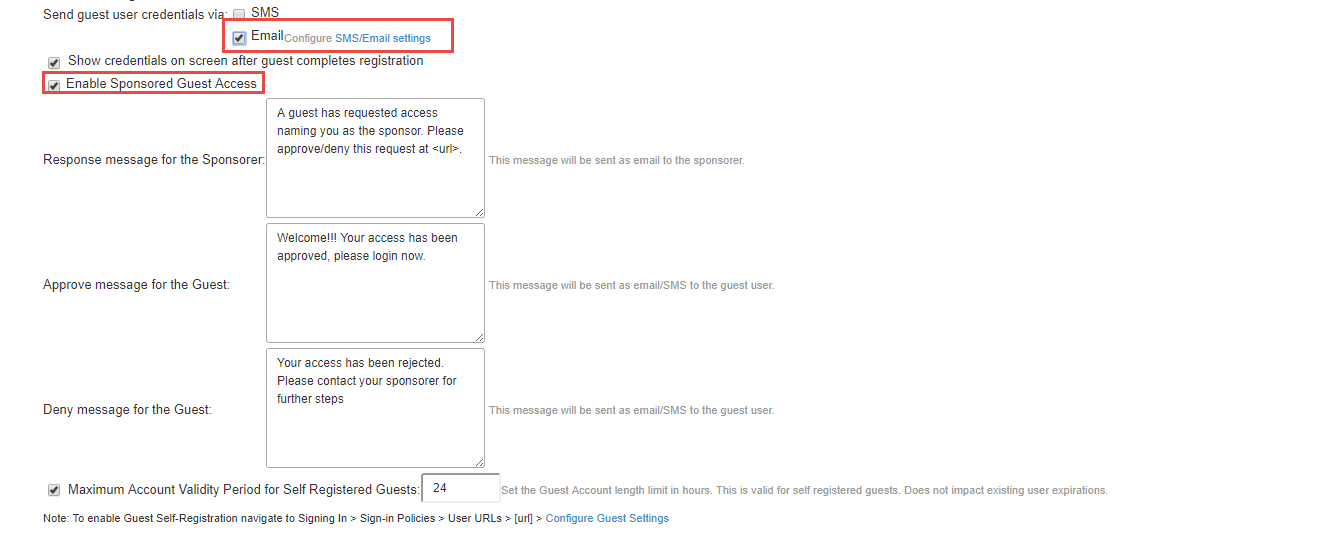
- Select Email to send guest user credentials through email. You can make the necessary changes and click Save Changes.
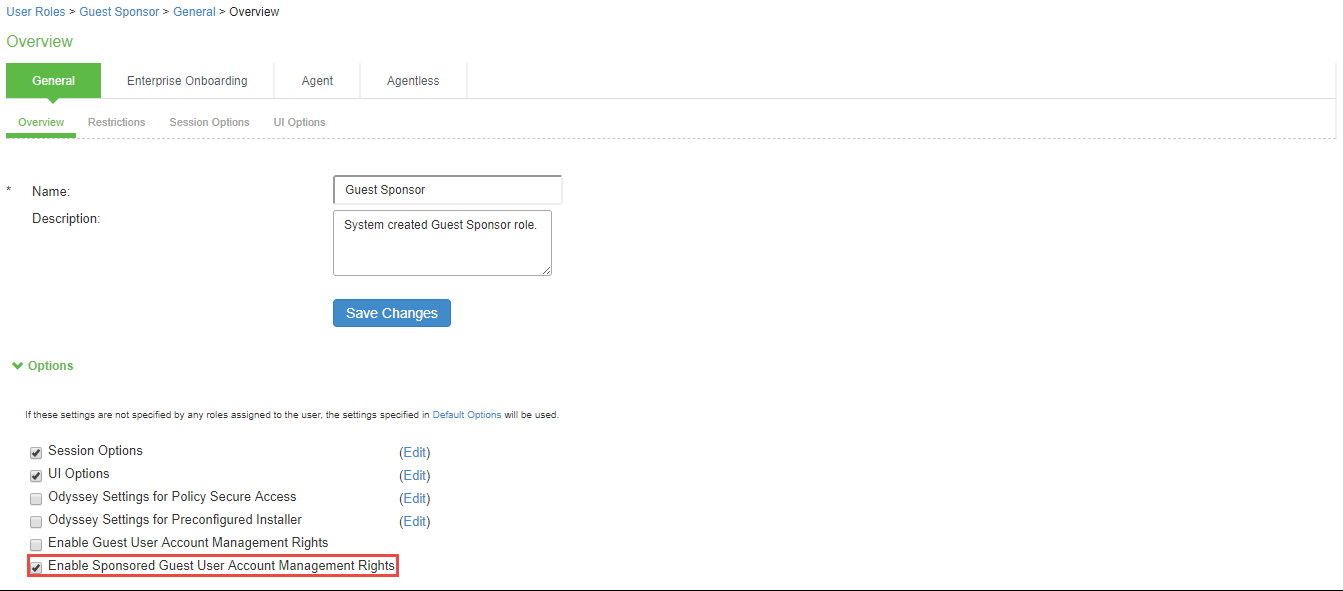
- Select Users > User Roles. The User Roles page appears.
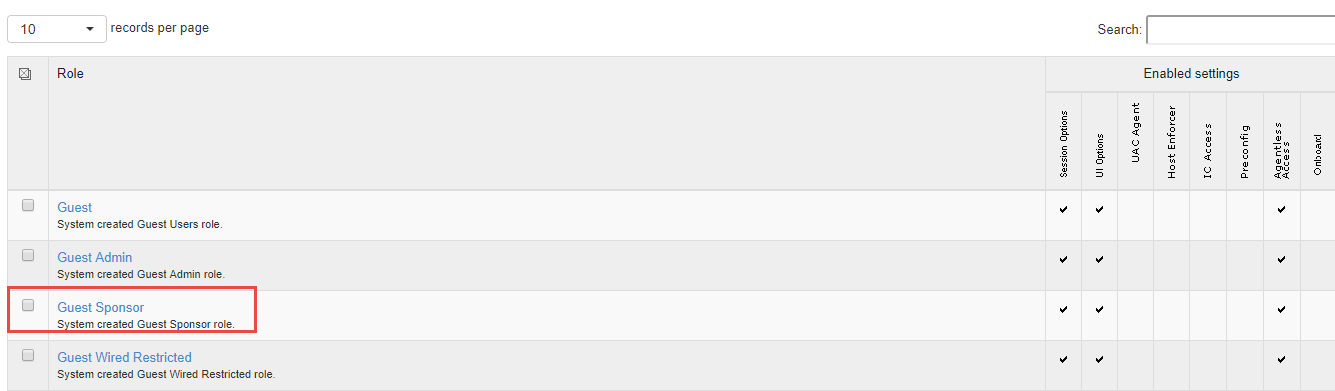
- Click Guest Sponsor user role available by default. Select Enable Sponsored Guest User Account Manager Rights.
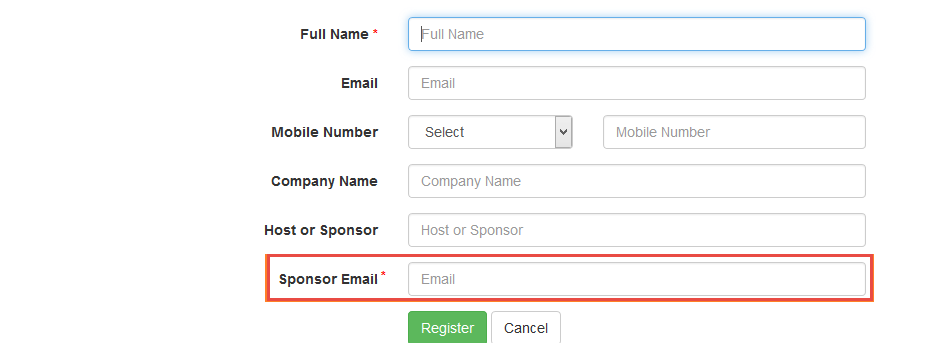
- Once you configure Sponsor Guest Access. You can see the Sponsor email entry in the Guest Self registration page.
- Select Authentication > Signing In > Sign-in Policies and use the default */guestsponsor/ sign-in policy.
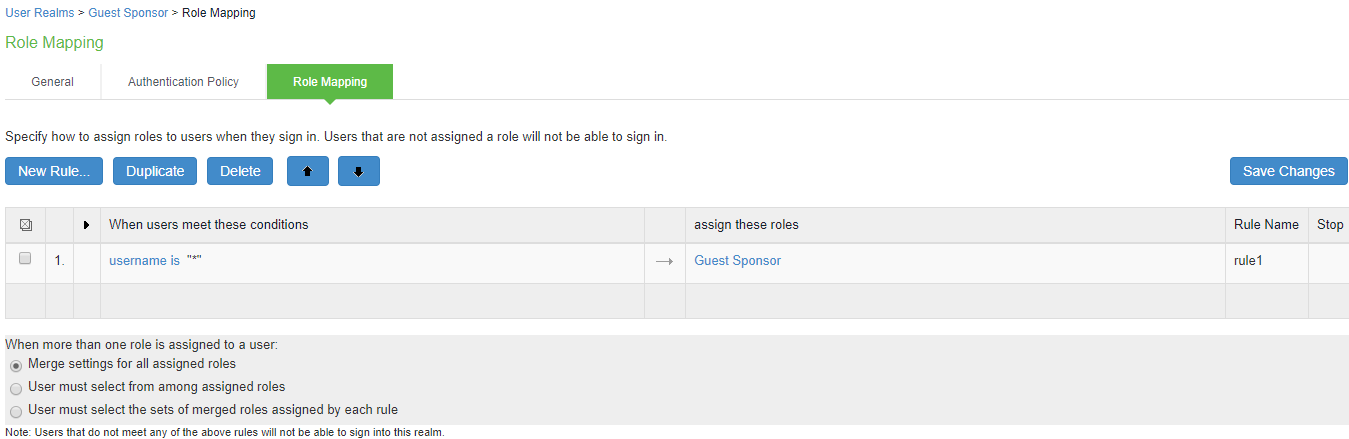
- Select Users > User Realms. Click the Guest Sponsor Realm and specify how to assign the role. Click New Rule to add a new role and then click Save Changes.
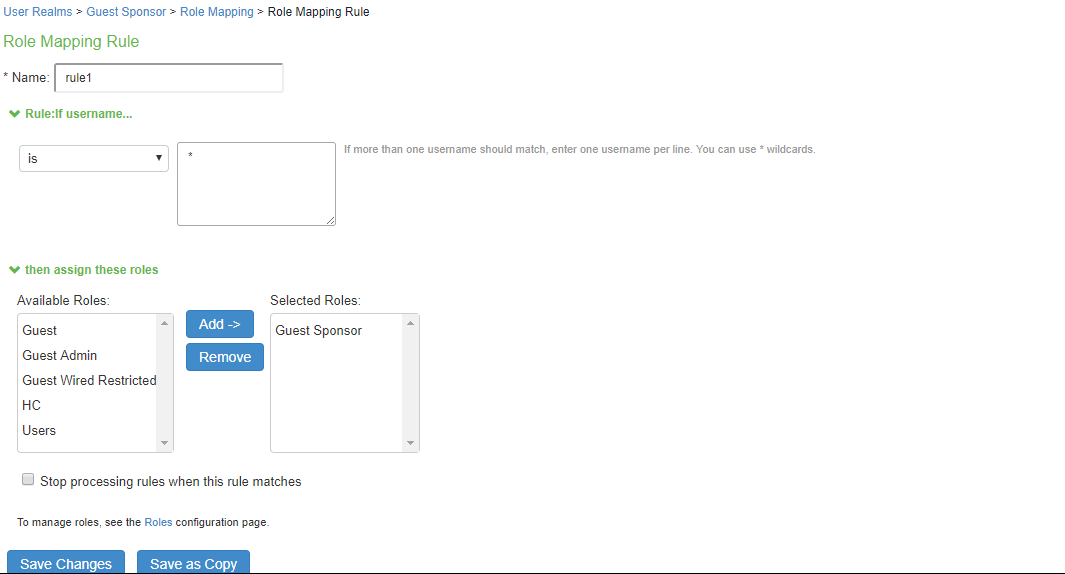
- Select User Realms > Guest Sponsor > Role Mapping and make necessary changes and click Save Changes to save the settings.
Enabling Onboarding Feature
Enterprise onboarding feature provides automated onboarding of BYOD clients on premises (WLAN & LAN). IPS enables personal devices to be automatically configured for corporate access.
To enable this feature:
- Select Authentication > Signing In > Sign-in Policies.
The Sign-in Polices tab displays the available sign-in policies. - Under the User URLs section select the default sign-in policy.
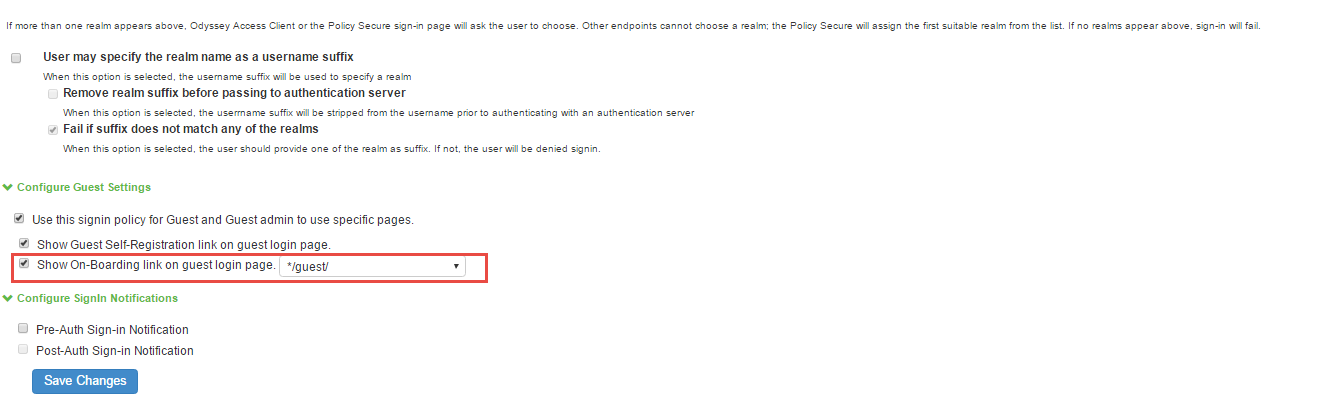
- Select the Show On-Boarding link on guest log in page check box. A drop-down list appears next to it.
- Select a required URL.
- Click Save Changes to save the settings.
The Employees can onboard their device here link appears in an enterprise guest environment as shown in the following figure.

Localization
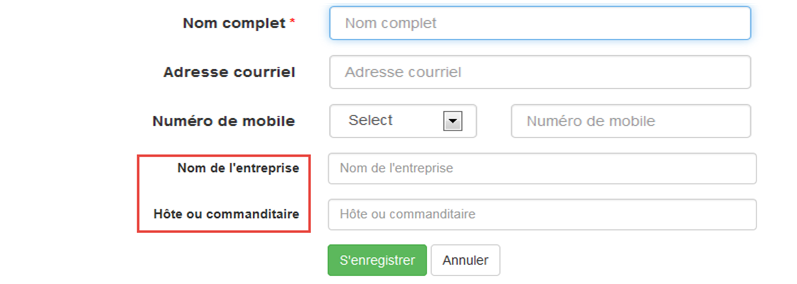
In a localized guest user environment when a user tries to register as a guest all the fields are displayed in that localized language, except the Company Name and Host or Sponsor fields which are displayed in English language.
French Language is used as an example.
To localize these two fields, an Admin user must enter the translated field names of Company Name and Host or Sponsor fields in the Guest Access Configurations section in IPS.
To make these changes:
Select Authentication > Auth.Servers. The Authentication Servers screen appears.
- Select a default Authentication Server to make the changes.
- The Settings tab of the Auth Server displays the settings.
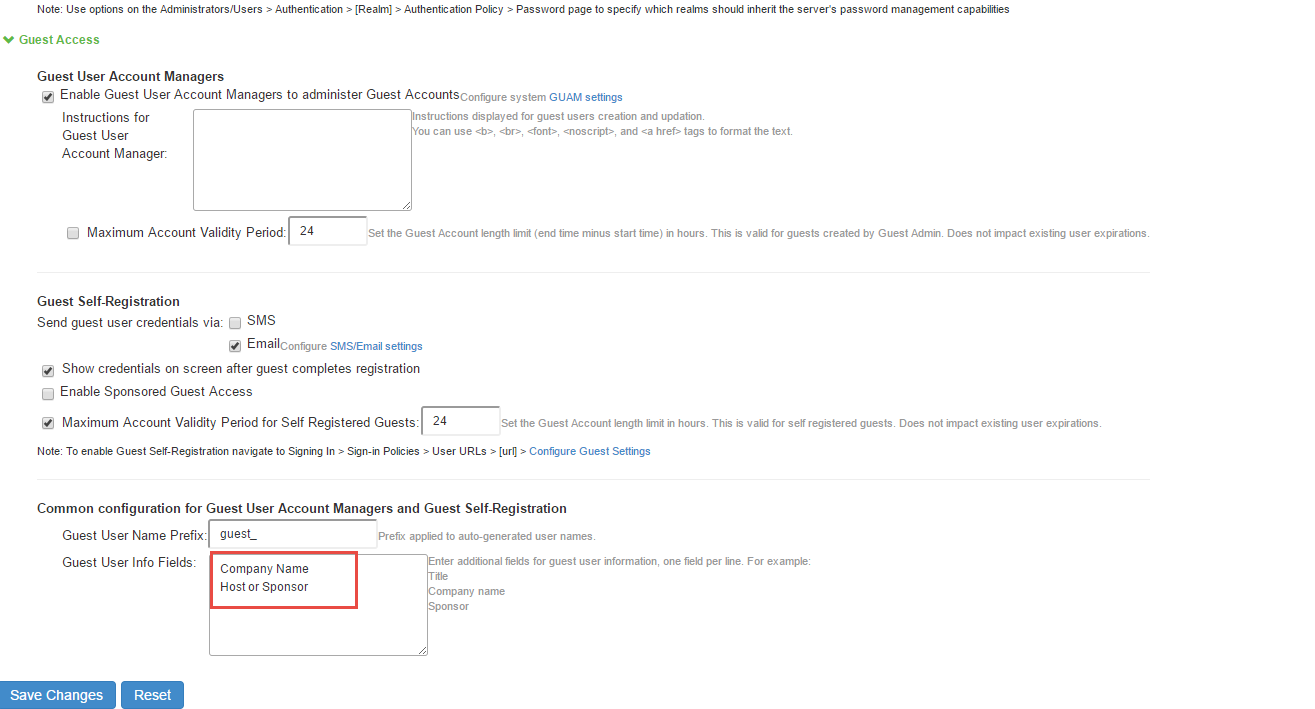
- In the Guest Access Configurations section, enter the translated field names of Company Name and Host or Sponsor fields in the Guest User Info Fields box.
- Click Save Changes to save the settings.
- In the enterprise guest environment when a guest tries to register, the Company Name and Host or Sponsor fields are displayed in the respective language.