Managing Sign-In Policies
This topic describes how to configure and manage user sign-in policies.
Enabling and Disabling Sign-in Policies
IPS provides an option to control the list of sign-in URL’s that can be used by the users for logging into the network. The Administrator can control the list of sign-in URL’s that are allowed for sign-in process using enable/disable functionality. Sign-in URLs that are disabled on Ivanti Policy Secure cannot be used by the users for connecting to the network.
To enable and disable sign-in policies:
- Select Authentication > Signing In > Sign-in Policies.
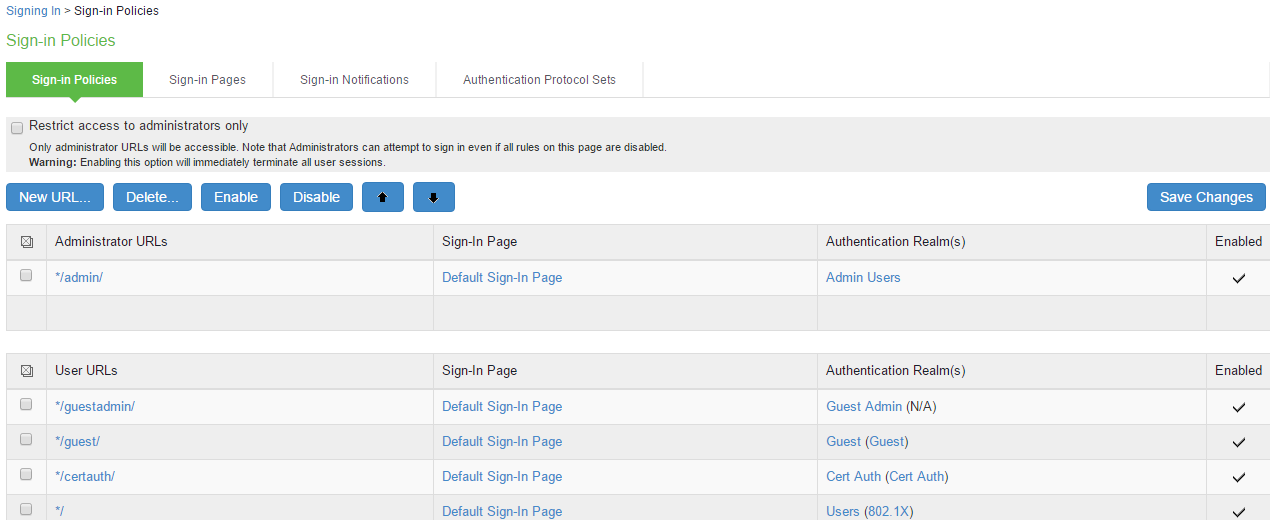
- Select the check box for the policy that you want to change then click Enable or Disable for enabling or disabling an individual policy.
- Select or clear the Restrict access to administrators only check box at the top of the page to enable or disable the policy or all user policies.
- Click Save Changes.
Specifying the Order of Evaluation
The IPS evaluates sign-in policies in the same order that you list them on the Sign-in Policies page. When it finds a URL that matches exactly, it stops evaluating and presents the appropriate sign-in page to the administrator or user. For example, for 2 administrator sign-in policies with different URLs:
- The first policy uses the URL */admin and maps to the default administrator sign-in page.
- The second policy uses the URL yourcompany.com/admin and maps to a custom administrator sign-in page.
If you list the policies in this order on the Sign-in Policies page, the system never evaluates or uses the second policy because the first URL encompasses the second one. Even if an administrator signs in using the yourcompany.com/admin URL, the system displays the default administrator sign-in page. If you list the second policy first, however, the system displays the custom administrator sign-in page to administrators who access the system using the yourcompany.com/admin URL.
Note that the system accepts only wildcard characters in the hostname section of the URL and matches URLs based on the exact path. For example, two administrator sign-in policies with two different URL paths:
- The first policy uses the URL */marketing and maps to a custom sign-in page for the entire Marketing Department.
- The second policy uses the URL */marketing/joe and maps to a custom sign-in page designed exclusively for Joe in the Marketing Department.
If you list the policies in this order on the Sign-in Policies page, the system displays Joe’s custom sign-in page to him when he uses the yourcompany.com/marketing/joe URL to access the system. He does not see the Marketing sign-in page, even though it is listed and evaluated first, because the path portion of his URL does not exactly match the URL defined in the first policy.
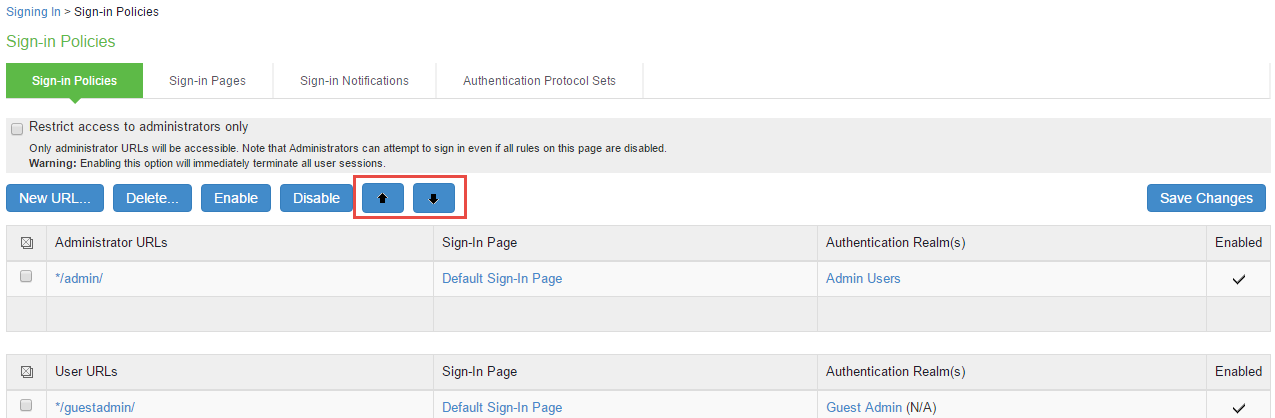
To change the order in which administrator sign-in policies are evaluated:
- Select Authentication > Signing In > Sign-in Policies.
- Select a sign-in policy in the Administrator URLs or User URLs list.
- Click the up or down arrow to change the selected policy’s placement in the list.
- Click Save Changes.