Policy Tracing
It is common to encounter a situation where the system denies a user access to the network or to resources, and the user logs a trouble ticket. You can use the policy tracing utility and log to determine whether the system is working as expected and properly restricting access, or whether the user configuration or policy configuration needs to be updated to enable access in the user’s case.
To create a policy trace log:
- Select Maintenance > Troubleshooting > Policy Tracing to display the configuration page.
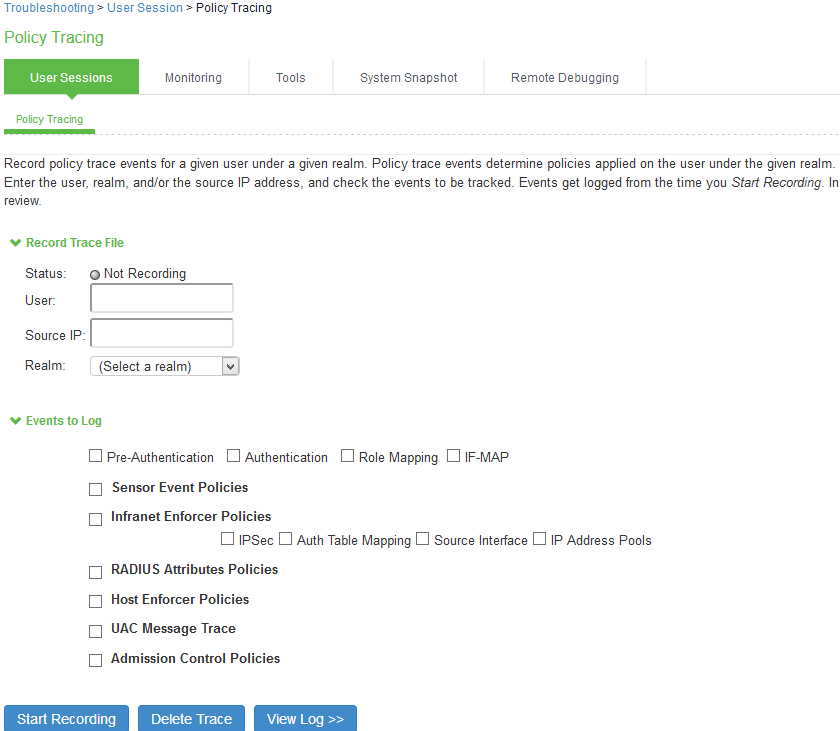
- Complete the configuration as described below.
Settings
Guidelines
Record Trace File
User
Specify the username to trace. If you are tracing anonymous access, you can use the asterisks wildcard character (*) because you might not know the internal username the system assigns to the next anonymous session.
Source IP
Specify the source IP address if you know it. If you are able to provide the source IP address, the policy trace log can include events that occur before the user ID is entered into the system.
Realm
Select the realm to trace.
Events to Log
Pre-Authentication
Logs events related to evaluation of realm rules.
Authentication
Logs events related to authentication.
Role Mapping
Logs events related to role mapping.
Infranet Enforcer Policies
Logs events related to Layer 3 Infranet Enforcer policies.
RADIUS Attributes Policies
Logs events related to Layer 2 802.1X access.
IPS Message Trace
Logs IPS messages.
Admission Control Policies
Logs events related to admission control policies.
- Click Start Recording.
The following figure shows the policy tracing page with the recording indicator.
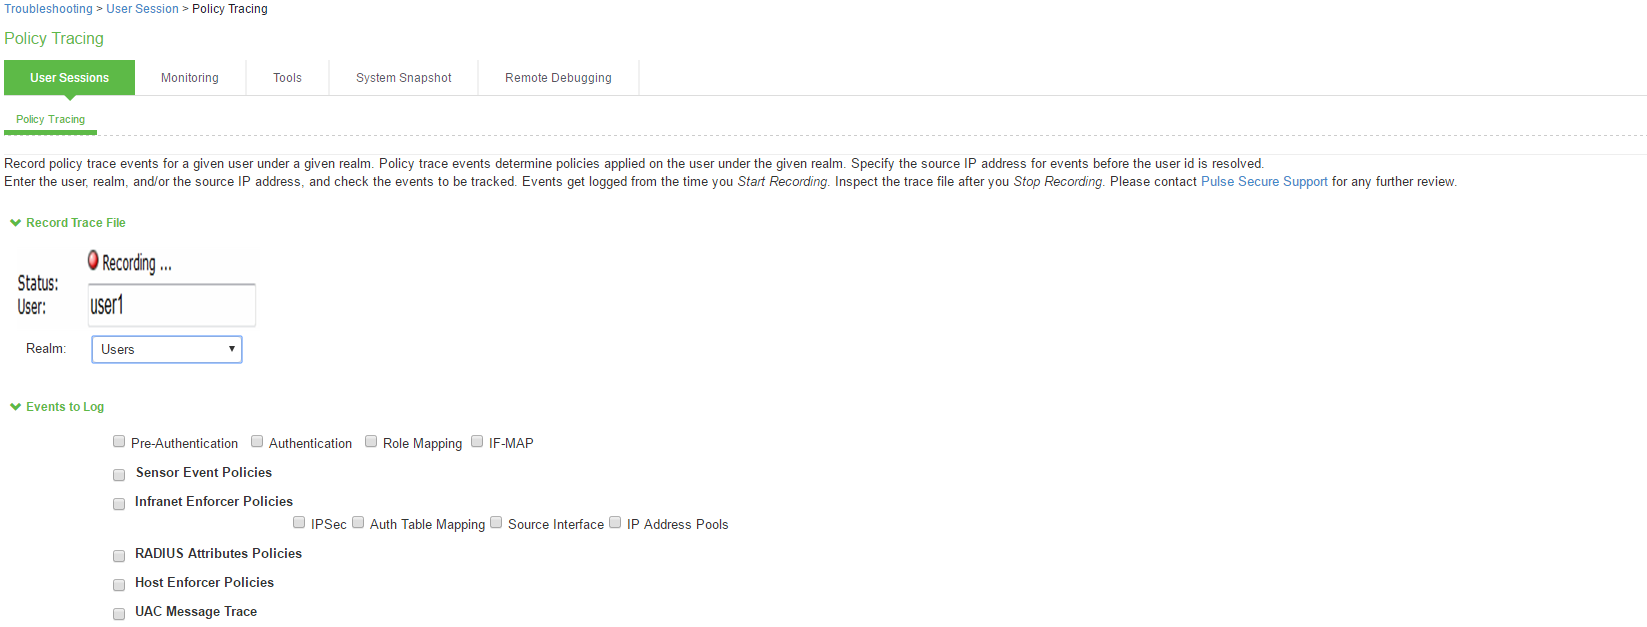
- Initiate the action you want to trace, such as a user sign in.
- Click View Log to display the policy trace results log.
- Click Stop Recording when you have enough information.
Table describes options for managing the policy trace results log file.
|
Control |
Guidelines |
|---|---|
|
Delete Trace |
Under Events to Log, click Delete Trace to clear the results displayed on this page. |
|
Update |
Specify a number of rows to display and click Update to change the number of rows that are displayed. |
|
Save Log As |
Click this button to save the trace results log to a file. This is useful particularly when you are working with the Ivanti Global Support Center to troubleshoot a case. |
|
Clear Log |
Click this button to clear the log file from the system. |