Deploying Applications Using Workspace ONE
Before you begin, ensure that the endpoints to which you want to deploy applications are enrolled with Workspace ONE.
Deploying Applications Using Workspace ONE on Android
To deploy Ivanti managed applications:
-
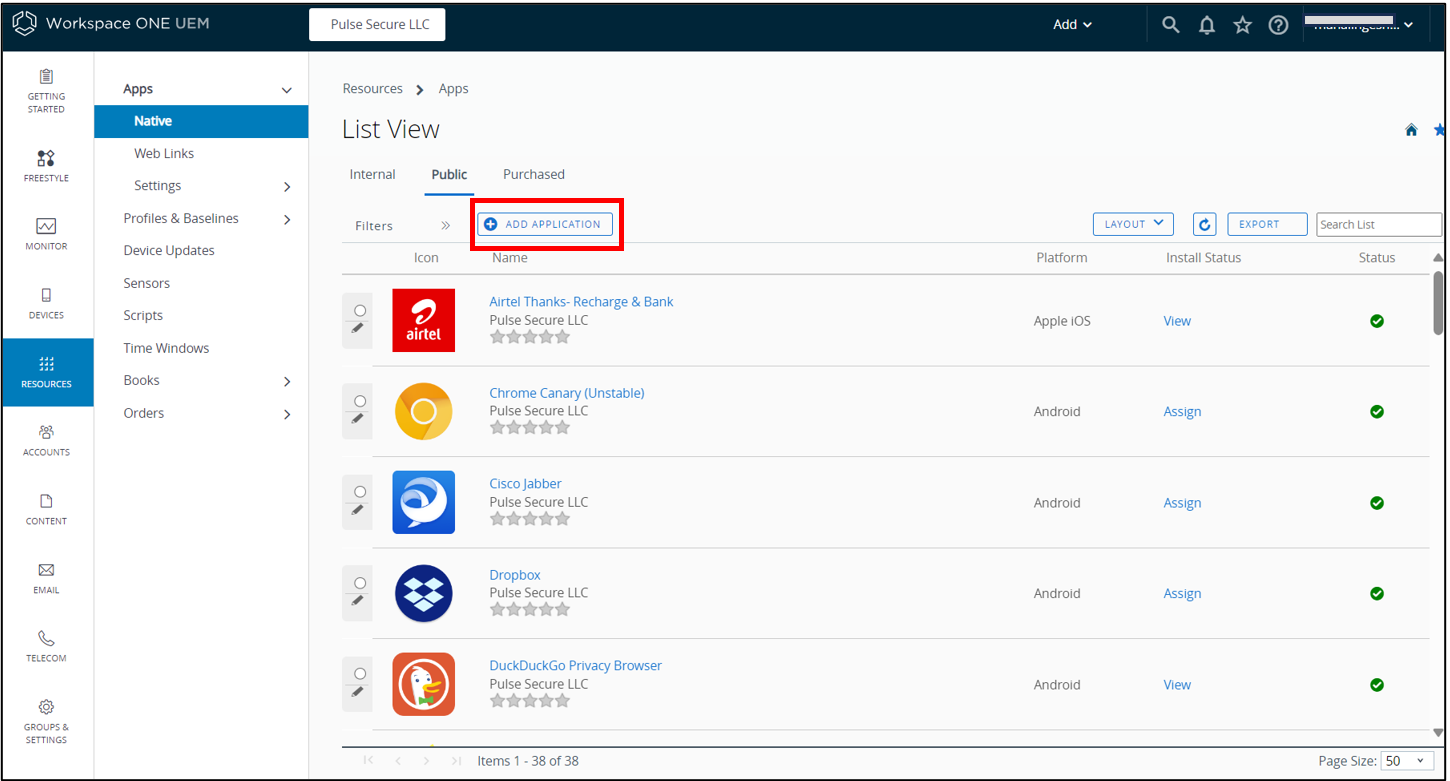
From Workspace ONE, select Resources > Apps > Native > Public > Add Application.
-
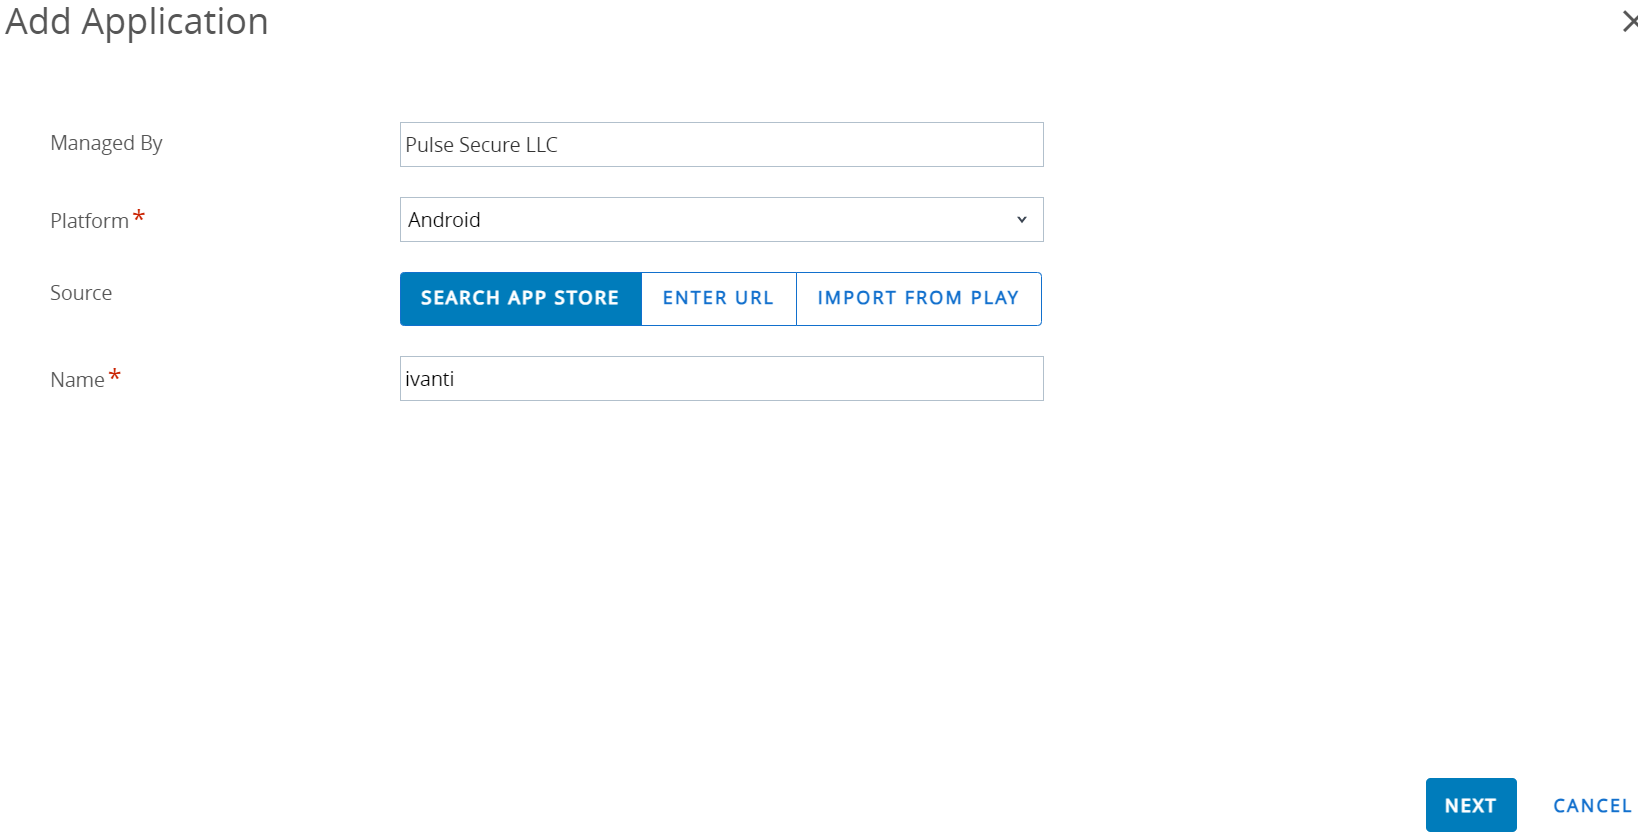
In the Managed by field, select the organization group by which this app will be managed.
-
Select Android from the Platform list.
-
Search for the application by doing one of the following:
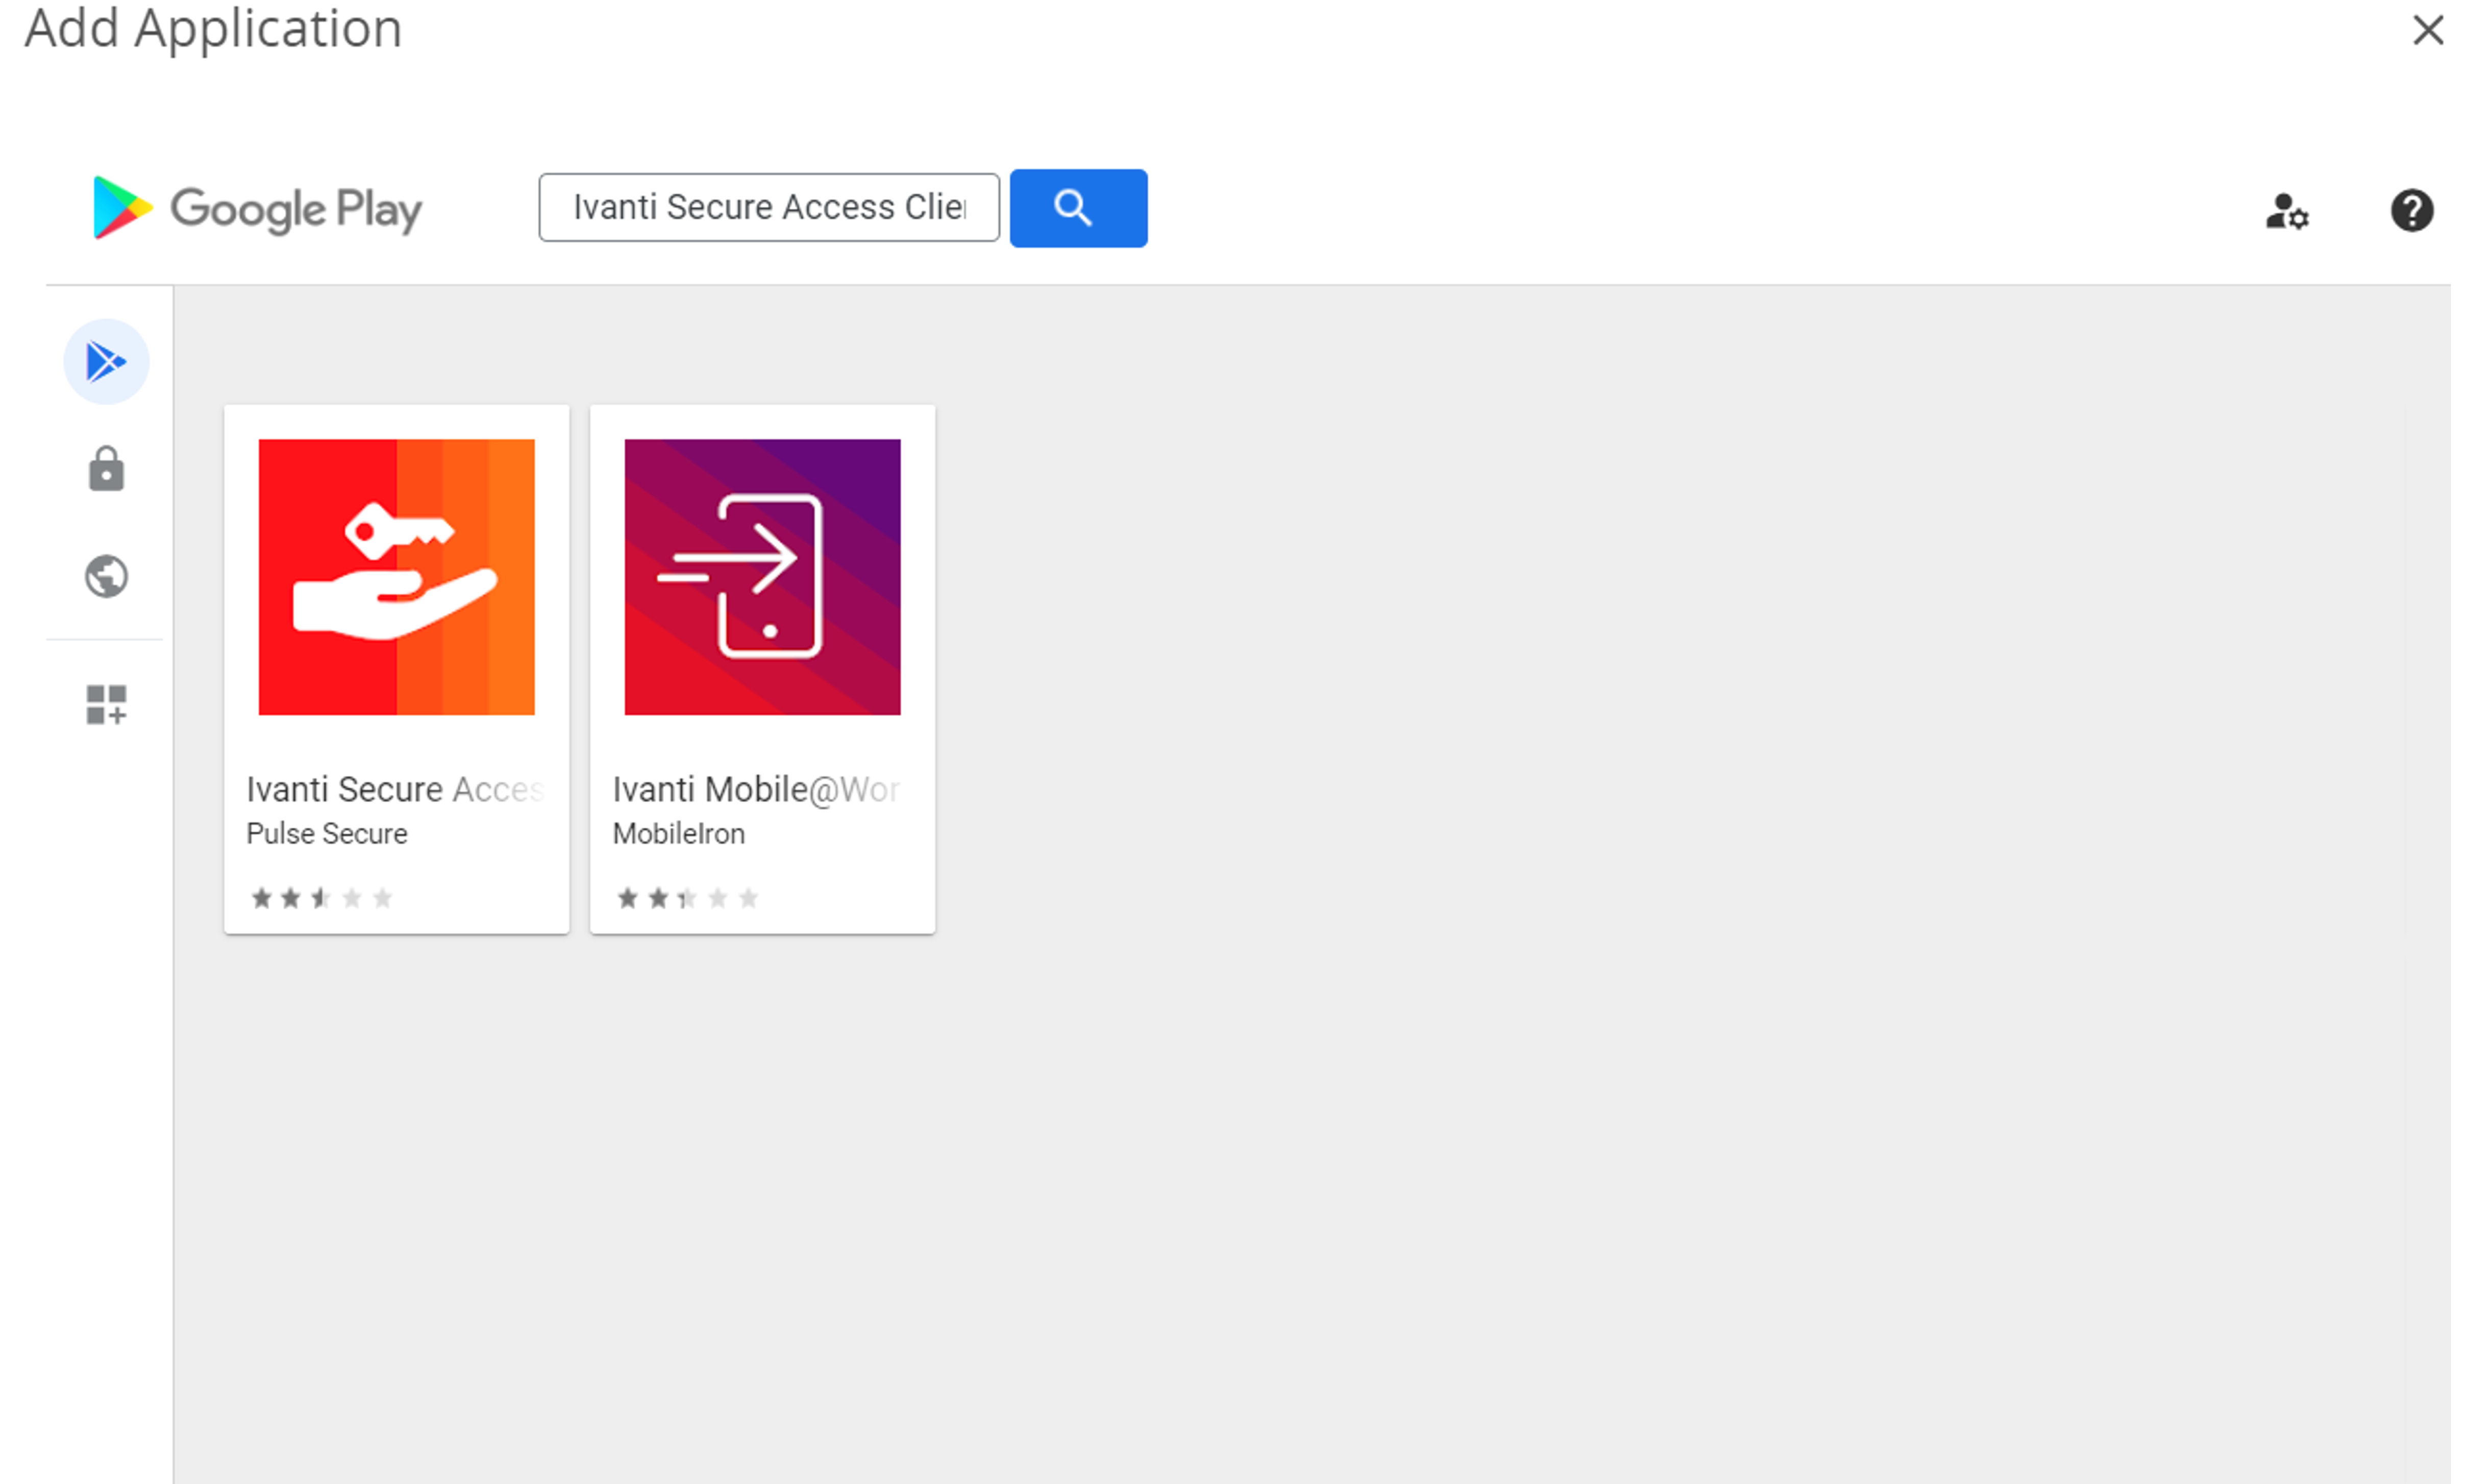
- Click Search App Store and specify the name of the application, and then click Next. For example, Ivanti Secure Access Client. Google Play window is displayed (see figure below).
- Click Enter URL and type in the application URL, and then click Next. For example: URL for ISAC Android: https://play.google.com/store/apps/details?id=net.pulsesecure.pulsesecure
- Click Import from Play and then click Next.
-
In the Add Application window, from the search list, select the application and click Save.
-
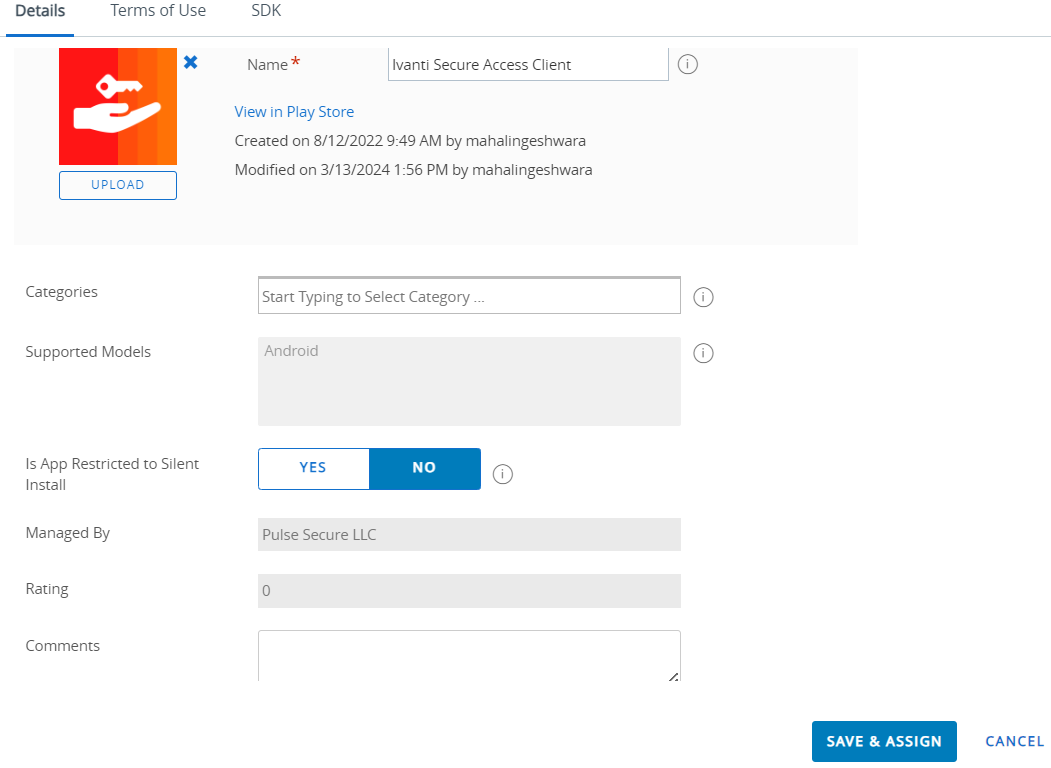
In the Add Application window, enter application details, terms of use and SDK profile details, and then click Save and Assign.
-
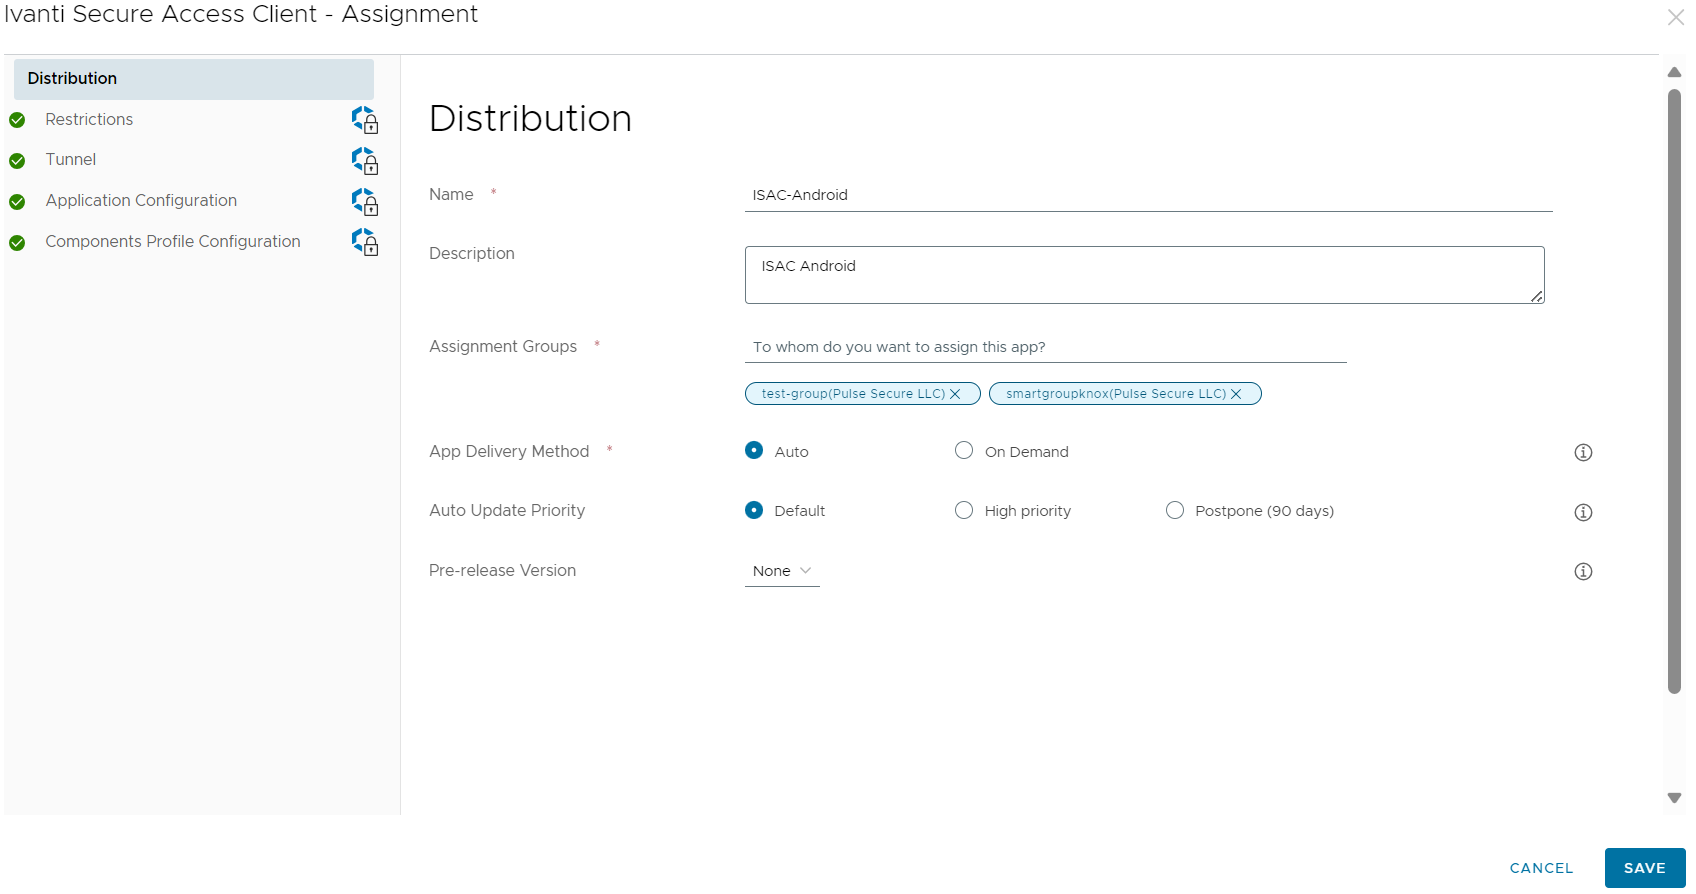
In the Distribution window displayed:
-
Enter a name for the application distribution.
-
Select one or more Assignment Groups that will have access to the app.
-
Select App Delivery Method, and then click Save.
- Auto: pushes the app to the device automatically.
-
On Demand: deploys the app when needed.
-
-
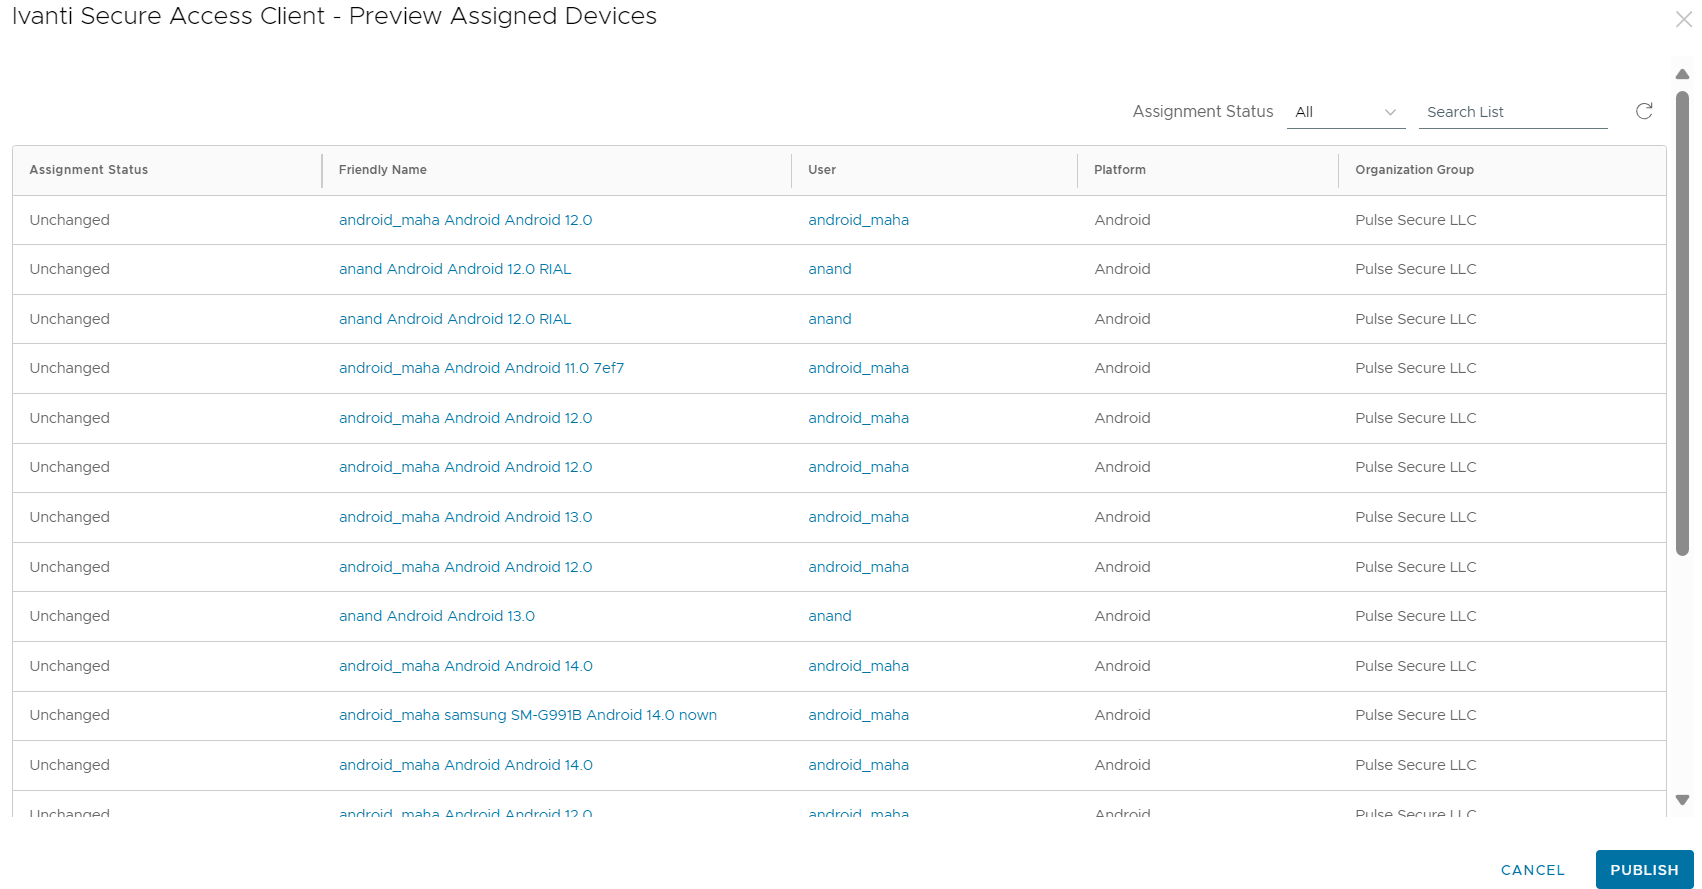
In the Preview window, click Publish to push the App Catalog to the endpoints in the Groups that you assigned.
Configuring Per-App VPN, Always On VPN / On Demand VPN for Android Endpoints Using Workspace ONE
Per-app VPN allows Android devices to establish VPN connections only for specific apps. The specific app traffic will go through tunnel, whereas other application’s traffic goes through Physical Adapter.
In an Always On VPN configuration, the tunnel is always on. The device/app traffic that matches specific filters is always routed through the tunnel based on the configuration.
To configure application:
-
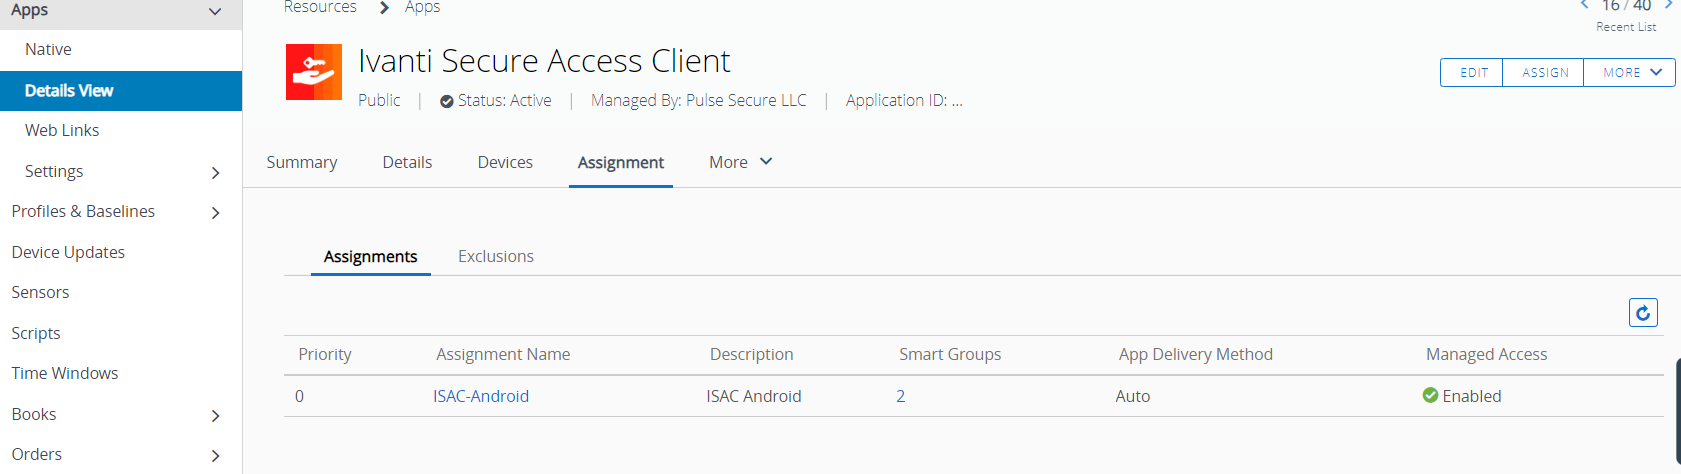
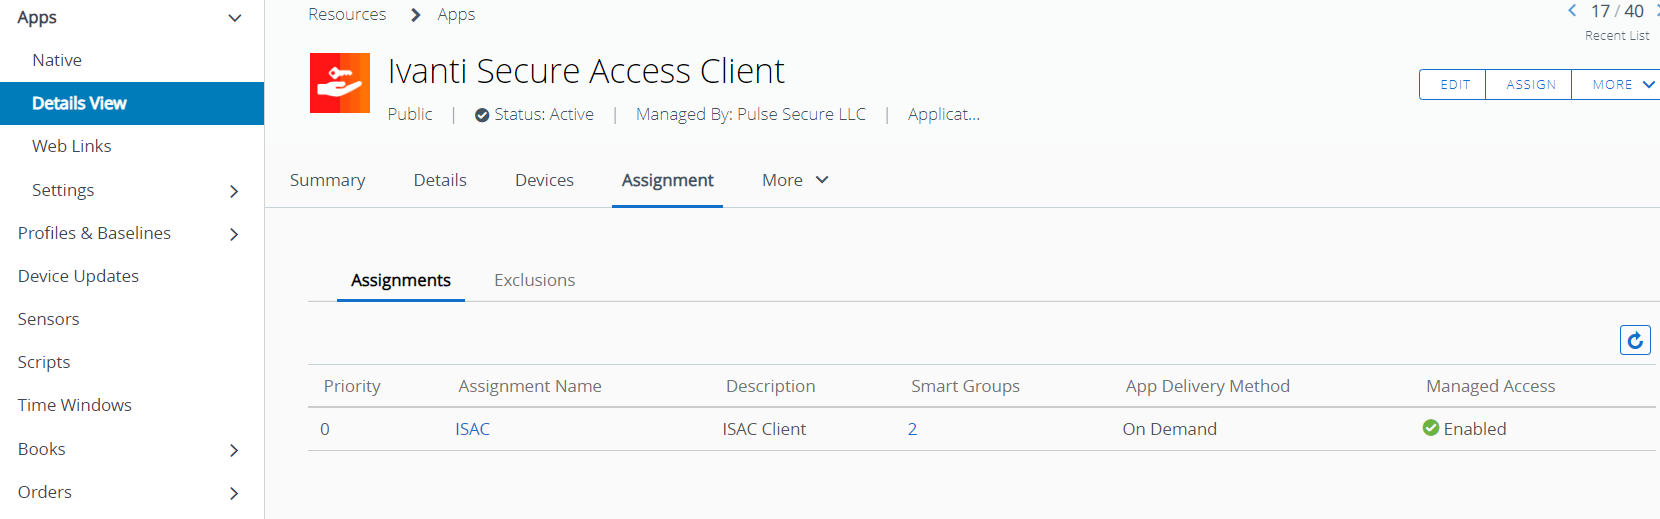
From the Workspace ONE console, select Resources > Apps > Native > Public. The List View page shows a list of Ivanti managed apps.
-
Edit the application that you want to configure.
-
On the Application Configuration tab:
- Enable Send Configuration.
- Enter Connection Name.
- Enter application URL.
-
From the Authentication Type list, select certalias.
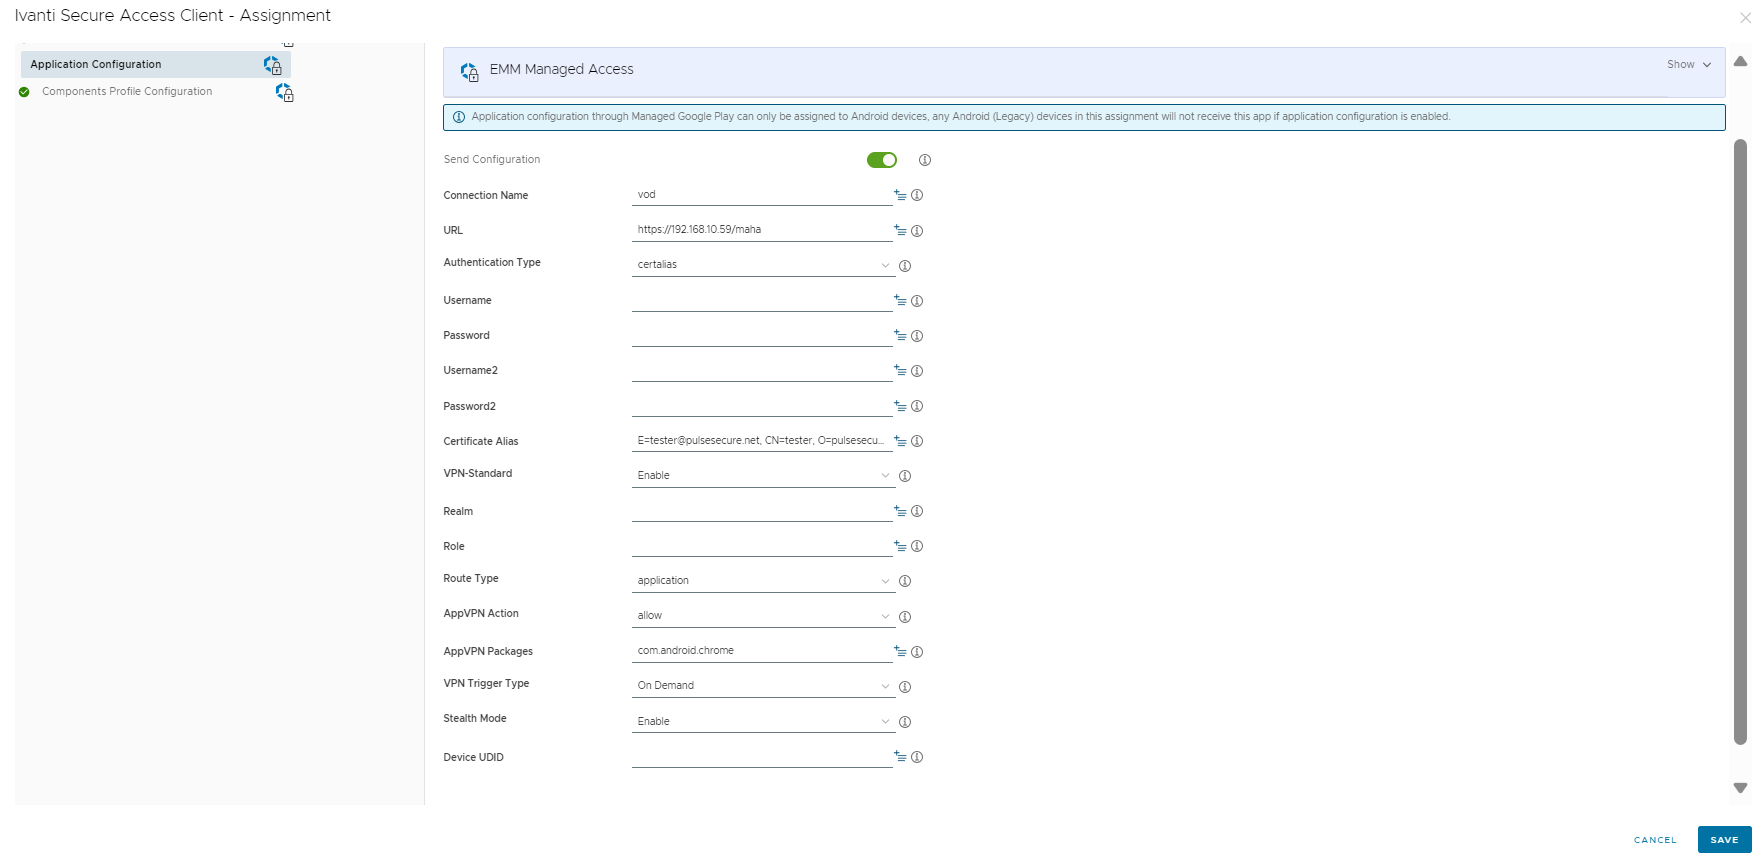
-
From the AppVPN Action list:
- select allow. This allows only AppVPN Packages through the tunnel.
- select deny. This denies AppVPN Packages, but allows other packages through the tunnel.
-
From the VPN Trigger Type list, choose one of the following:
- Manual: Connect manually by user.
- On Demand: Enable connection if needed.
- Always On: Always establish a connection.
- Specify the Realm name and user Role.
- Click Save, and then Publish.
Refer the following table for more details.
| Configuration Keys | Value Type | Configuration Values | Description |
|---|---|---|---|
| Stealth Mode | String | Stealth mode authentication | |
| VPN Trigger Type | Choice | 0 or 1 or 2 | VPN trigger type: Manual=0, On Demand=1, Always On VPN=2 |
| App VPN Packages | String | com.android.chrome, com.microsoft.skydrive | Application VPN packages (value should be comma separated) |
| AppVPN Action | Choice | 0 or 1 | Application VPN action: allow = 0, deny = 1 |
| Route Type | String | 0 or 1 | Route Type: device VPN = 0 or Per -App VPN = 1 |
|
Role |
String |
|
VPN Role |
|
Realm |
String |
|
VPN Realm |
|
VPN-Standard |
bool |
|
Set this profile as default. Existing default profile will be override |
|
Certificate Alias |
String |
|
Certificate alias in the Android KeyStore |
|
Password2 |
String |
|
VPN Password 2 |
|
Username2 |
String |
|
VPN Username 2 |
|
Password |
String |
|
VPN Password |
|
Username |
String |
|
VPN Username |
|
Authentication Type |
choice |
Certalias or userpass or dualauth |
VPN Authentication Type: certalias: Certificate Authentication, userpass: Username/Password based Authentication, dualauth: combination of userpass/certauth |
|
URL |
String |
|
VPN Connection URL |
|
Connection Name |
String |
|
VPN Connection name |
|
UDID |
String |
|
Device UDID to be allowed access and validate pre-auth |
Deploying Applications Using Workspace ONE on Apple iOS
To deploy Ivanti managed applications:
-
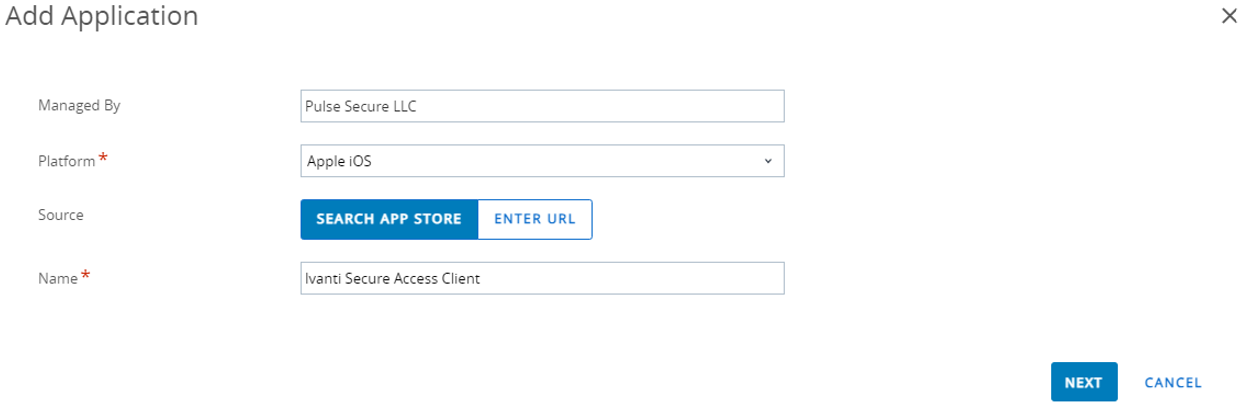
From Workspace ONE, select Resources > Apps > Native > Public > Add Application.
-
In the Managed by field, select the organization group by which this app will be managed.
-
Select Apple iOS from the Platform list.
-
Search for the application by doing one of the following:
-
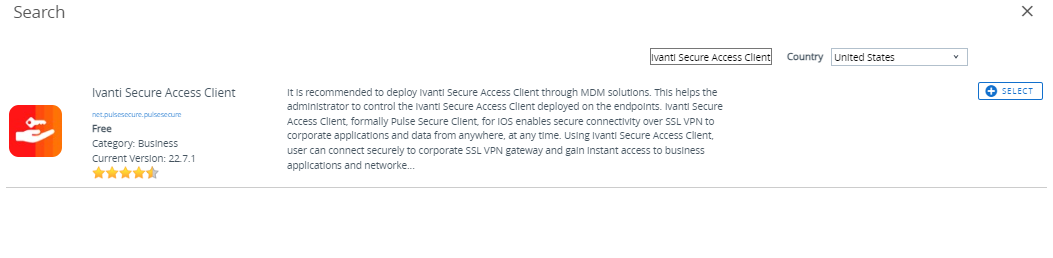
Click Search App Store and specify the name of the application, and then click Next. For example: Ivanti Secure Access Client
-
Click Enter URL and type in the application URL, and then click Next.
-
-
From the search list, click the Select option next to the application.
-
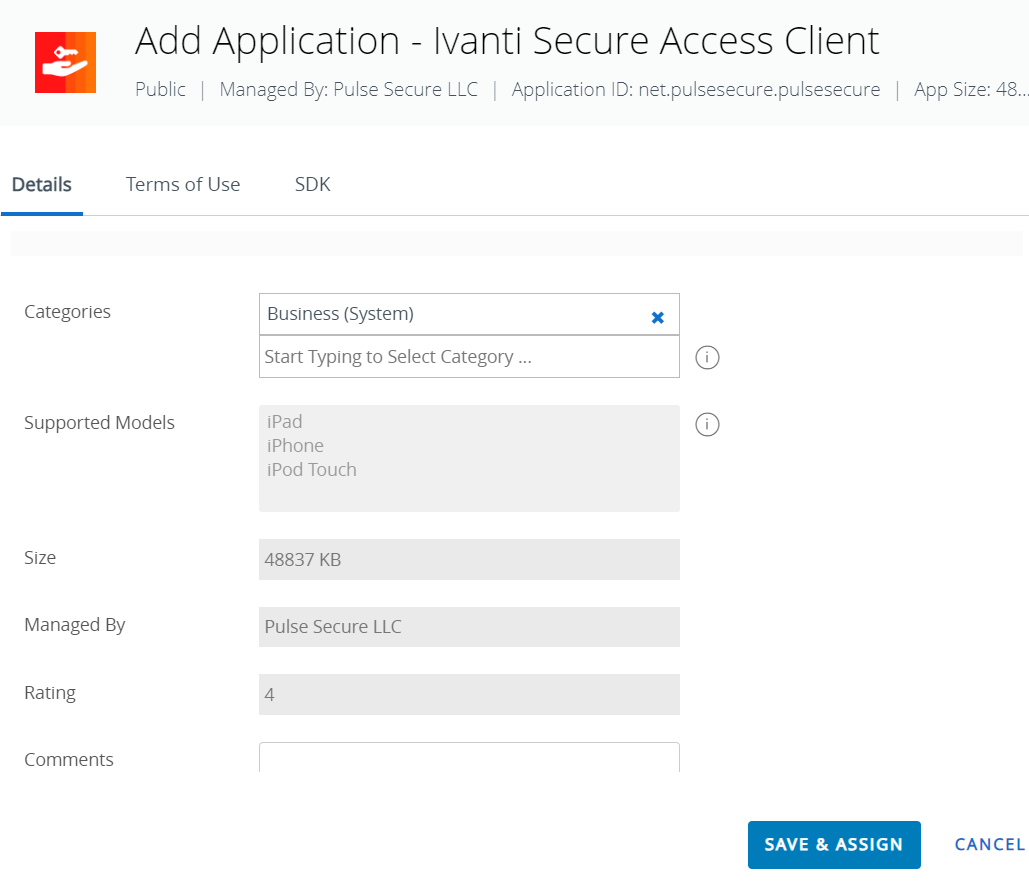
In the Add Application window, enter application details, terms of use and SDK profile details, and then click Save and Assign.
-
In the Distribution window displayed:
-
Enter a name for the application distribution.
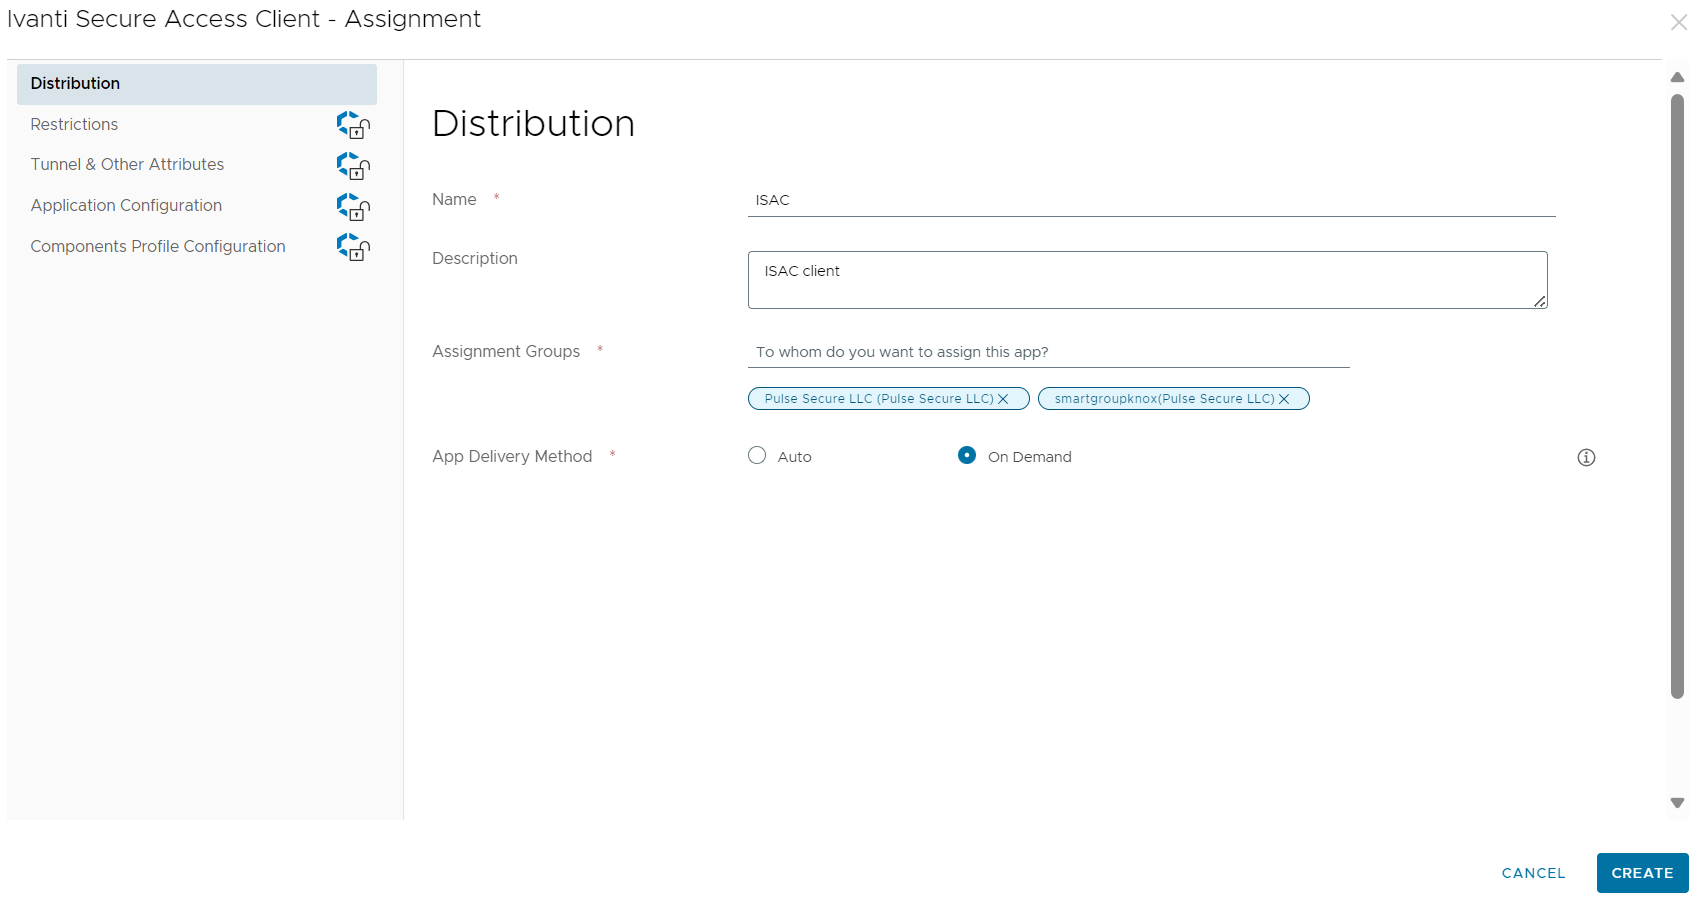
- Select one or more Assignment Groups that will have access to the app.
-
Select App Delivery Method:
- Auto: pushes the application to the device automatically.
- On Demand: deploys the app when needed.
-
-
Click Create and then Save to preview the assigned devices.
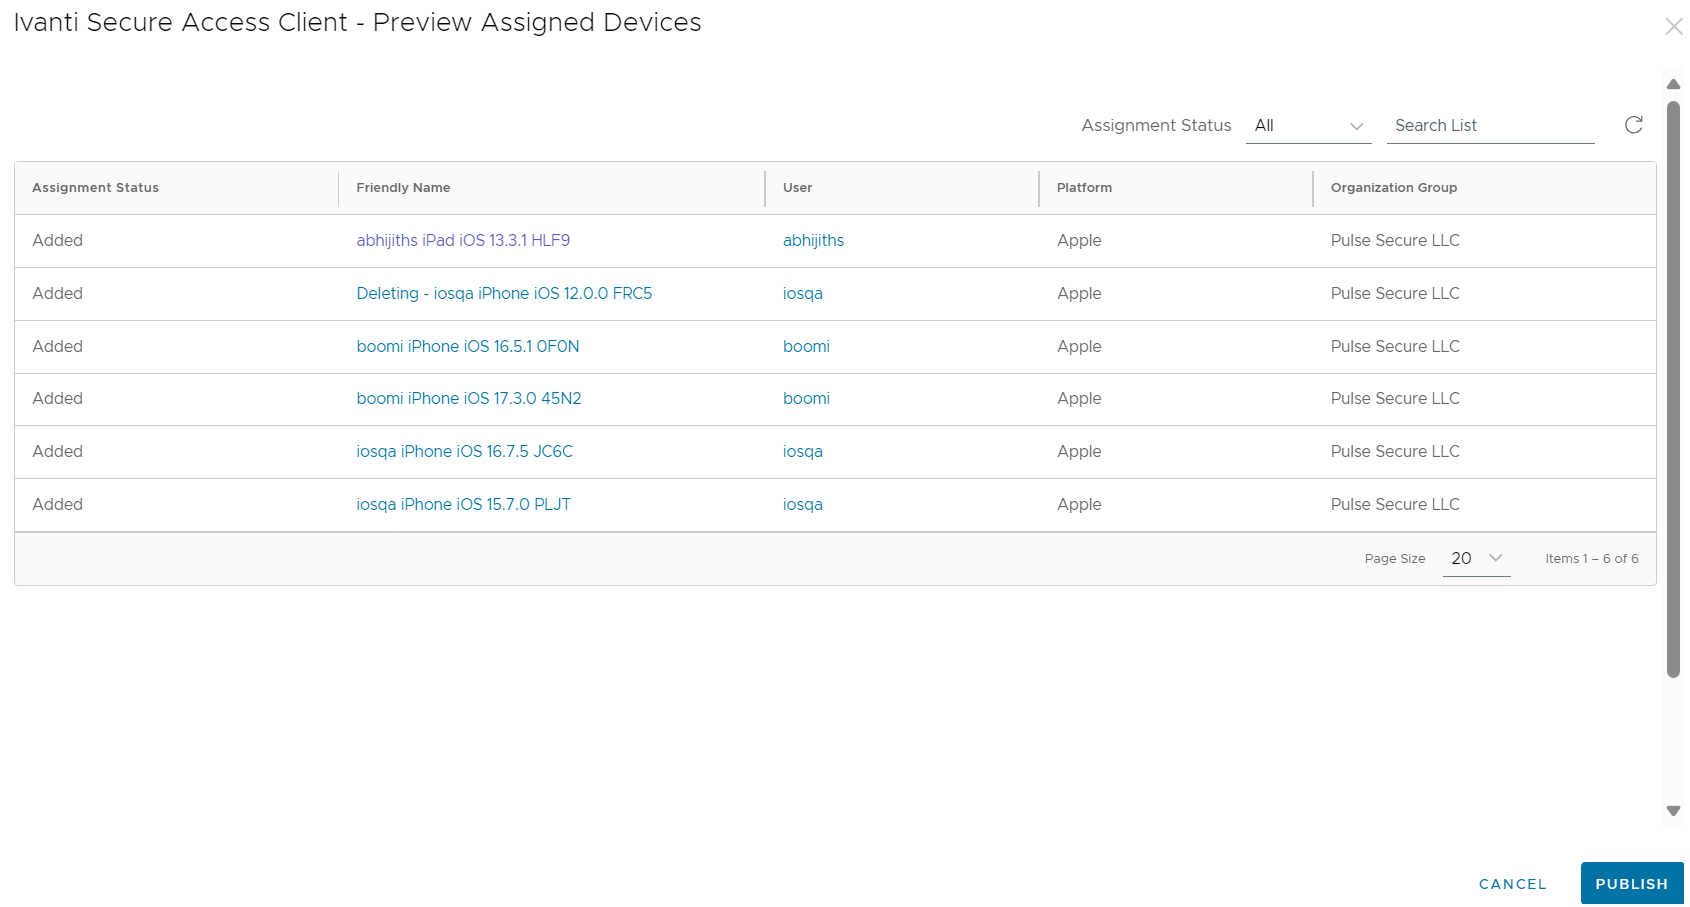
-
Click Publish to push the App Catalog to the endpoints in the Groups that you assigned.
Configuring Per-app VPN, Always On VPN / On Demand VPN for iOS Endpoints Using Workspace ONE
Per-app VPN allows iOS devices to establish VPN connections only for specific apps, while other traffic goes through the normal network.
In an Always On VPN configuration, the connection is always on. The traffic that matches specific filters is always routed through the ICS tunnel.
To configure Per-app VPN:
-
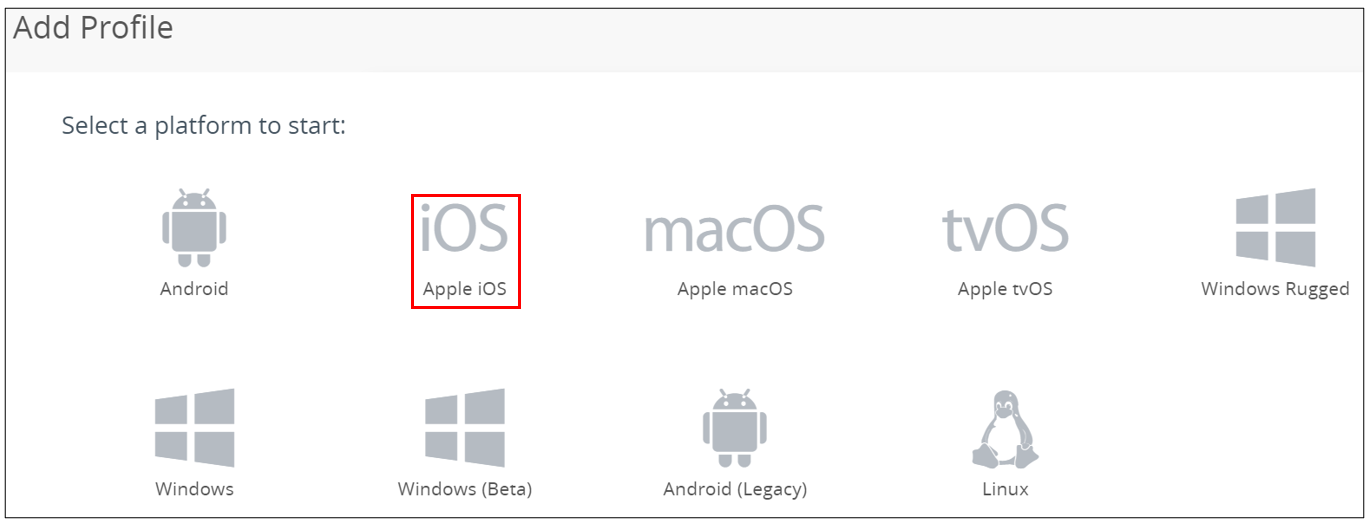
From the Workspace ONE console, select Resources > Profiles & Baselines > Profiles > ADD, and then select Add Profile.
-
Select iOS from the Platform list.
-
Select Device Profile from the Select Context window.
-
Type in a name and description for the profile.
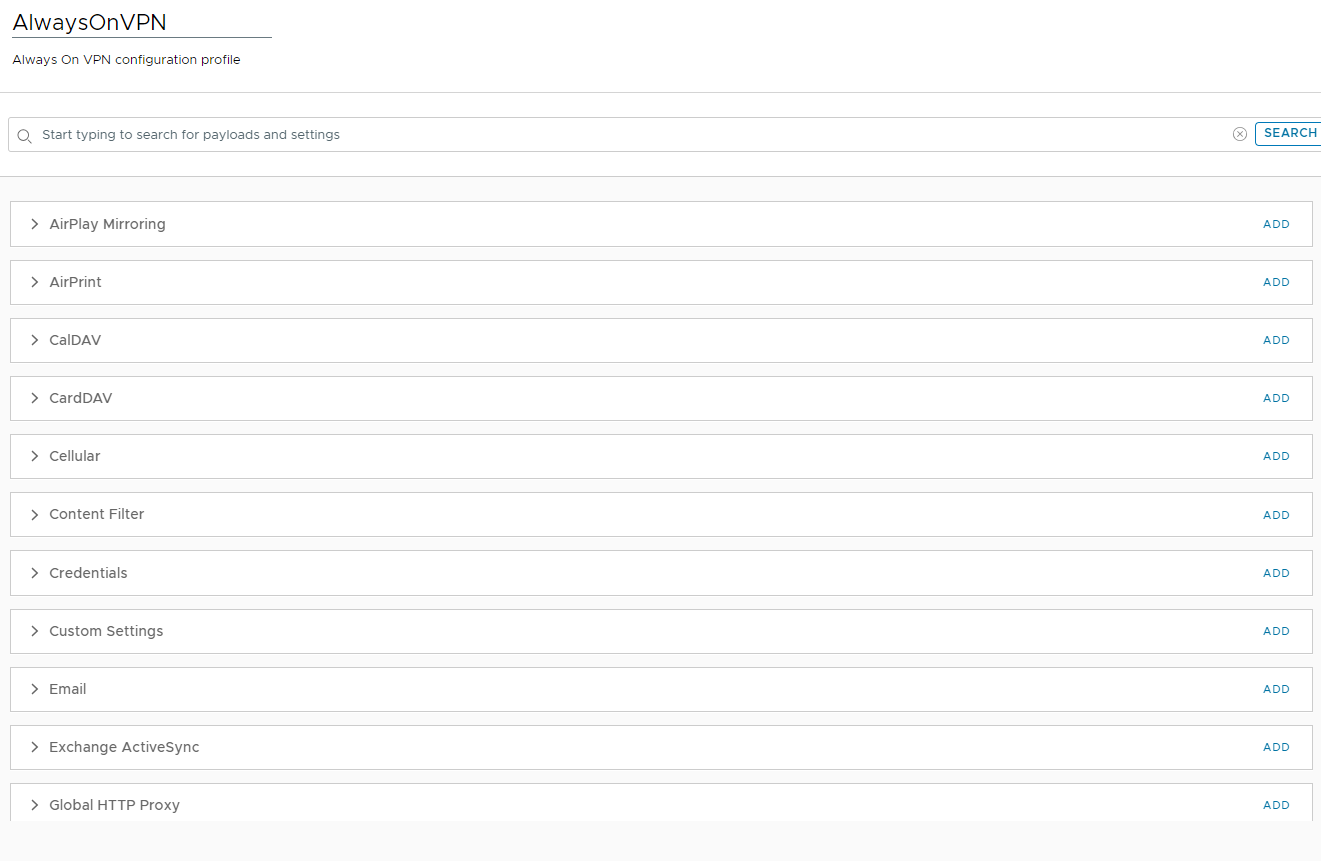
-
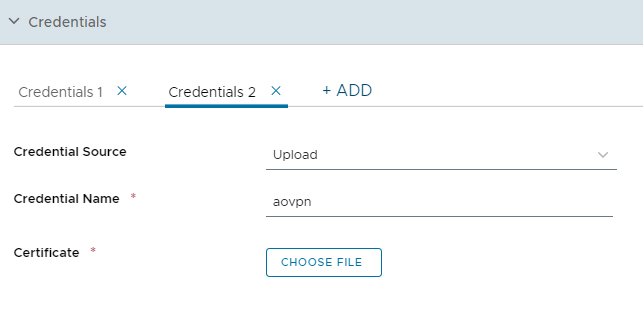
If your deployment requires client certificate authentication, configure the Credentials settings.
To upload a client certificate manually:
- Set the Credential Source to Upload.
- Enter a Credential Name.
- Click Choose File to locate and select the certificate that you want to upload.
-
After you select a certificate, click SAVE.
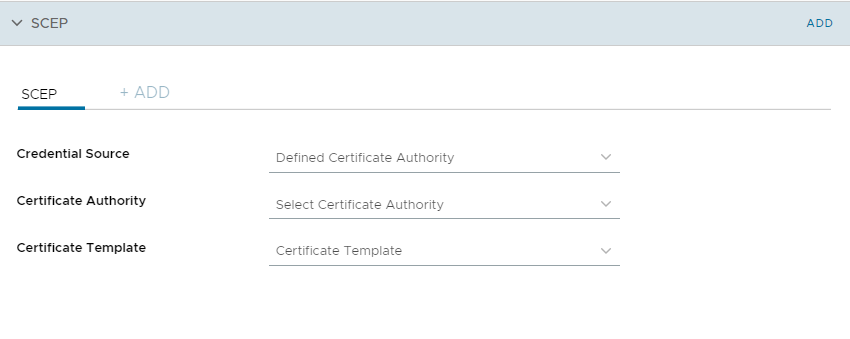
To create the credential source for certificate authentication, choose SCEP.
-
Set the Credential Source to Defined Certificate Authority.
-
Select the Certificate Authority from which you want obtain certificates.
-
Select the Certificate Template for the certificate authority.
-
Configure the VPN settings:
-
Enter the Connection Name that the endpoint displays.
-
Select Pulse Secure (Legacy) from the Connection Type list.
-
Enter the Server host name.
-
Specify the Realm name and user Role.
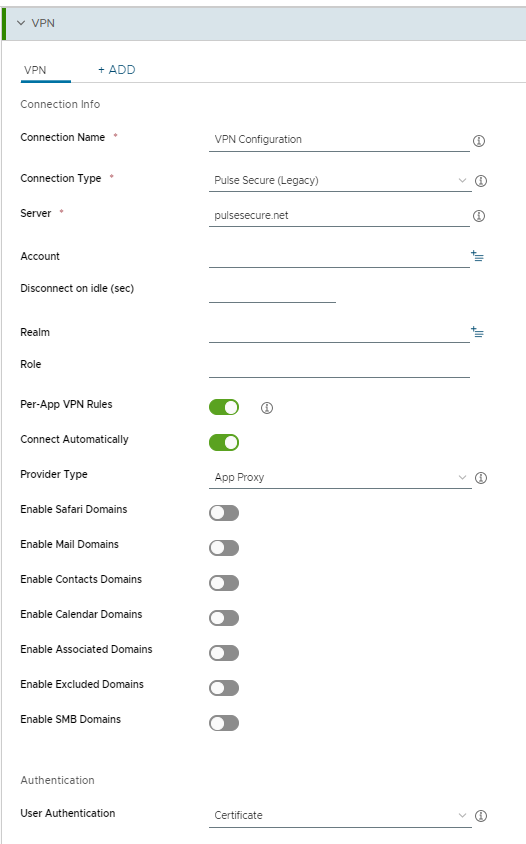
-
Enable Per-App VPN Rules to establish VPN connections only for the managed apps.
-
Enable Connect Automatically to force the secure connection to be always on.
-
Select Provider Type from the list according to L3/L4 connection.
-
Enable the required domains.
-
Select Certificate as User Authentication.
-
Enable VPN On Demand.
-
Enable Use new on-demand keys and define the rules for VPN On Demand connection.
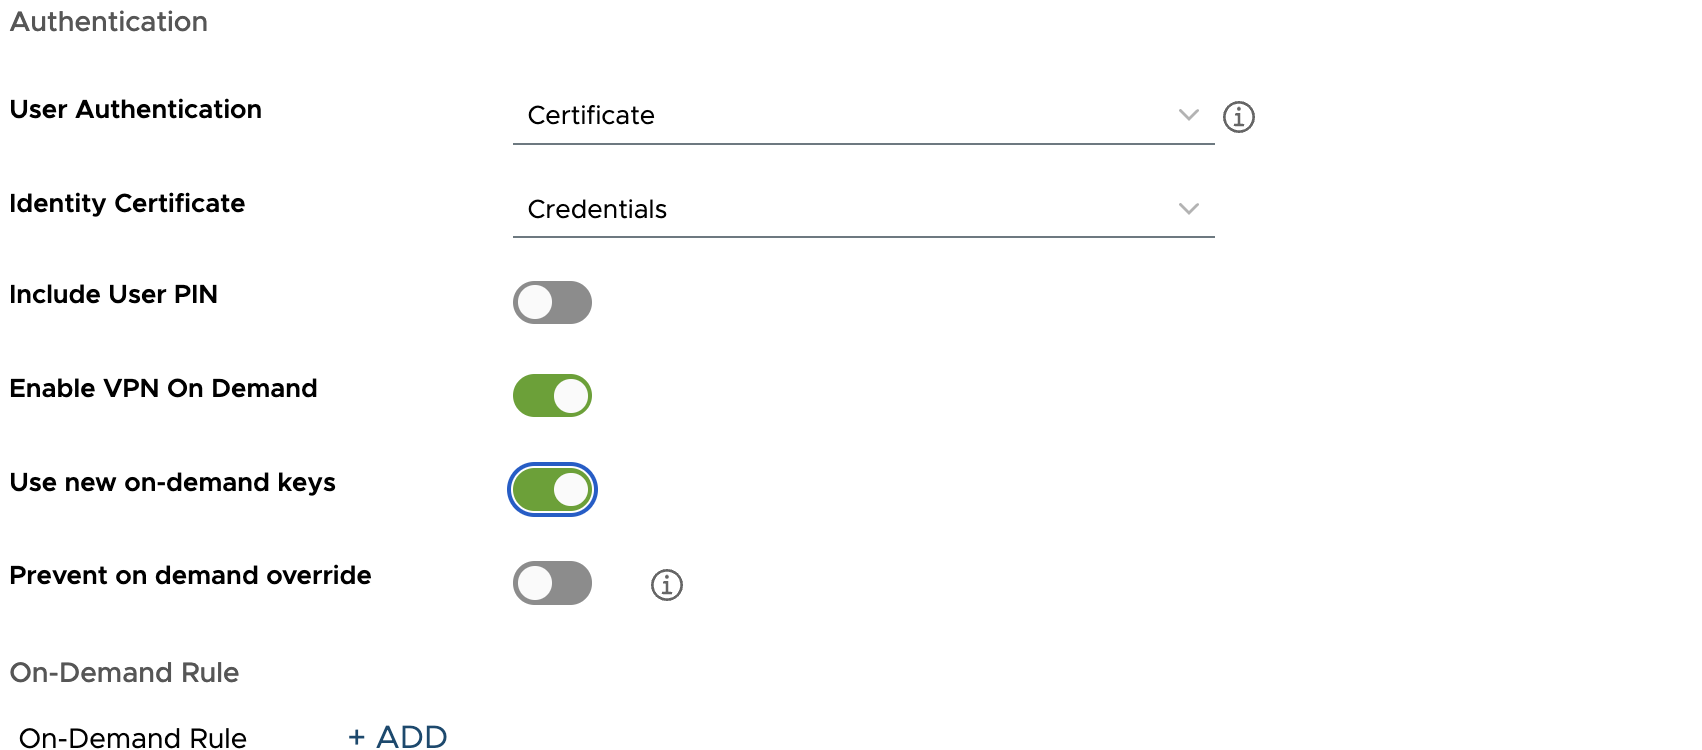
-
Click Save and Publish.
-