Custom Sign-in Page in Embedded browser
To upload custom sign-In page in Ivanti Secure Access Client, admin needs to perform the following steps:
-
Login into ICS/IPS as admin.
-
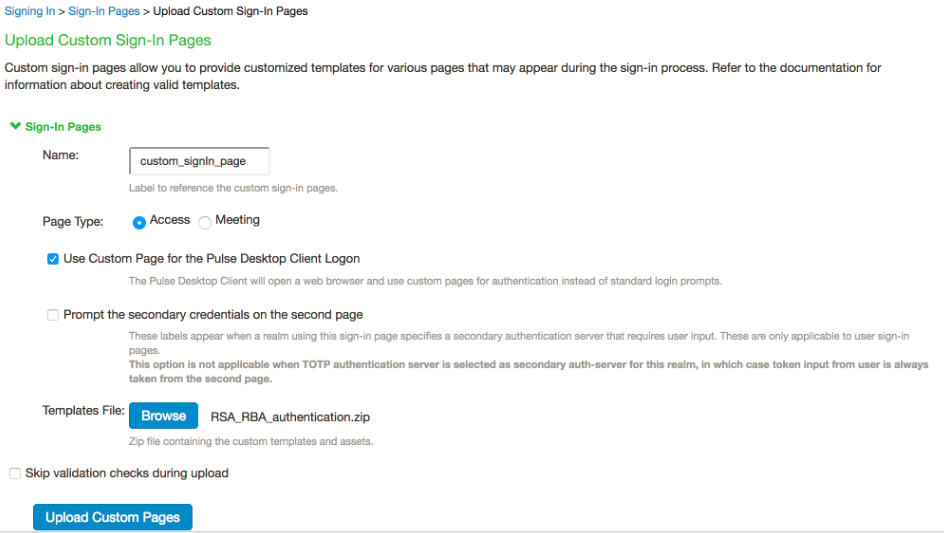
Go to Authentication > Signing-In > Sign-In Pages > Upload Custom Sign-In Pages.
-
Select the option “Use Custom Page for the Ivanti Secure Access Client Logon
-
Click Browse and select the custom sign-in page file and click Upload Custom Pages.
-
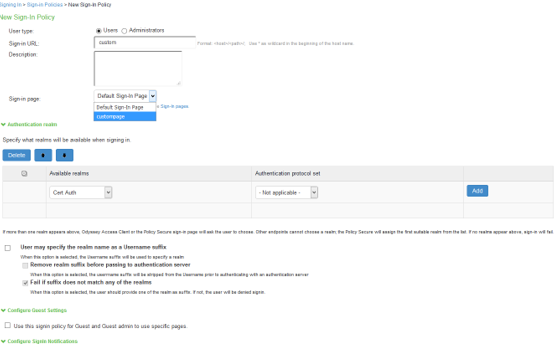
Go to Signing In > Sign-In Policies > New Sign-In Policy to create the new Sign-In policy.
-
Under Sign-In page, select the uploaded custom page (step-2) from the drop-down box to associate custom Sign-In page with the Sign-In Policy.
User sees an embedded browser (Refer Custom Sign-In page support for Embedded browser) - if Enable embedded browser for authentication is enabled.
Ivanti Secure Access client will close the embedded browser once the authentication is done.
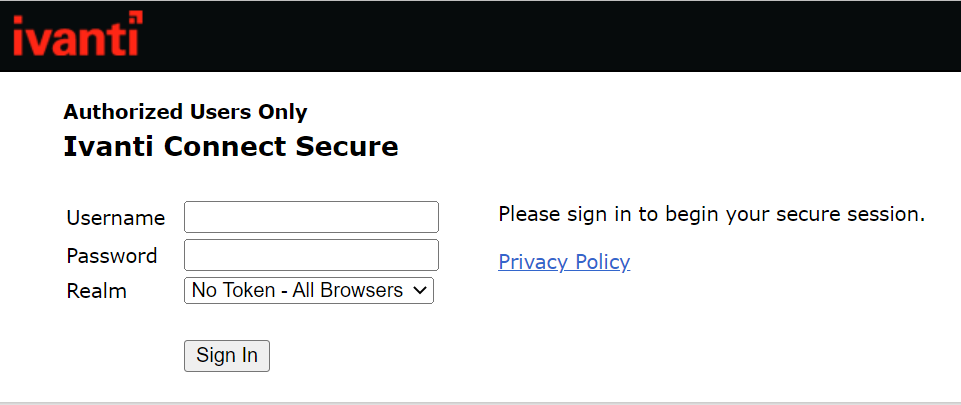
Whenever user logs into the custom sign-in URL from Ivanti Secure Access Client, embedded browser launches with custom sign-in pages uploaded into it.