Automatically Configuring a SAML idP on Pulse One
This section is only applicable if your PCS appliance is at v8.3r1 or later. If your PCS is at an earlier release, you must perform a number of manual processes, see Overview.
To automatically configure a SAML idP, you must have already completed the following tasks:
•Registered the Pulse Connect Secure appliance that you intend to use as the SAML idP with Pulse One, see Registering an Existing PCS/PPS Appliance.
•Configured the SAML idP on Pulse Connect Secure, see Configuring SAML idP in Pulse Connect Secure Server.
To auto-configure the SAML idP:
1.Log into Pulse One as an administrator.
2.Click the Settings icon on top-right-corner of the page.
3.Select Pulse One Properties.
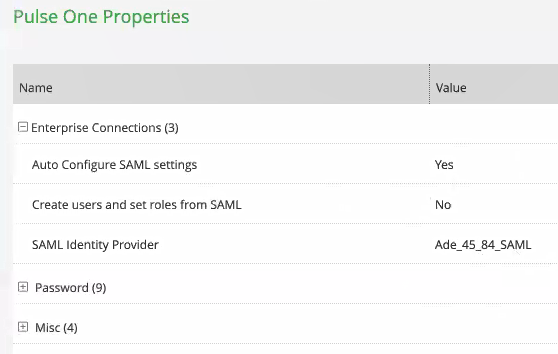
The Pulse One Properties page appears.
4.Expand the Enterprise Connections group to view its properties. For example:

5.Set the Auto Configure SAML Properties property to Yes.
When you set Auto Configure SAML Properties to Yes, the SAML Identity Provider Metadata and the SAML Service Provider Metadata properties are removed. These are not required when auto-configuration is enabled.
6.Set the SAML Identity Provider property to match the appliance name, as registered on Pulse One. For example:
After this process is complete, auto-configuration of the SAML idP will be performed.
7.(Optional) To confirm the auto-configuration of the SAML idP, log into Pulse Connect Secure and access the System > Configuration > SAML settings page. There will now be a Metadata Name called AutoConfigured. For example:
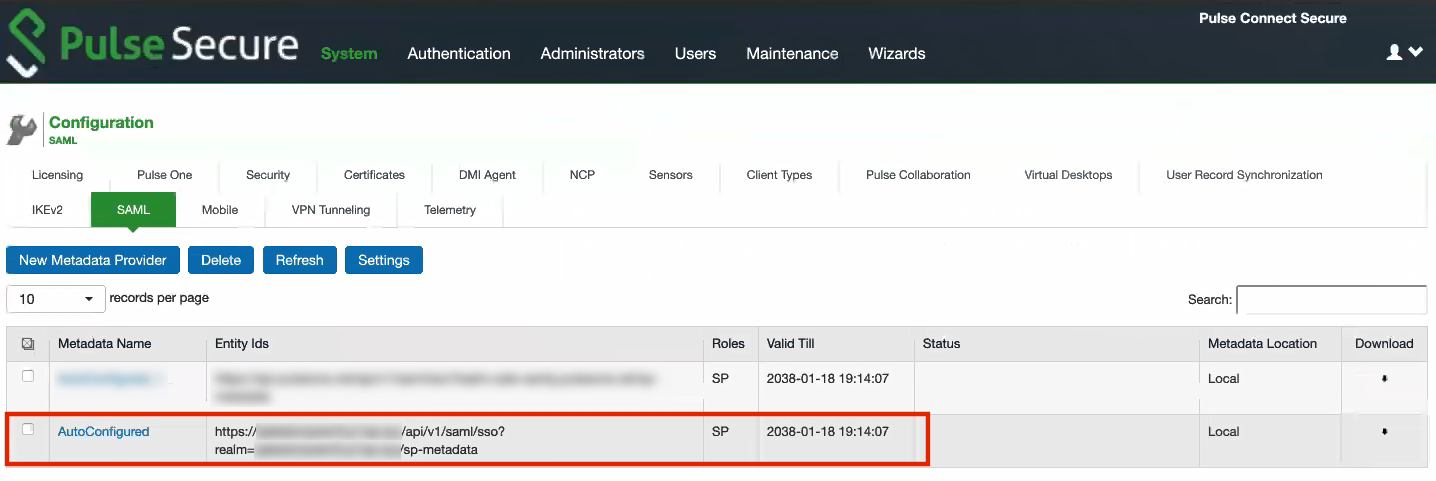
The auto-configuration of the SAML idP is complete.
You can then either:
•Continue with an optional activity Automatically Creating Pulse One Users for SAML SSO Logins.
•Move directly to testing the SSO login, see Testing Sign In with Enterprise SSO.