Configurations for Office 365 Deployment
This section covers the configurations that are involved in the deployment. The admin needs to configure PCS as an Identity Provider, O365 as a Service Provider and PWS to provision and push the profile information on mobile clients.
For basic configurations details, refer the following sections:
•See Cloud Secure Administration Guide> Configurations > Basic Configurations (Mandatory)
•See Cloud Secure Administration Guide > Third Party Integration and Configuration > Configuring Pulse Workspace
Configuring Office 365
To enable Single Sign-On on Office 365 Service Provider, login to Local Windows AD/LDAP Server with supported powershell and internet connection to connect to Azure AD. Ensure that the machine used to connect has all the components mentioned in Prerequisites section installed.
1.Open Windows Powershell and execute the command “connect-msolservice” and Provide Microsoft Admin credentials to connect to Microsoft Azure Active Directory.
2.Run the following command to enable SSO for the domain:
Set-MsolDomainAuthentication -Authentication managed -DomainName <Domain Name(Ex: sample.net)>
3.Execute the following commands in PowerShell Prompt for SSO configuration:
$dom="<Domain Name>"
$FedBrandName="<Name>"
$url=”https://< Alternate Host FQDN for SAML>/dana-na/auth/saml-sso.cgi”
$logouturl=”https://< Host FQDN for SAML>/dana-na/auth/logout.cgi”
$issuer = “https://<Host FQDN for SAML>/dana-na/auth/saml-endpoint.cgi”
$ecpUrl=”https://< Host FQDN for SAML>/dana-ws/samlecp.ws”
$certData=”<Domain Certificate Data>”
- Domain Certificate Data can be obtained from PCS by navigating to Authentication->Signing In->Sign-in SAML->Metadata Provider and clicking on ‘Download Metadata’. The Certificate content from the downloaded file should be assigned to $certData parameter.
- $FedBrandName must be unique.
- Federation cannot be configured on the default O365 domain.
- Ensure that the federation is not enabled with the same URL’s on any other domain.
Set-MsolDomainAuthentication -DomainName $dom -FederationBrandName $FedBrandName -Authentication Federated -PassiveLogOnUri $url -SigningCertificate $certData -IssuerUri $issuer -ActiveLogOnUri $ecpUrl -LogOffUri $logouturl -PreferredAuthenticationProtocol SAMLP
4.To verify the SSO configuration run the following command
Get-MsolDomainFederationSettings –DomainName <Domain Name>
A sample configuration snapshot for SSO is shown below:

5.To enable modern authentication for Exchange Online, which supports SAML web browser based SSO profile for certain clients such as Outlook 2016 in desktops, execute the following commands:
•Run the following command and give Office 365 Admin credentials.
$UserCredential = Get-Credential
•In the Windows PowerShell Credential Request dialog box, type your Office 365 Admin credentials, and then click OK.
•Run the following command to provide required connection settings.
$Session = New-PSSession -ConfigurationName Microsoft.Exchange -ConnectionUri “https://outlook.office365.com/powershell-liveid/” -Credential $UserCredential -Authentication Basic –AllowRedirection
•Run the following command to import the Exchange Online cmdlets into your local Windows PowerShell session.
Import-PSSession $Session
•Run the following command to enable modern authentication for Exchange Online.
Set-OrganizationConfig -OAuth2ClientProfileEnabled:$true
•Run the following command to verify that change was successful.
Get-OrganizationConfig | ft name, *OAuth*
•Be sure to disconnect the remote powershell when you are finished.
Remove-PSSession $Session
6.To enable modern authentication for Skype for Business Online, complete the following steps:
•Install Skype for Business Online Windows PowerShell Module on On-Premise Active Directory Server https://www.microsoft.com/en-us/download/details.aspx?id=39366
•Open Windows PowerShell on AD Server and execute following commands:
7.Run the following command to connect to Skype for Business using PowerShell.
$sfboSession = New-CsOnlineSession -UserName [email protected]
(Office 365 Admin username). Provide admin password when prompted and Sign In.
8.Run the following command to import the Skype for Business Online cmdlets into your local Windows PowerShell session.
Import-PSSession $sfboSession
9.(Optional) Run the following command to verify the current settings.
Get-CsOAuthConfiguration
10.Run the following command to enable modern authentication for Skype for Business Online.
Set-CsOAuthConfiguration -ClientAdalAuthOverride Allowed
11.Run the following command to verify that the change was successful.
Get-CsOAuthConfiguration
12.Be sure to disconnect the remote PowerShell when you are finished.
Remove-PSSession $sfboSession
Configuring O365 Cloud Application on PCS
The Admin can configure the O365 Cloud Applications as Peer SP once the basic configurations are completed. The O365 application is available with some pre-populated application settings for ease of configuration.
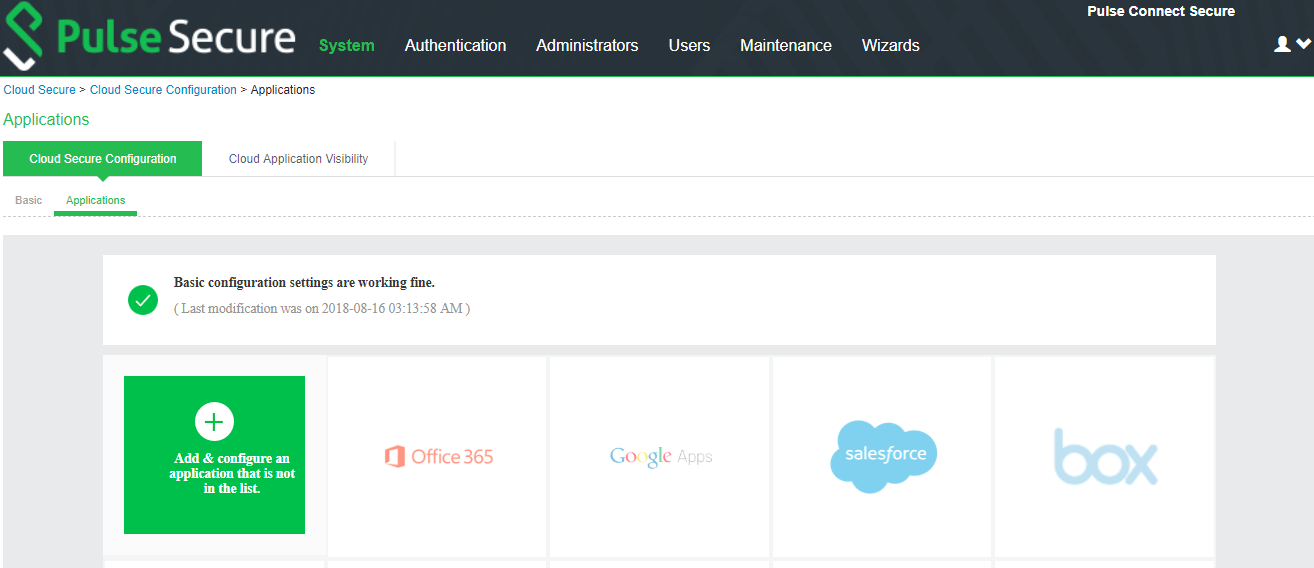
To configure O365 application:
1.Click the Office 365 icon to configure the application.
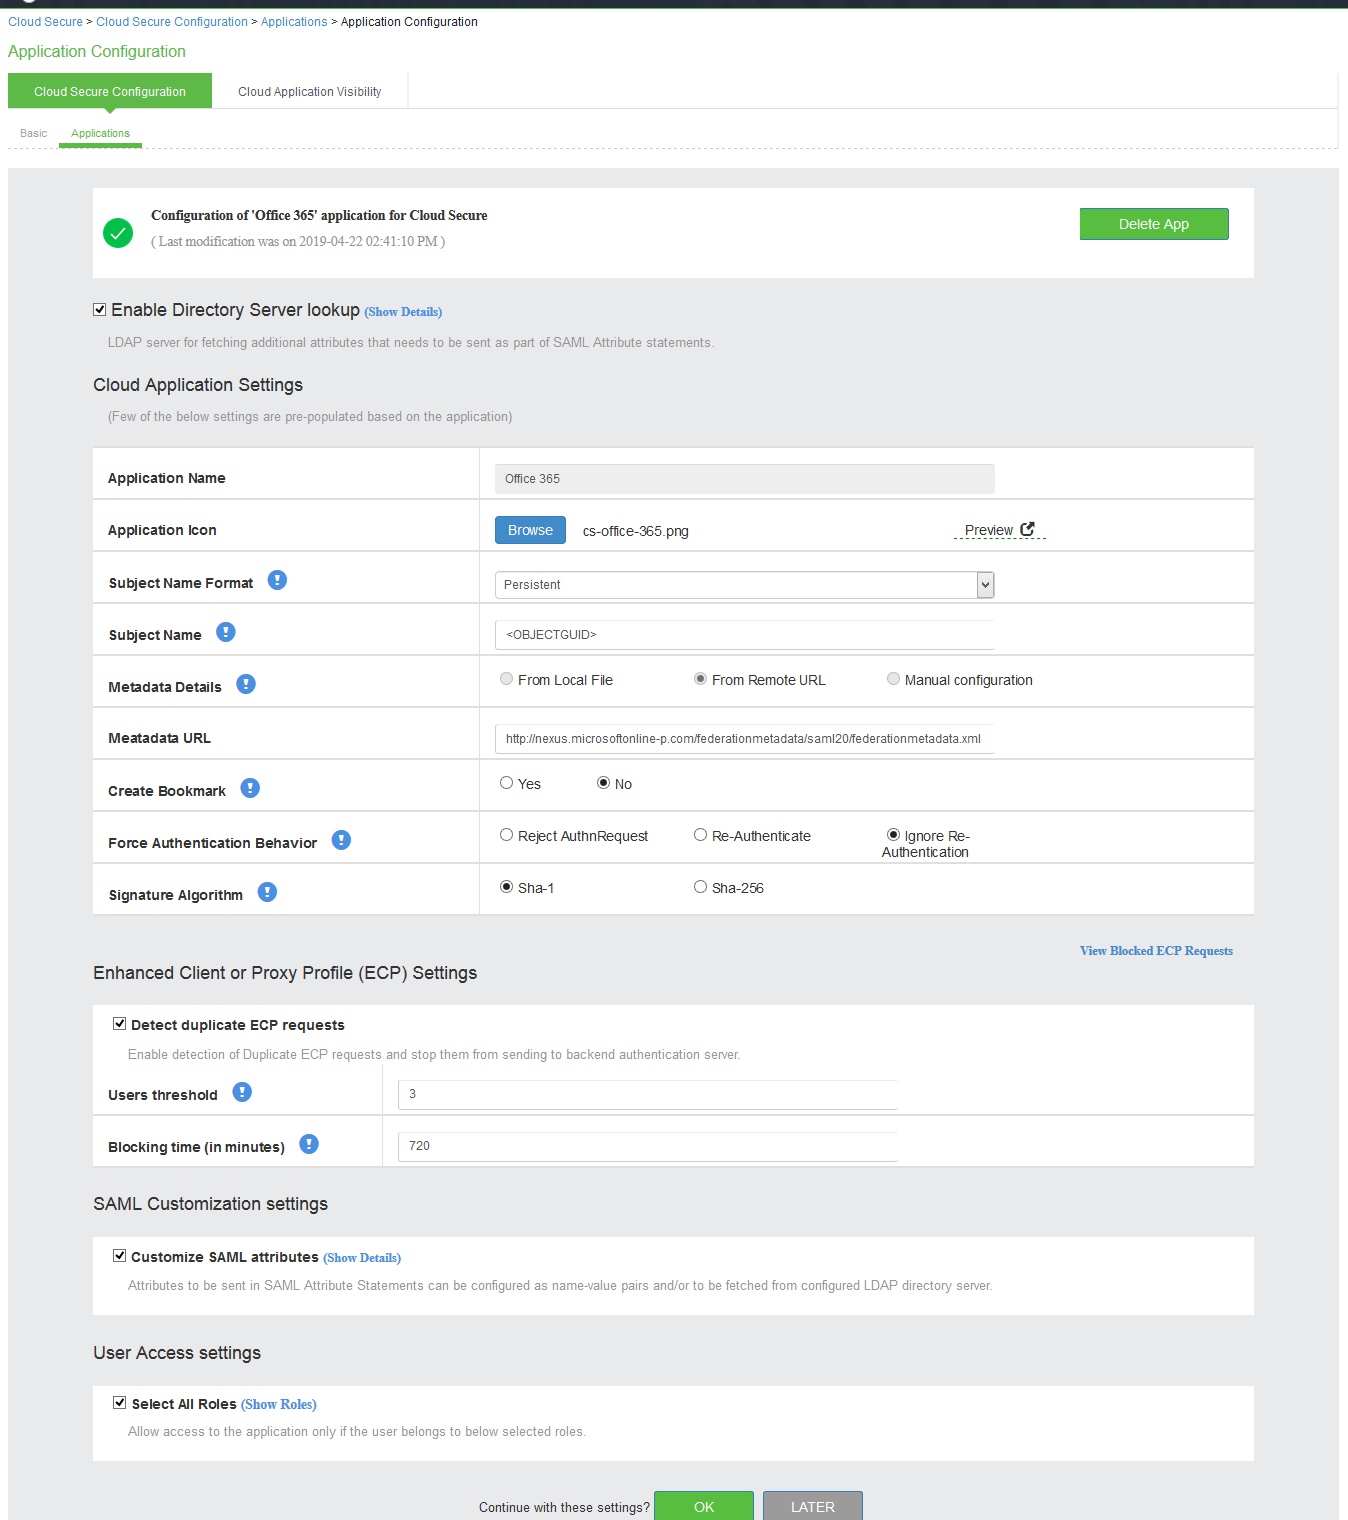
2.Select Enable Directory Server lookup to enable LDAP server for fetching additional attributes. If the LDAP server is already configured the details will be pre-populated. Admin also has a provision to create a new LDAP server in the same section.
3.Under Cloud Application Settings:
•Enter the application name.
•Click Browse and select the application icon.
•Select the Subject Name Format = Persistent.
•Enter the Subject Name.
•Under Metadata details, the metadata file is uploaded from a remote URL by default. The Admin can also choose to upload the metadata file from a local file or through manual configuration by entering the Entity ID and Assertion Consumer Service URL.
•(Optional) Set Create Bookmark to Yes to support IdP initiated SSO.
•Set the Force Authentication Behaviour to Ignore Re-Authentication.
•Set the Signature Algorithm to Sha-1 or Sha-256.
4.Under Enhanced Client or Proxy Profile (ECP) Settings.
•Enable Detect duplicate ECP request to detect and stop from sending any duplicate ECP requests to backend AD server.
•Enter the user threshold.
•Enter the blocking time in minutes.
5.Under SAML Customization & User Access settings, assign the application to applicable roles.
6.Click OK.
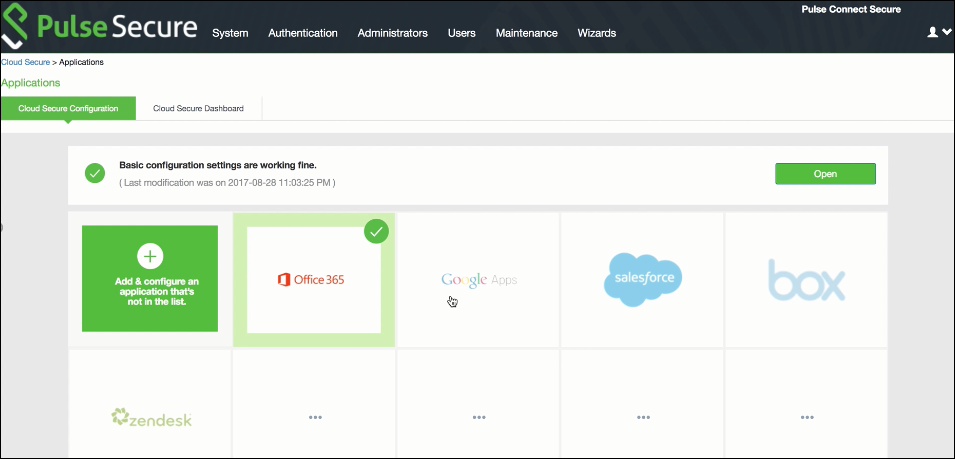
The following screen with a green tick mark on the O365 application is displayed after a successful configuration.