End-User Flow
End user can access O365 services from both mobile and desktops and flow varies depending on the platform type. User flow for iOS, Android and desktop platforms are listed below.
iOS Mobile (iOS Native Mail Client)
1.User receives a welcome email once admin creates an account in Pulse Workspace.
2.Follow the instructions outlined in the email and register the mobile device.
3.Upon successful registration, user is notified to install the enterprise applications from Pulse Workspace. In addition to this Active Sync and VPN profiles are installed on the client device.
4.Go to Setting > Mail, Contact, Calendars > Accounts and verify that Active Sync Profile is added with required details.
5.Launch the iOS Native Mail client application for accessing the emails using SSO which doesn’t require credentials.
Android Mobile (Divide Productivity App)
1.User receives a welcome email once admin creates an account in Pulse Workspace.
2.Follow the instructions outlined in the email and register the mobile device.
3.Upon successful registration, user is notified to install the enterprise applications from Pulse Workspace. In addition to this Active Sync and VPN profiles are installed on the client device.
4.Launch the Divide Productivity Application for accessing the emails using SSO which doesn’t require credentials.
Microsoft Outlook Application (Android & iOS)
1.User receives a welcome email once admin creates an account in Pulse Workspace.
2.Follow the instructions outlined in the email and register the mobile device.
3.Upon successful registration, user is notified to install the outlook application from Pulse Workspace. In addition to this, VPN profile gets installed on the client device.
4.Launch the Microsoft Outlook Application. VPN tunnel gets established automatically in iOS whereas in Android user has to manually establish VPN connection from Pulse client. Choose ‘Office 365’ from the list of Email services and input Username. User should get redirected automatically and will be give accesss to Emails without asing for credentials again.
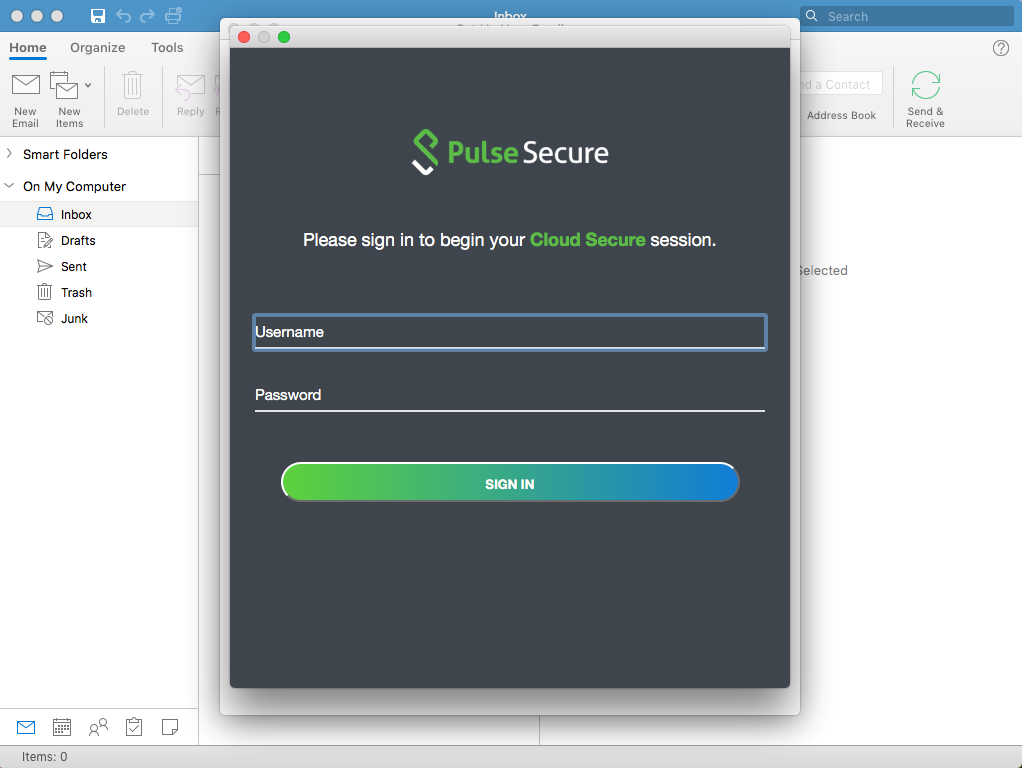
Screenshots for Outlook Application with HC on Mac OS
1.Open the Outlook application, enter the username and password and click Sign-In
2.The HC page is displayed.
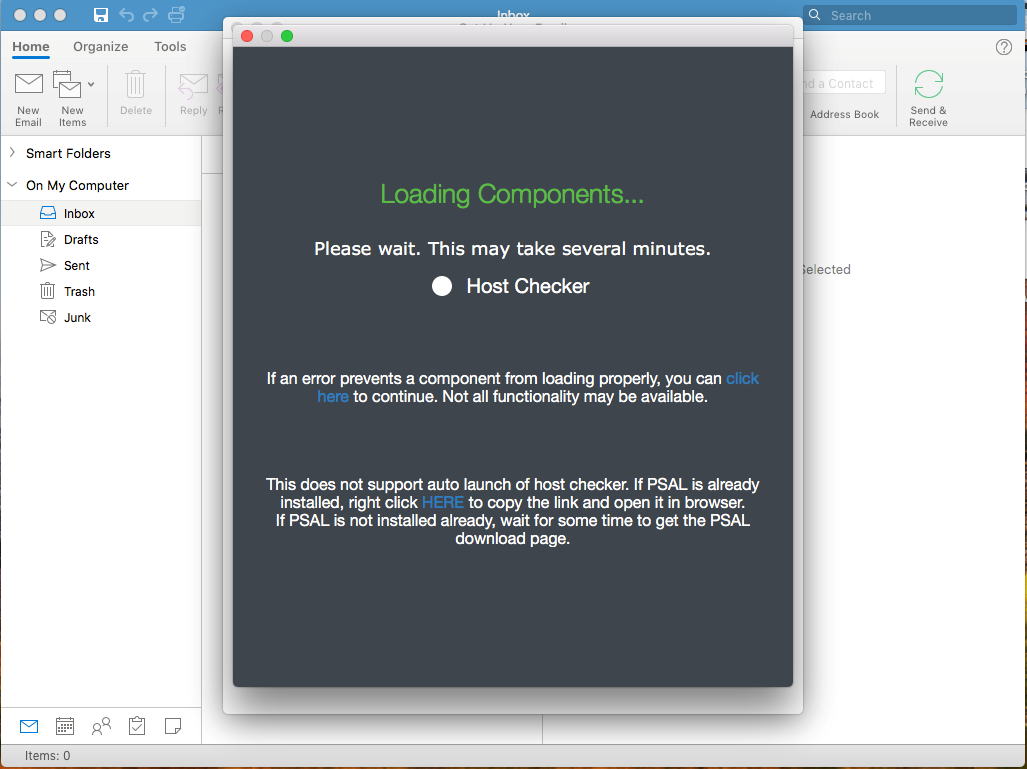
3.If PSAL is not installed wait for the PSAL download page.
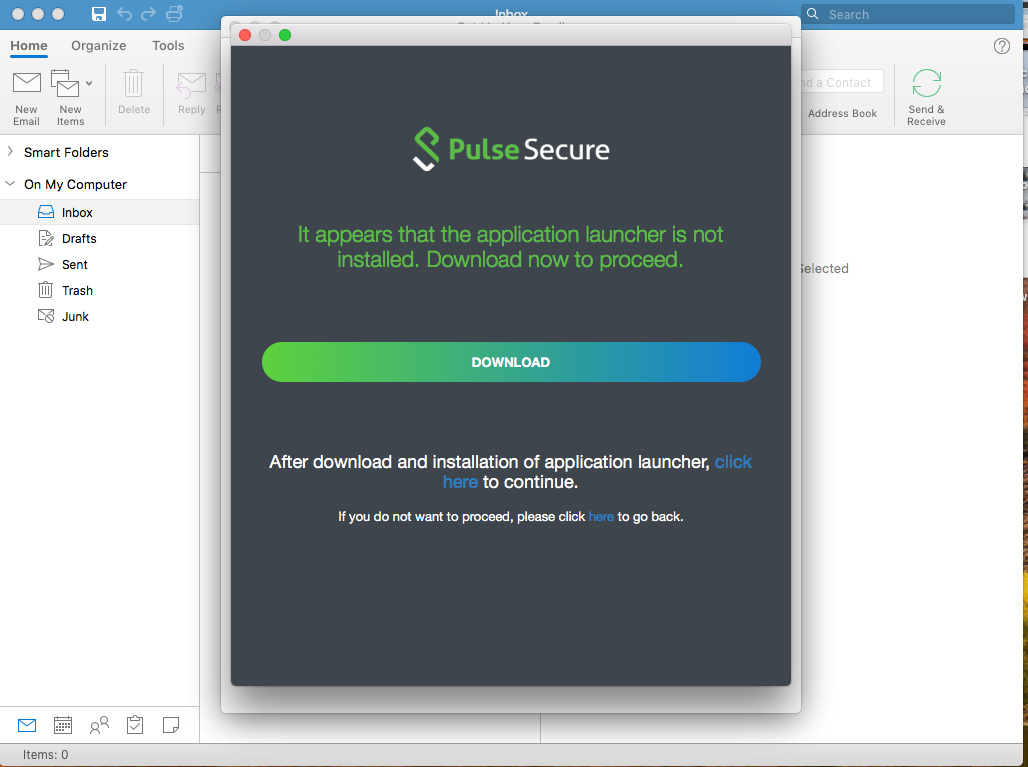

4.After clicking on Download, copy the first Click here link and open it in a browser to download and install PSAL.

Once the above step is completed, click on the second Click HERE link to continue with the HC launch.
5.If PSAL is downloaded, copy the Click Here link and open it in a browser to run the HC.

Desktops/Laptops
Cloud Secure requires Microsoft Office 2013 or 2016 client for providing SSO access to emails through modern authentication.
In Office 2016 client, Microsoft has added support for modern authentication (for doing web browser SSO) and is enabled by default. Prior to this, earlier versions of outlook client supports only ECP profile for SAML exchange.
Follow the below steps for enabling modern authentication in Office 2013 clients on Windows platform:
1.Update Office 2013 client to obtain the update that includes the new Azure Active Directory Authentication Libraries (ADAL) based authentication features.
2.Set the following registry keys.
|
Registry Key |
Type |
Value |
|
HKCU\SOFTWARE\Microsoft\Office\15.0\Common\Identity\EnableADAL |
REG_DWORD |
1 |
|
HKCU\SOFTWARE\Microsoft\Office\15.0\Common\Identity\Version |
REG_DWORD |
1 |
End-Users are usually not recommended to change the registry settings.
Follow the below steps for setting up Outlook client to access emails:
1.Add email account in Outlook client.
For Windows, navigate to File > Add Account. Provide name, email address and password and click Next.
For Mac, navigate to Tools > Account. Click + and Select New Account. Provide email address and click Continue. Provide password in the Account Information prompt and click OK.
2.Outlook client starts searching for server settings and once the details are obtained, new browser window is opened and gets redirected to PCS login page.
3.Provide user credentials and ‘Sign In’ for authenticating with PCS.
4.After successful authentication with PCS, SAML SSO is triggered and email account gets added to Outlook.
End user needs to manually establish VPN connection with PCS before accessing emails through Outlook client. This enables SSO access to the cloud resource by leveraging re-use VPN functionality.
Other Office365 Applications
1.Access any other Office 365 applications (Word, Excel, PowerPoint, OneDrive, Skype For Business etc.)
2.To Sign In, provide Email Address and Click Next.
3.User will be redirected to PCS login page. Provide user credentials and Sign In for authenticating with PCS.
4.After successful authentication, user will be provided access to the application.