Microsoft Azure Active Directory Configuration
This section covers the configurations required on Microsoft Azure AD.
Microsoft Azure AD configurations include:
•Setting Up PCS as Enterprise Application
•Configuring Single Sign-on Settings
•Assigning User to Application
Setting Up PCS as Enterprise Application
Perform the following steps:
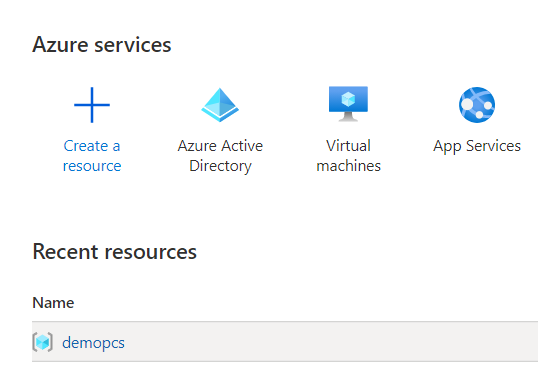
1.Log into the Azure Management Portal.
2.On the Azure Services page, select Azure Active Directory.
The following figure depicts Azure Services - Enterprise applications:
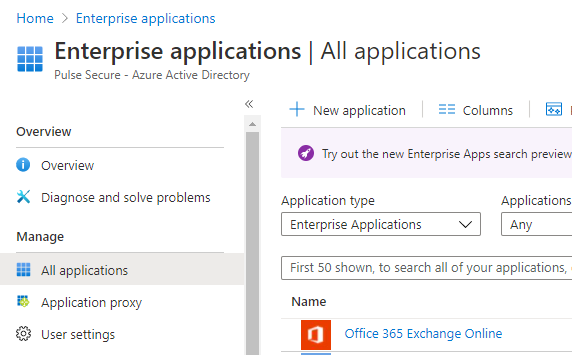
3.On the left pane, select Enterprise applications.
4.In the Enterprise applications page, click New application.
The following figure depicts the Azure AD - Enterprise applications screen:
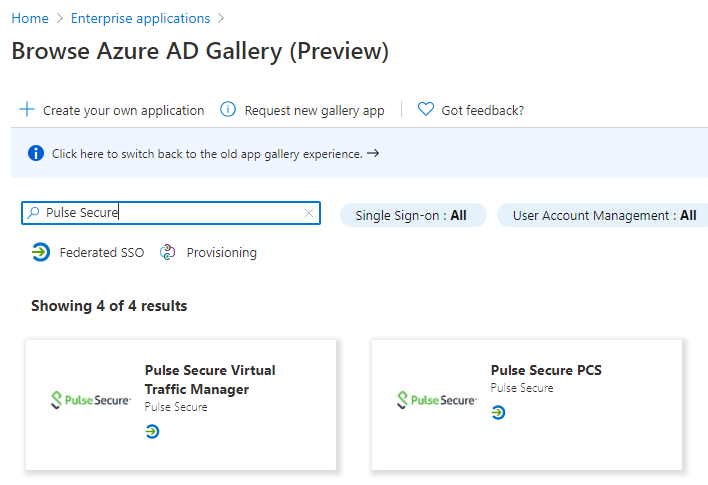
5.In the Browse Azure AD Gallery page, search with keyword Pulse Secure, and then select Pulse Secure PCS from the search result.
The following figure depicts the Azure AD - Select Pulse Secure Application screen:
6.In the window that is displayed, enter a unique name, and click Create.
The following figure depicts the Azure AD – Create Pulse Secure Application screen:
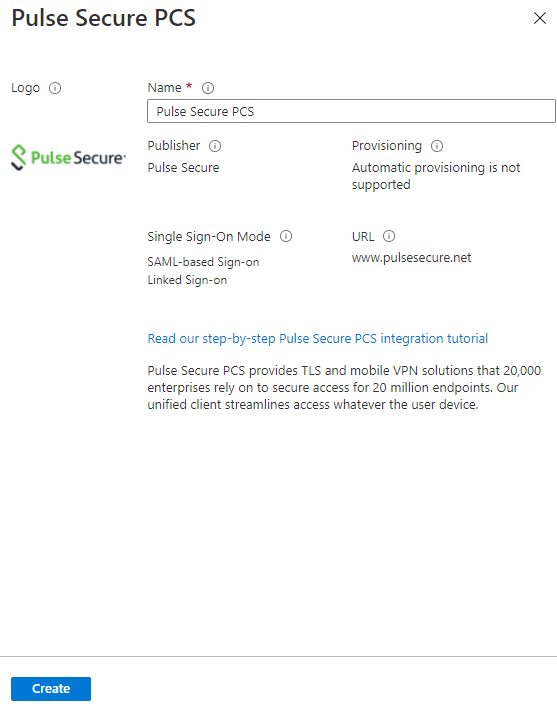
This completes setting up of enterprise application.
Configuring Single Sign-on Settings
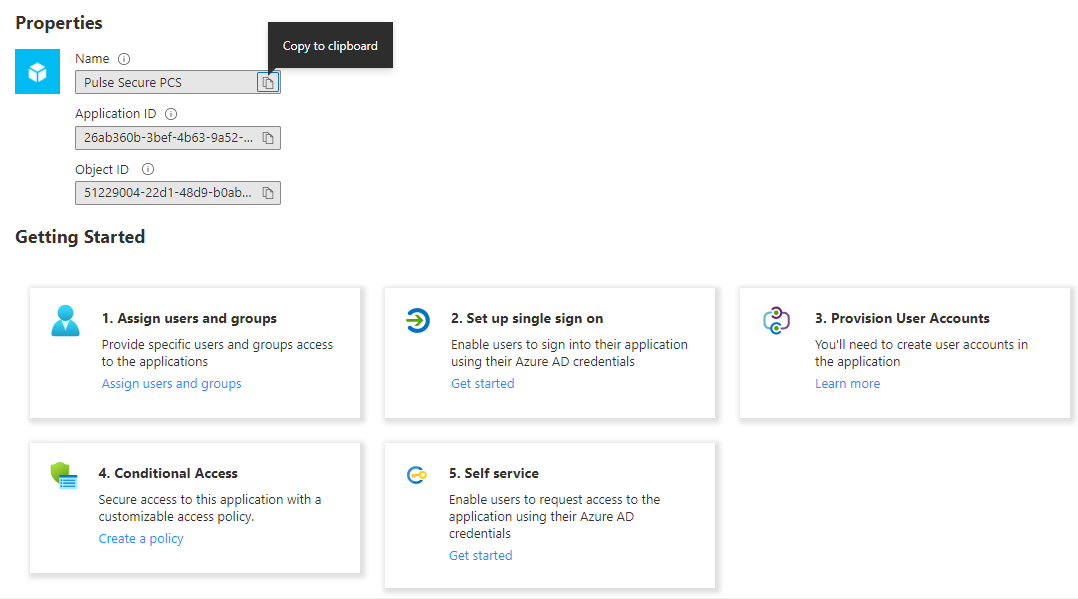
After successfully configuring the enterprise application, the Getting Started page is displayed.
Perform the following steps:
1.In the Getting Started page, select Single sign-on.
The following figure depicts the Azure AD - Single Sign-on settings screen:
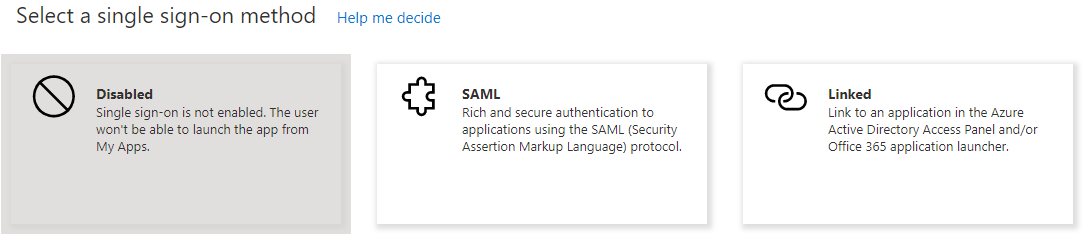
2.Select Single sign-on method as SAML.
The following figure depicts the Single Sign-on method screen:
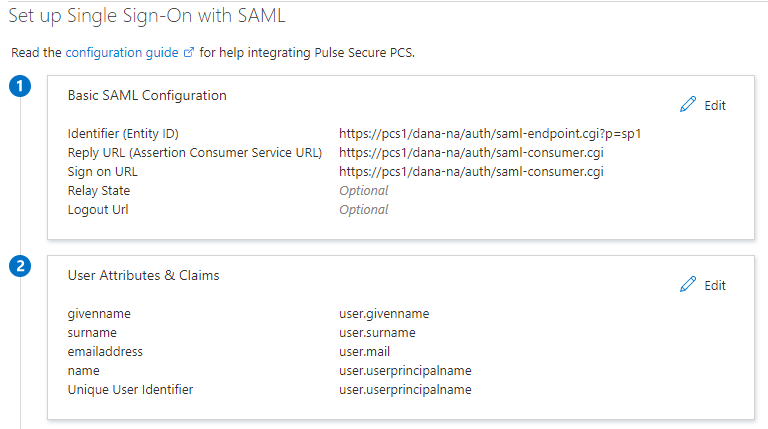
3.The Entity ID of Pulse Connect Secure is: https://[FQDN of PCS]/dana-na/auth/saml-endpoint.cgi?p=sp1
SP1 in the above Entity Id indicates that this is the first SAML Service Provider. If there are any existing SPs, then this number changes. Please check PCS configurations for exact number.
4.Reply URL of Pulse Connect Secure is https://[FQDN of PCS]/dana-na/auth/saml-consumer.cgi
5.Configure Sign on URL as https://[FQDN of PCS]/dana-na/auth/saml-consumer.cgi
The following figure depicts the Azure AD - Pulse Connect Secure settings screen:
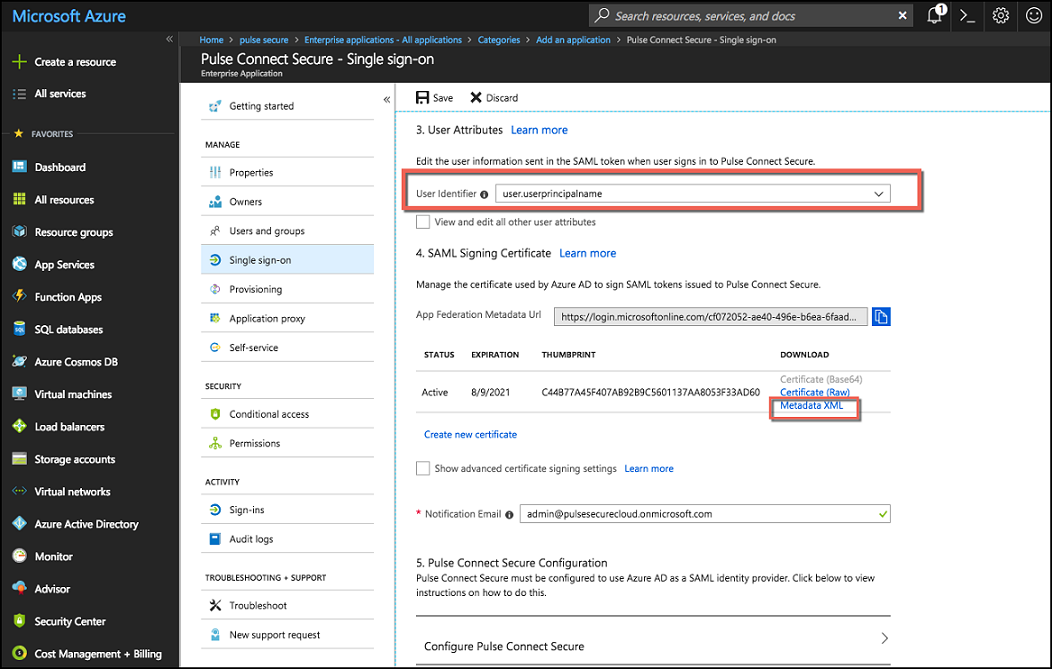
6.Select User Identifier from the drop-down list.
User Identifier value is sent as Subject Name in SAML response. Please choose appropriate one of your choice.
7.Click Metadata XML to download Azure AD IdP metadata. This will be uploaded to Pulse Connect Secure to retrieve Azure AD SAML IdP configurations.
The following figure depicts the Azure AD - User attributes screen:
Assigning User to Application
1.In the Getting Starting page, select Assign users and groups.
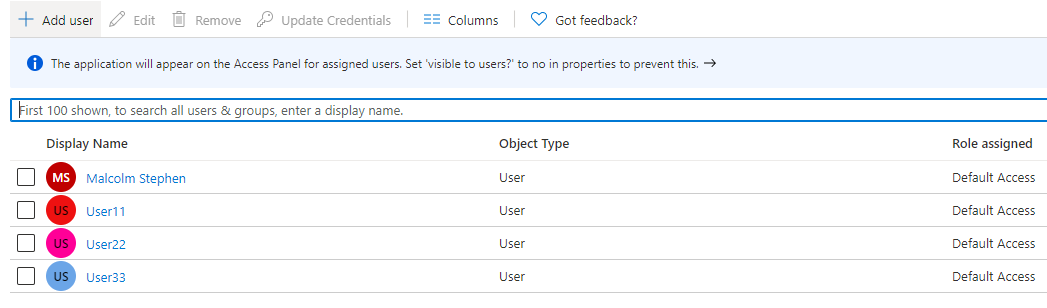
The following figure depicts the Azure AD - Assign user to application screen:
2.Select the user who needs access to PCS.
3.Click Add User.
The following figure depicts the Azure AD - Add user screen:
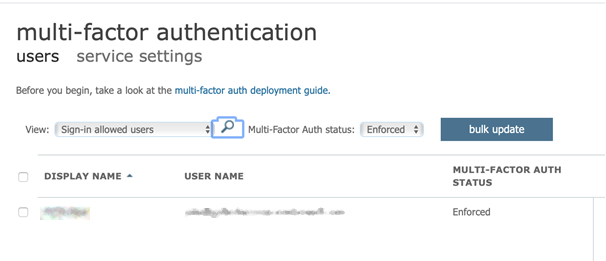
4.Microsoft MFA is then set on the user in Azure AD screen: