Pulse Connect Secure Configuration
This section covers the SAML configurations required to configure PCS as SAML SP. The other basic configurations like creating Realms and Roles are not covered.
Pulse Connect Secure configuration includes:
•Configuring Azure Active Directory as SAML Metadata Provider
•Configuring SAML Authentication Server
Configuring Azure Active Directory as SAML Metadata Provider
Perform the following steps:
1.Log into the Pulse Connect Secure admin console.
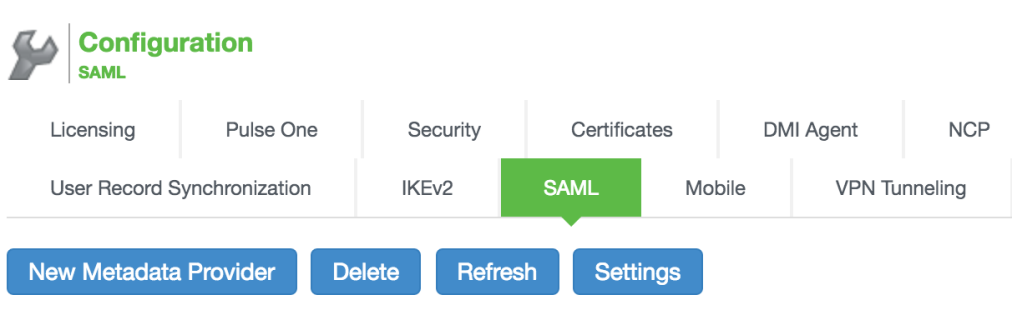
2.Navigate to System > Configuration > SAML.
3.Click New Metadata Provider.
The following figure depicts the PCS: SAML Configuration screen:
4.Provide a name for the new metadata provider.
5.Select Location as Local.
6.Upload Azure AD metadata file by clicking Browse and selecting the file.
Azure AD metadata is the XML file that should be downloaded from Azure portal. For details, see the ‘Microsoft Azure AD Configurations’ section above.
The following figure depicts the PCS: Azure AD as SAML IdP in PCS screen:
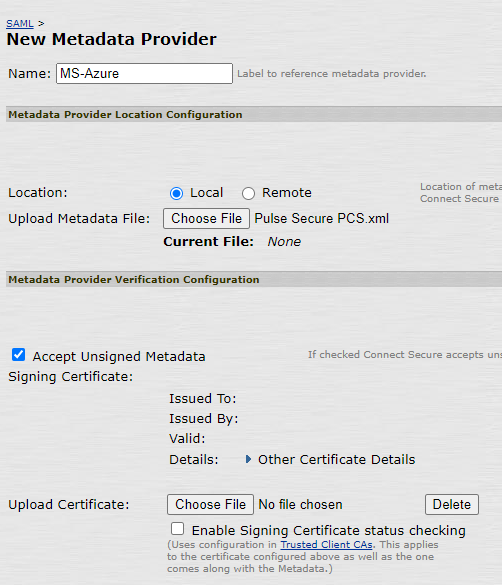
7.Select Accept Unsigned Metadata.
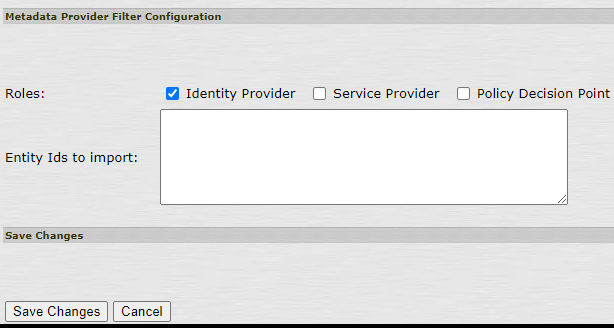
8.Select Roles as Identity Provider.
9.Click Save Changes.
The following figure depicts the PCS: Select Identity Provider role screen:
Configuring SAML Authentication Server
To create a SAML authentication server:
1.Navigate to Authentication > Auth Servers.
2.Select New: SAML Server and click New Server.
The following figure depicts the PCS: Authentication server selection screen:

3.Provide Server Name.
4.Select SAML Version as 2.0, and Configuration Mode as Metadata.
5.Select Azure AD Entity Id from the Identity Provider Entity Id drop-down list.
The following figure depicts the PCS: SAML Server settings screen:
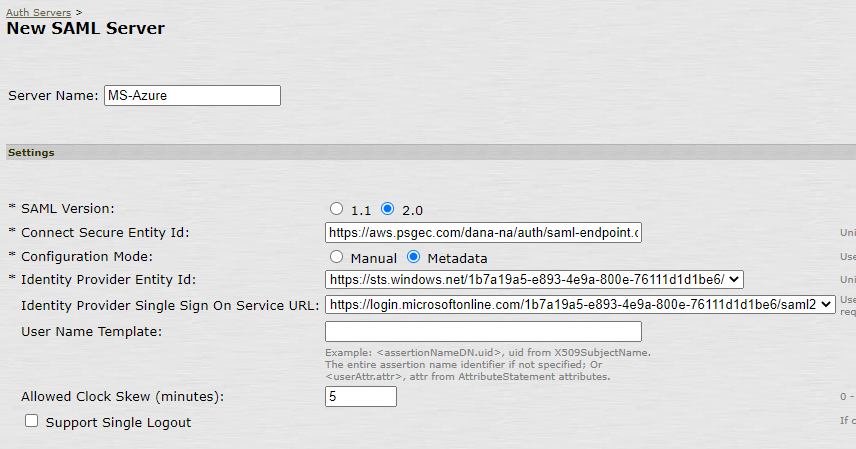
Azure AD Metadata automatically sets various parameters for the SAML authentication server.
6.Single Logout is an optional setting. If this option is selected, it prompts for a new authentication after logout. If this option is not selected and you have not closed the browser, you can reconnect without authentication.
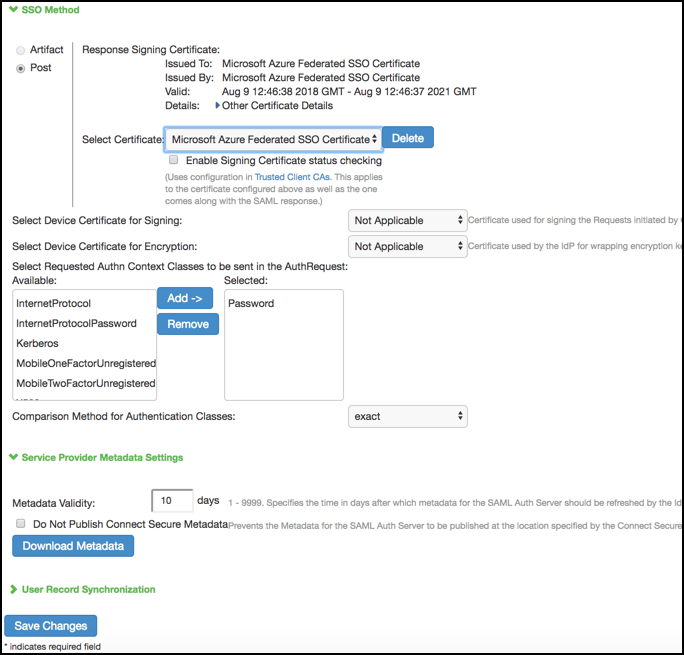
7.Select Requested Authn Context Class as Password, and Comparison Method as exact.
8.Set the Metadata Validity in terms of number of days.
9.Click Save Changes.
The following figure depicts the PCS: SSO Method settings screen: