Using Licenses with a License Server >
Configuring the License Client
Configuring a Device as a License Client
The following procedure assumes that you have already performed the license key generation and activation steps.
After you download or receive your license keys by using email:
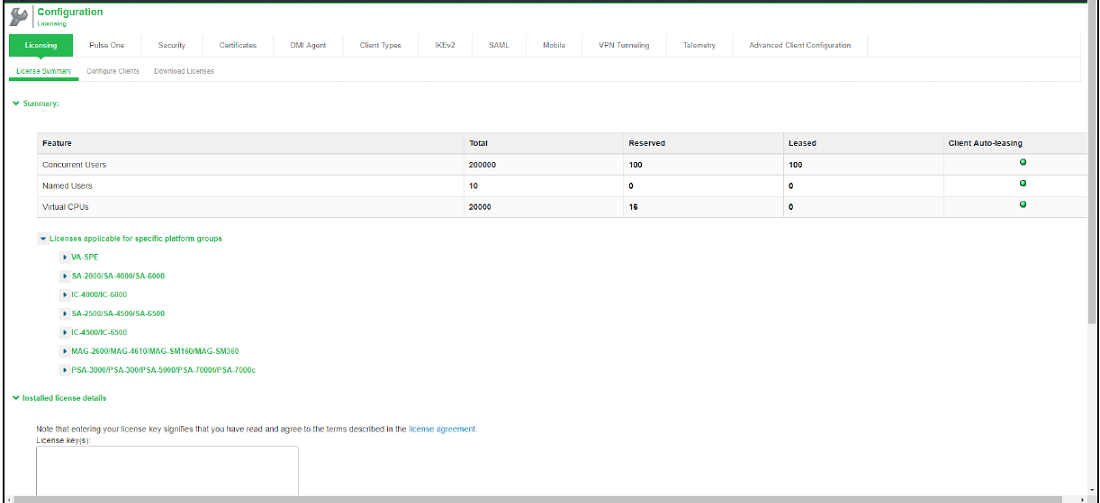
1.In the admin console, choose System > Configuration > Licensing > Licensing Summary.
2.Click on the license agreement link. Under Installed License Details, read the license agreement and, if you agree to the terms, continue to the next step.
3.Enter your license key(s) and click Add.
4.Click Save Changes.
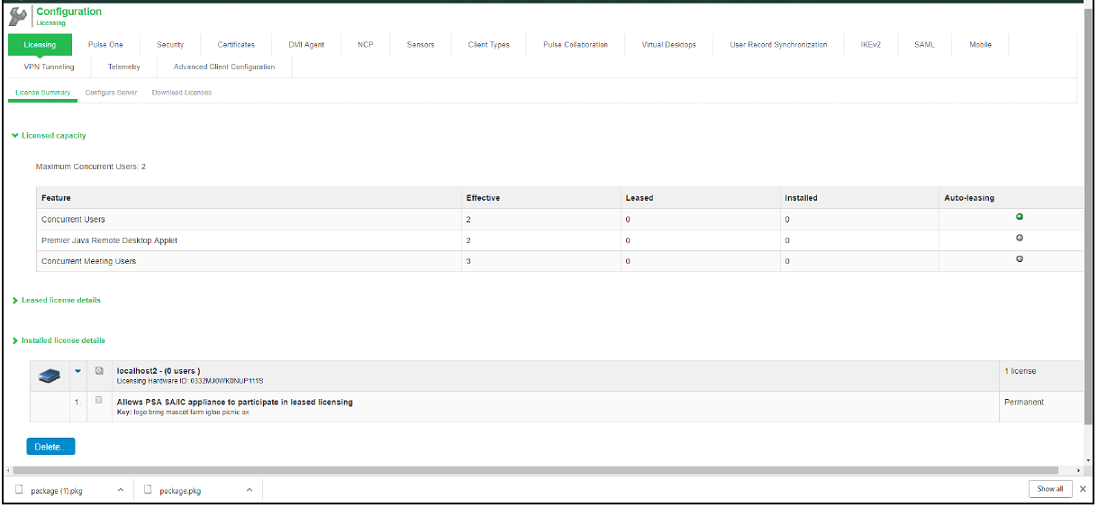
An example of the client’s License Summary tab is shown in the following figure.

To configure this device as a license client:
1.In the admin console, choose System > Configuration > Licensing > Configure Server.
2.Enter the name of the license server. You can specify the IP address or hostname.
3.Enter a unique ID for this client. This ID is used to communicate and verify this client with the license server.
IDs can contain alphanumeric characters. There is no restriction on the number of characters.
You will need to enter this ID on the license server when adding clients.
4.Enter and confirm a password for this client. You will need to enter this password on the license server when adding clients.
5.Select the network to communicate with the license server from the Preferred Network menu.
6.If the preferred network is configured correctly and enabled, it is used. Otherwise, the internal network is used.
7.Select the Verify SSL Certificate check box if you want the client to verify the server’s SSL certificate when establishing communication with it.

If this client is part of a cluster, you can change configuration information for this node or any node within the same cluster by selecting the node name from the pull-down menu. You can also select Enter cluster to update general cluster configuration information.