Running the Load-balance a Pulse Connect Secure Wizard
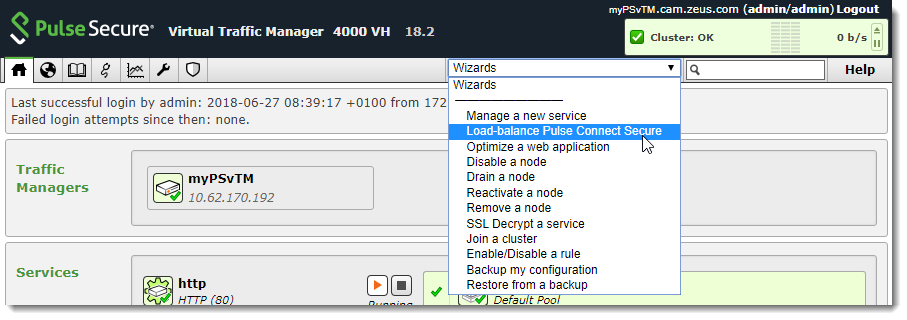
To run the wizard, click the “Wizards” drop-down menu in the tool bar, then select “Load-balance Pulse Connect Secure”.
The Traffic Manager displays the first page of the wizard.
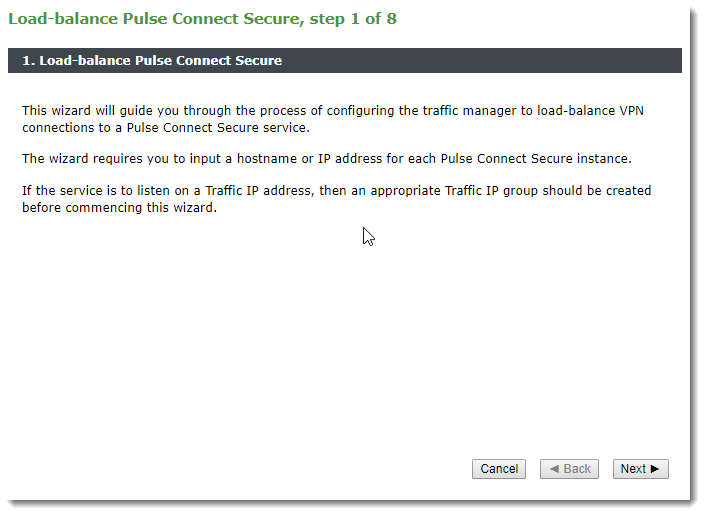
Click Next to continue.
On each wizard page, use Cancel to cancel the wizard without making any changes to the Traffic Manager. Use Back to return to the previous page and Next to continue on to the next page.
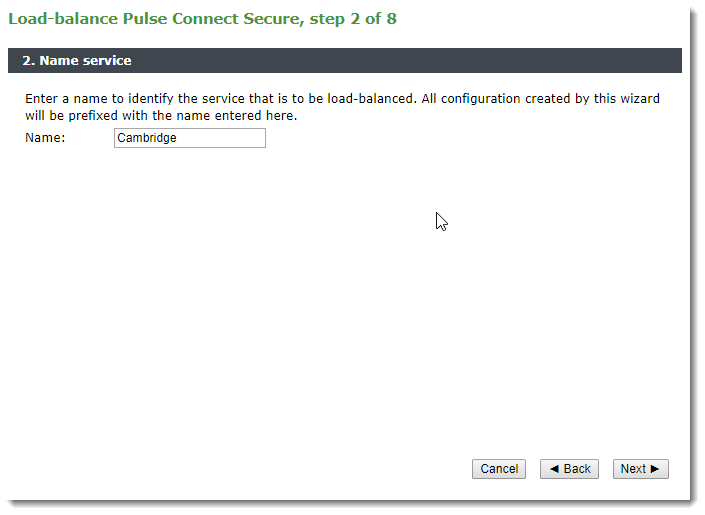
The Traffic Manager uses the identifier you provider here as a prefix for all configuration objects it creates through this process.
Type an identifying name and click Next to continue.
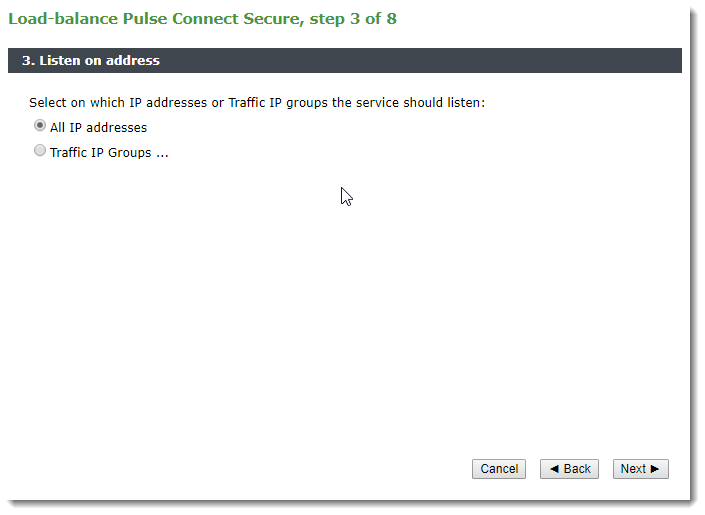
Use this page to determine if you want your VPN service to listen on all IP addresses hosted by the Traffic Manager, or to instead use a previously-defined Traffic IP group.
IP addresses assigned to the front-end network interfaces on your Traffic Managers might not be suitable to use when you publish your VPN service. In the event of a hardware or system failure in your Traffic Manager cluster, your services would become partially or wholly unavailable.
The Traffic Manager’s fault tolerance capability allows you to configure Traffic IP addresses. These IP addresses are not tied to individual Traffic Manager instances, and the cluster ensures that each IP address is fully available, even if some of the Traffic Manager instances have failed.
Traffic IP addresses are arranged into a Traffic IP group. You define the group as spanning some or all of your Traffic Manager instances. Group members negotiate between themselves to share out the Traffic IP addresses, and each Traffic Manager then raises the IP address (or IP addresses) allocated to it. To learn more about Traffic IP addresses and groups, see Traffic IP Groups and Fault Tolerance.
Select an option from the list and click Next to continue.
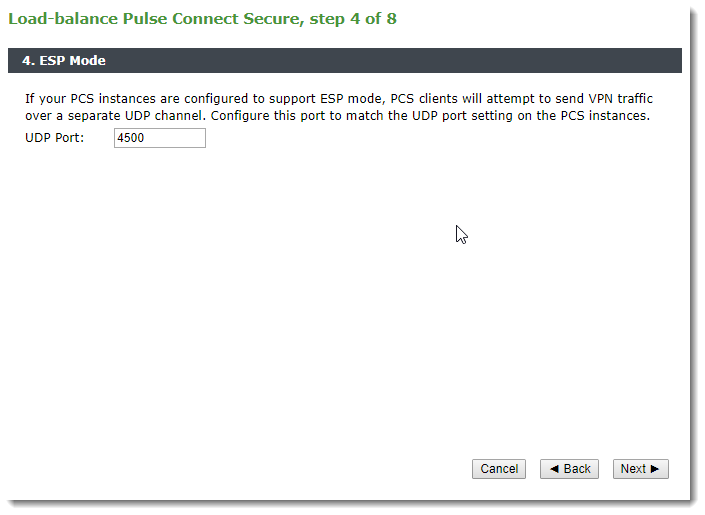
The Traffic Manager uses the value you specify here to configure the ESP mode UDP streaming virtual server. Make sure the port number you specify matches the UDP port setting on your PCS instances.
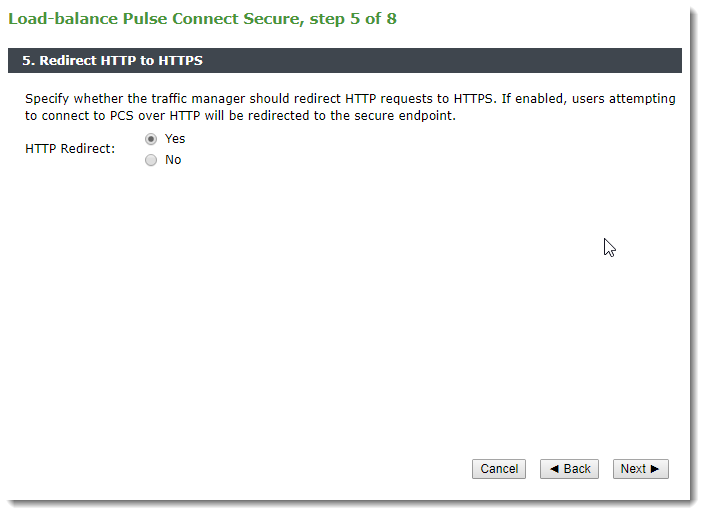
Use this setting to configure the Traffic Manager to ensure requests sent over HTTP are redirected to a secure HTTPS endpoint. Ivanti recommends consulting the network security policies of your organization before enabling this option.
Click Next to continue.
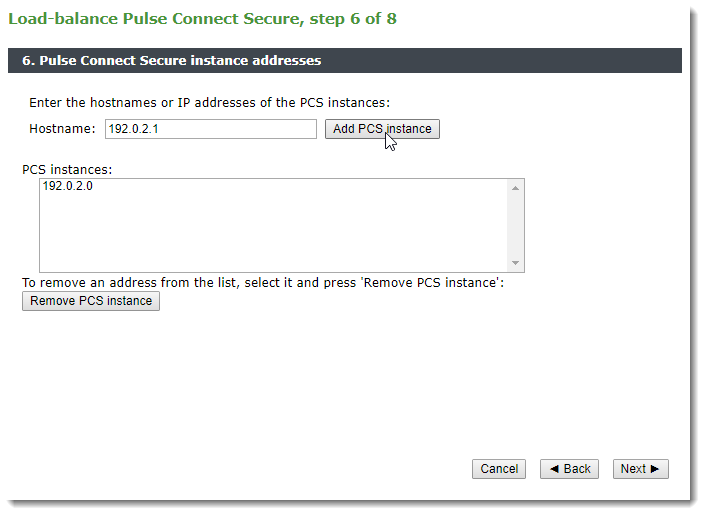
Use this page to add your PCS cluster to the Traffic Manager. For each cluster member, type the hostname or IP address into the Hostname field and click Add PCS instance to add it to the list. To remove a PCS instance, select the corresponding list entry and click Remove PCS instance.
Click Next to continue.
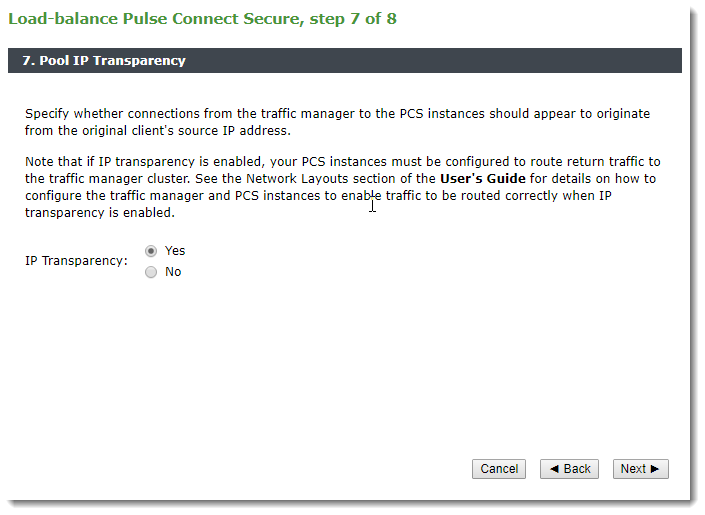
Through a traditional load-balancing deployment, the Traffic Manager listens for incoming connections and balances them across your PCS instances. A PCS instance sees the incoming traffic as having originated from the Traffic Manager’s back-end IP address, and so sends a response back to the same address. The Traffic Manager then passes this response back to the client.
In some circumstances, you might want to propagate the client IP address through to the PCS instance, such that PCS observes the connection as having originated from the client’s own IP address rather than the IP address of the Traffic Manager. This is known as IP transparency.
To enable IP transparency on the VPN service, set IP transparency to “Yes”.
ATTENTION
With IP transparency enabled, PCS addresses its responses back to the IP address of the client that sent the request. However, for transparency to operate correctly, each PCS instance must route its responses back through the Traffic Manager that sent the request. Therefore, you must configure your PCS instances to use the Traffic Manager as the default gateway. To learn more about traffic routing with IP transparency, see Essentials of Network Configuration.
For details of how to configure PCS, see the documentation available on the Ivanti website (www.ivanti.com).
Click Next to continue.
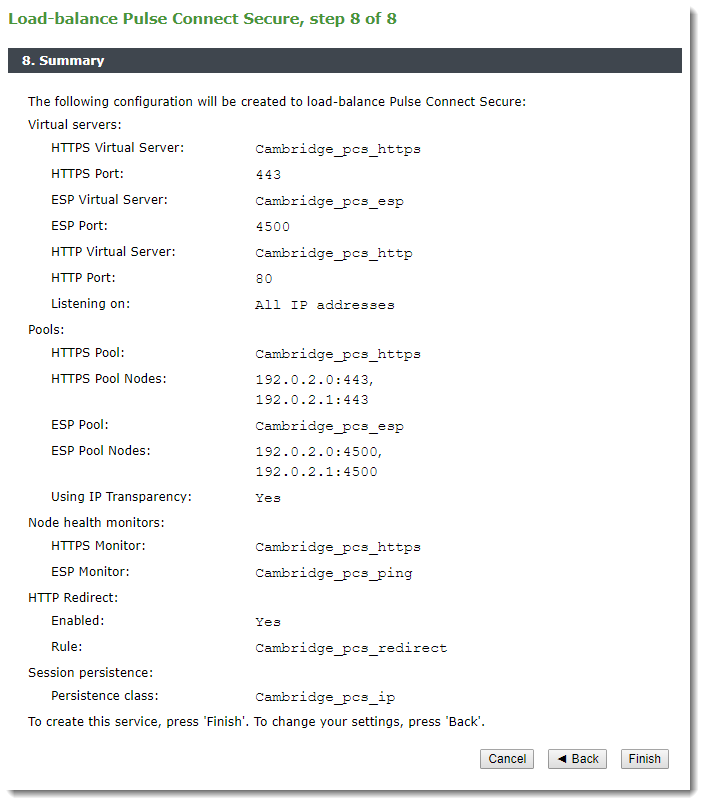
This page displays a summary of the proposed Traffic Manager settings. Click Cancel to quit the wizard without making any changes, click Back to return to the previous page, or click Finish to complete the wizard and configure the Traffic Manager.
After the wizard has completed all configuration, the Traffic Manager Home Page is updated to show all running services.
Weighted Load Balancing with Service Discovery
For Pulse Connect Secure release 9.1R3 and later, the Traffic Manager can optionally use Service Discovery to query the number of free license seats on each PCS instance in your deployment. The Traffic Manager can then use this information with weighted load balancing to avoid over-provisioning a single PCS instance.
The Traffic Manager uses the PCS healthcheck API to discover the number of free license seats, and in turn to bias new connections to devices that report they have a greater license capacity.
To use this feature, first make sure your PCS instances are configured to accept healthcheck requests from your Traffic Manager’s back-end IP address. For details, see the Pulse Connect Secure documentation on the Ivanti Technical Publications website (https://www.ivanti.com/support/product-documentation).
To start using the healthcheck API, reconfigure your PCS pools in the Traffic Manager Admin UI to use the built-in Service Discovery plug-in. Select the Service Discovery sub-section (click Services > Pools > Edit > Service Discovery) and complete the following required configuration items:
|
Configuration Item |
Setting |
|
service_discovery!enabled |
Set to "Yes" |
|
service_discovery!plugin |
Select "builtin-PCS_PPS" |
|
service_discovery!plugin_args |
For the HTTPS pool, use the following argument: --nodes="192.0.2.0:443 192.0.2.1:443" --info
For the ESP pool, use the following argument: --nodes="192.0.2.0:4500 192.0.2.1:4500" --info
For the --nodes argument, substitute in a space or comma separated list of your PCS node IP addresses, as also specified during the “Load-balance Pulse Connect Secure” wizard . The --info argument places INFO messages in the Traffic Manager Event Log whenever a change is detected in the relative node weights (used by the load-balancing algorithm). If such log message are not required, you can safely omit this argument. For the ESP pool, make sure the port number you use matches that specified during the “Load-balance Pulse Connect Secure” wizard . |
To save your changes, click Update. Note that in the pool edit page, the node list is no longer configurable.
Next, select a "Weighted" load-balancing algorithm (click Services > Pools > Edit > Load Balancing). You must complete this process for both PCS pools in your Traffic Manager configuration.
To learn more about Service Discovery, see Service Discovery.