Checking the Initial IP Address
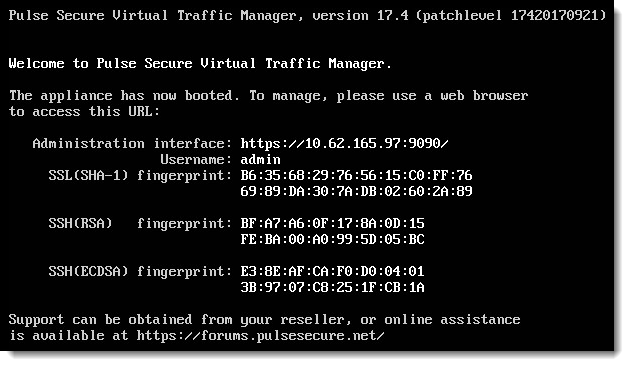
When you first start the Traffic Manager virtual appliance, it attempts to obtain an IPv4 address using DHCP. If it receives no response to its DHCP requests, the virtual appliance configures itself with the static IP 192.168.1.101 (on the 192.168.1.0/24 network). With either case, the chosen IP address is displayed on the console.
If the virtual appliance could not obtain an address using DHCP and the default 192.168.1.101 address is not appropriate for your network, you can manually set the initial IP address.
To set the initial IP address
1.Engage the Traffic Manager virtual appliance console interface.
2.Type Alt+F2 to switch to the alternative console display "tty2".
3.Log in as "admin" with the default password of "admin".
4.Run the command z-set-initial-address.
5.Type an IP address and netmask at the prompt.
6.Once the command terminates, type logout to log out of the console.
7.Switch back to "tty1" by typing Alt+F1.
8.Observe that the IP address in the URL for the Traffic Manager administration interface (Admin UI) has changed to your new IP address.