Installing the Virtual Appliance
The installation procedure consists of two separate steps. The virtual appliance disk file must first be added to an appropriate storage pool. You can then install the virtual appliance software through the CLI or VMM, basing it on the disk file from the storage pool.
In a standard implementation, libvirt manages designated directories, known as storage pools, to store virtual machine disk volume files. Other complex setup scenarios are possible, but are not discussed here. Your system administrator determines which storage pool to use, with the default being /var/lib/libvirt/images.
To add the disk file to an appropriate storage pool:
1.Copy the virtual appliance ZIP archive file to the host machine.
2.Log in to the host machine and uncompress the archive file to the local disk. The uncompressed contents include:
•VirtualTrafficManager.qcow2: the virtual machine disk file.
•RELEASE_NOTES.txt: a text file containing the release notes.
3.Copy VirtualTrafficManager.qcow2 to the storage pool directory.
4.Rename VirtualTrafficManager.qcow2 to your virtual machine name (for example, "MyTrafficManager-01.qcow2"). As each .qcow2 file corresponds to a specific virtual appliance, this step ensures that your disk image files remain unique within the storage pool.
5.You can use the following command to ensure this file appears correctly inside a storage pool:
virsh <connectionURI> pool-refresh --pool <poolname>
To install the virtual appliance software using virt-install in the CLI:
1.Issue a virt-install command to install the virtual appliance:
virt-install --import --cpu=host
--connect <connectionURL>
--disk <full path to disk file>,format=qcow2,bus=virtio
--name=<Virtual Appliance name> --os-type=linux
--os-variant=ubuntuprecise --network bridge=br0,model=virtio
--ram=2048
--graphics=vnc
In the above command, br0 is the name of the network bridge interface on the host (if one is used). Interface names in your network infrastructure might vary.
CAUTION
If the installation process fails with the error: "ERROR OS variant 'ubuntuprecise' does not exist in our dictionary for OS type 'linux'", Ivanti recommends changing the OS Variant part of the command to an alternative supported Linux variant.
To install the virtual appliance software using the VMM GUI:
1.Start the VMM tool from a client machine, and connect to the host QEMU/KVM machine. The following command can be used to achieve this:
virt-manager --connect=qemu+ssh://my-kvm-host.com/system
In the above command, my-kvm-host.com is the host machine name. An SSH tunnel is used to connect to the QEMU/KVM host. You must have an SSH account and corresponding public key stored on this host for authentication.
For information on alternative connection methods, see the virt-manager documentation.
2.Click New to start the process of creating a new virtual machine.
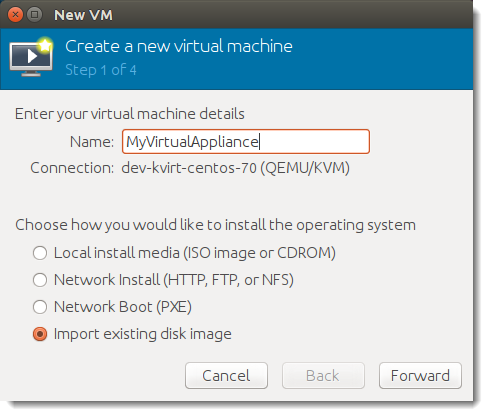
3.Enter a name for your virtual appliance that corresponds with the name used for the virtual machine disk file. From the list of options, click Import existing image and then click Forward to proceed.
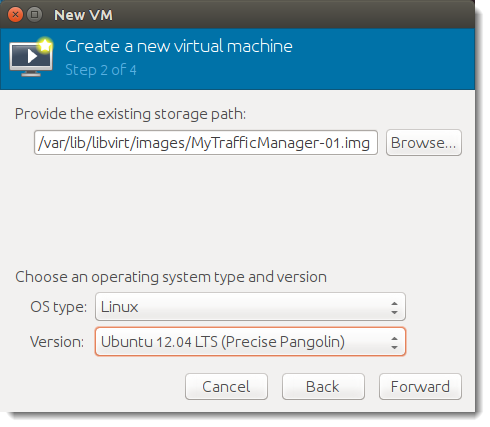
4.Click Browse to select the storage pool location and disk file for this virtual machine.
5.Select an OS type of "Linux" and set Version to a supported Linux variant. Click Forward to proceed.
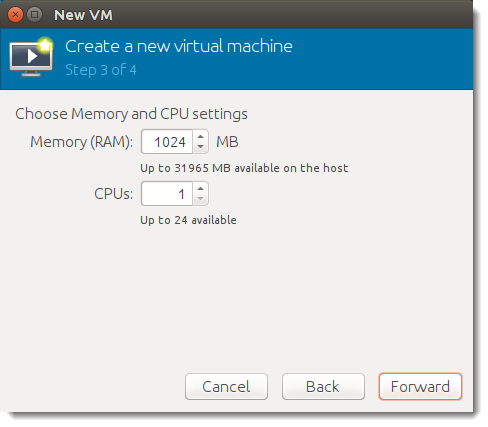
6.Enter the RAM and CPU resource settings required for your virtual machine. For recommended settings, see System Requirements or in the release notes provided with your virtual appliance package. Click Forward to proceed.
7.Under Advanced options, choose any further settings that you want to apply. Ivanti recommends that you select bridged networking using the drop-down list provided.
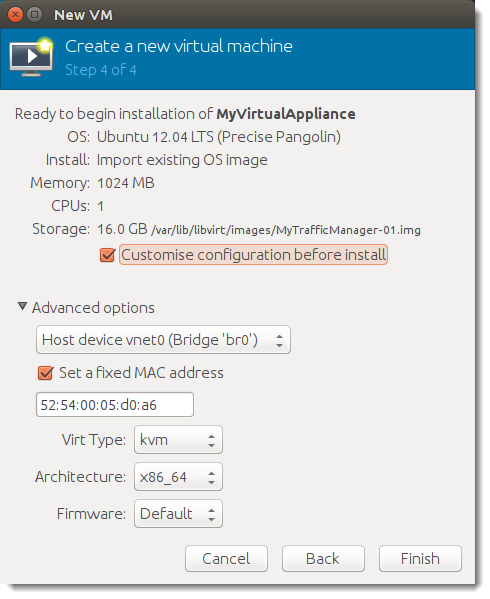
8.Tick Customise configuration before install, and then click Finish.
9.Before your Traffic Manager virtual machine is installed, VMM displays the hardware configuration page. Click Processor in the left hand category list and then click Copy host CPU configuration to set the CPU model to match the host hardware.
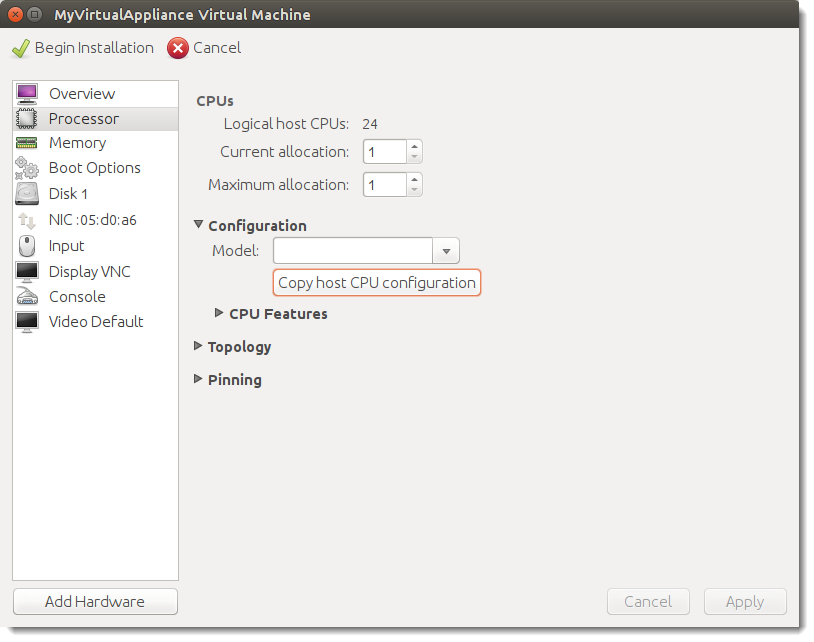
10.Click Apply to save your changes.
11.Click Disk 1 in the left hand category list and then click the fold-down arrow next to Advanced options. For Disk bus, select “Virtio” from the drop-down list.
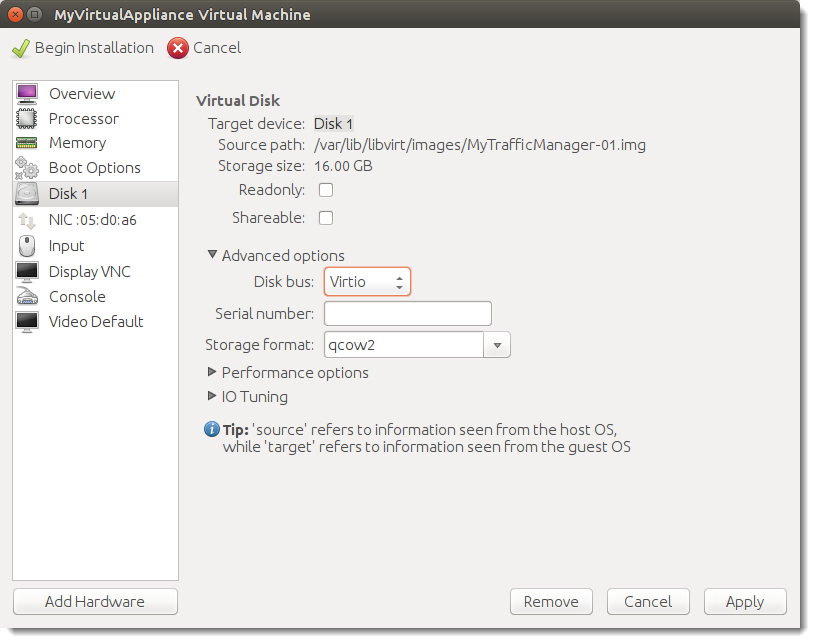
12.Click Apply to save your changes.
13.Click NIC in the left hand category list and then select “Virtio” from the Device model drop-down list.
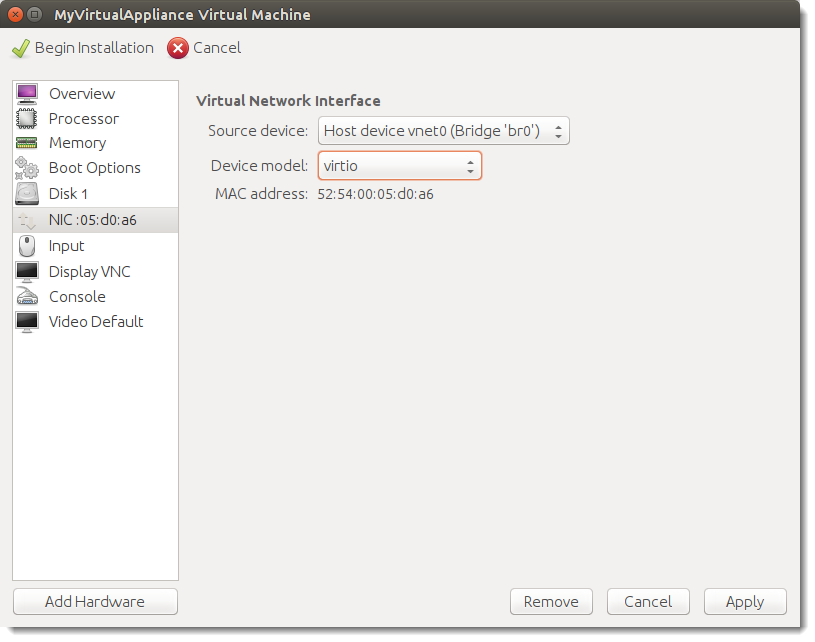
14.Click Apply to save your changes and then click Begin Installation to complete the installation process.