Using the Initial Configuration Wizard
A newly created Traffic Manager instance requires some basic information to function normally. The Traffic Manager gathers this information over a series of steps that form the Initial Configuration wizard.
Access the first page of the wizard by entering the URL of the Admin UI into your Web browser:

Click Next to begin the initial configuration of your Traffic Manager.
The number and order of the wizard steps varies by product variant. The number and order of the wizard steps you see may differ from the ones shown in this chapter.
Entering the Admin User Password
This step applies only to Amazon EC2 instances.
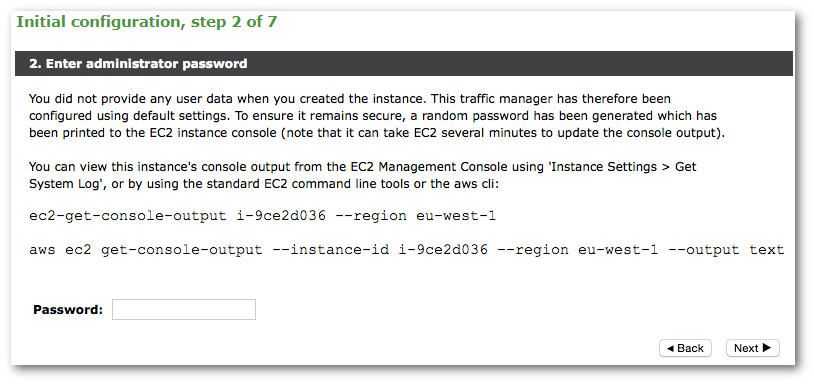
The Traffic Manager uses the password you specify in this step to verify that you are the person who launched the instance. Verifying the identity helps prevent an unauthorized user from gaining control of a newly launched instance.
Note the following points about entering the admin user password:
•For EC2 instances where you preconfigured an admin user password, enter that password here. For more information, see Launching a Virtual Machine Instance.

•For EC2 instances where you did not preconfigure an admin user password, EC2 generates a random password for you.
You can find this EC2-generated password in the instance's EC2 console log for the instance. As an additional security measure, and to ensure that you are authorized to configure the instance, the console log is only available to the Amazon user who created the instance.
To view the console log, click Console output in your graphical EC2 management tool or run the following command:
ec2-get-console-output <instance_id>
The <instance_id> variable is the unique ID of the instance you are trying to configure. There can be a delay of several minutes after the instance is created before the console output is available from EC2.
If you did not preconfigure an admin password, you can set one later using the configuration wizard.
Retrieve the randomly generated password from the console log and enter it in the wizard. Then click Next.
Accepting the License Agreement
Read and accept the Ivanti Terms and Conditions of Sale:

Please read the entire agreement. If you agree to its terms, click the I accept the license agreement check box and click Next to continue.
You cannot use the Traffic Manager software until you accept the license agreement and you have completed the installation wizard.
Setting the Date and Time
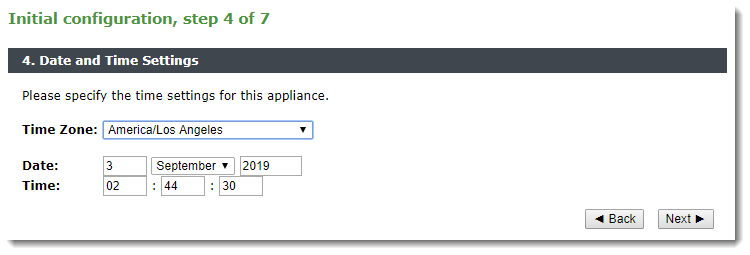
Set the date and time for your Traffic Manager instance. Setting this correctly ensures that any logs and diagnostic messages generated by the Traffic Manager have the correct timestamps:
Setting System Security
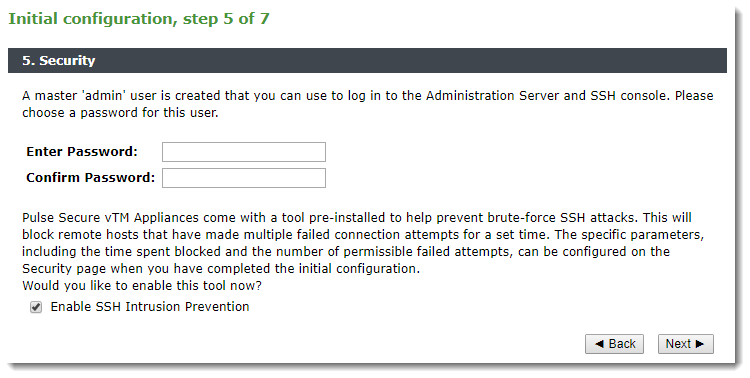
If you did not preconfigure an admin password when you launched the instance, enter one now. Use the password you set here when you configure an instance through a Web browser. If you enable password authentication for SSH, you can also use the admin password when you log in to an instance using SSH (with the username “admin”).
The Traffic Manager also contains an SSH intrusion prevention tool to help prevent brute-force SSH attacks on your Traffic Manager instance. Ivanti strongly recommends you enable this option.
If you preconfigured an admin password, the Traffic Manager displays only the option to enable SSH intrusion prevention.
Providing a License Key
The Traffic Manager is available as a range of set-frequency billing subscriptions where the license is built in, and as a Community Edition/Bring Your Own License (BYOL) instance. For the Community Edition/BYOL instance, the Initial Configuration Wizard provides an additional step to configure your instance with the required licensing.
For set-frequency billing subscriptions, this step does not appear.
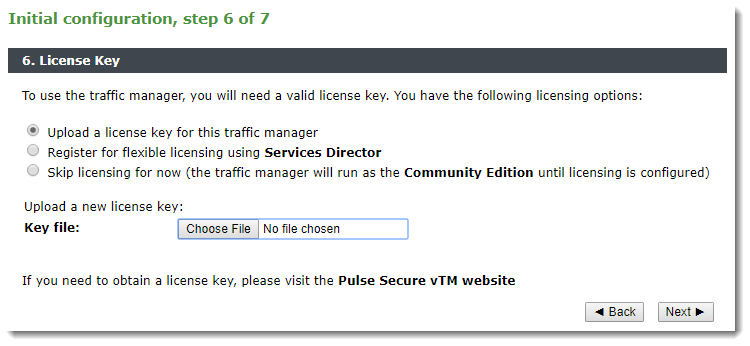
Click one of the following options:
•To upload a license key now, click “Upload a license key for this traffic manager” and then click Choose file to select a suitable key file from your local workstation. Click Next to verify.
•To license this Traffic Manager instance as part of a Pulse Secure Services Director deployment, click “Register for flexible licensing using Services Director” and follow the instructions contained in your Services Director documentation.
To use flexible licensing, make sure you are using Pulse Secure Services Director version 2.4 or later.
•To add a license key later, or to use the Traffic Manager as the Community Edition, click “Skip licensing for now” and then click Next.
To learn more about the Community Edition, see The Community Edition.
Viewing the Summary Page
The Summary page displays the configuration settings for you to review.
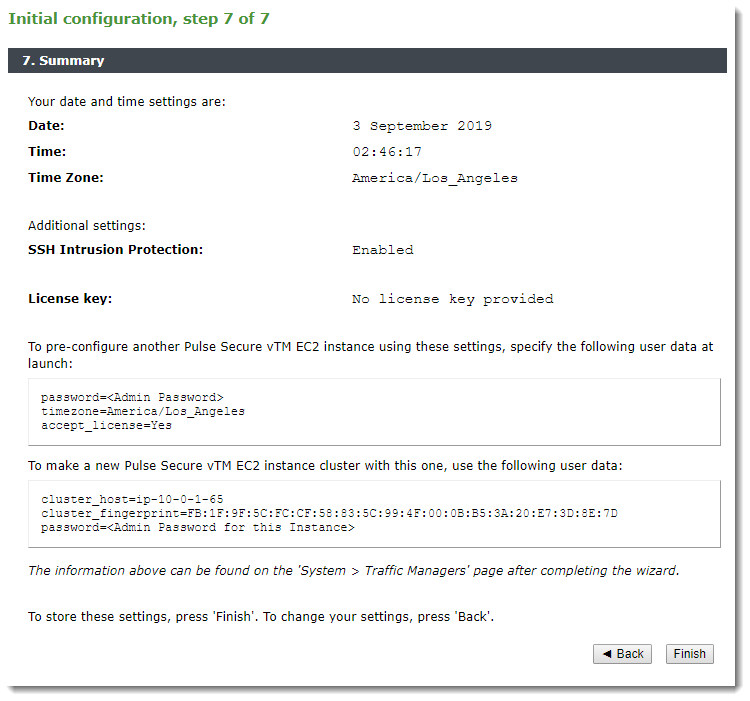
Click Back to make changes or click Finish to complete the installation.
The Traffic Manager settings shown here are replicated on the System > Traffic Managers page after you have completed initial configuration.
After clicking the Finish button, a status message appears while the Traffic Manager is configured.
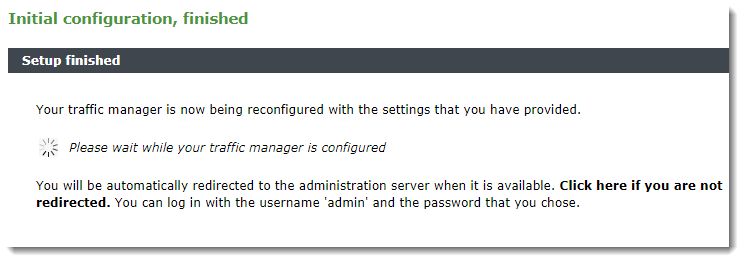
After a short wait, you are redirected to the login page of the Admin UI. Log in using the username (admin) and the admin password. The password is either the password you preconfigured when you launched the instance, or the password you set during the installation wizard.