Using the Initial Configuration Wizard
A newly created Traffic Manager instance requires some basic information to function normally. The Traffic Manager gathers this information over a series of steps that form the initial configuration wizard.
Access the first page of wizard by entering the URL of the instance Admin UI into your Web browser:
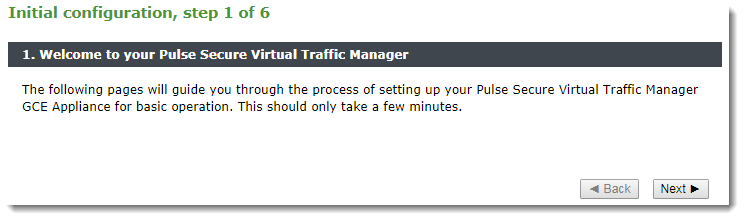
•Click Next to begin the initial configuration of your Traffic Manager.
Entering the Administrator Password
The Traffic Manager uses the password you specify in this step to verify that you are the person who launched the instance. Verifying the identity helps prevent an unauthorized user from gaining control of a newly launched instance.
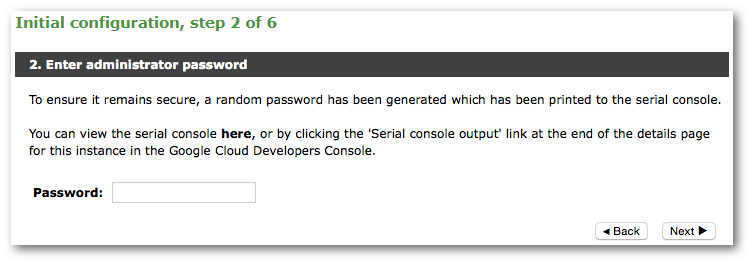
You can find the password in the instance's serial console. As an additional security measure, and to ensure that you are authorized to configure the instance, the console log is only available to the GCE user who created the instance or a user in the same GCE project with adequate permissions.
To view the serial console, click the link shown. Alternatively, use the link provided in the instance details screen in the GCE Web management portal, or the gloud compute API command:
gcloud compute instances get-serial-console-output <instance_name>
Retrieve the randomly generated password from the console log and enter it in the wizard. Then click Next.
Accepting the License Agreement
Read and accept the Ivanti Terms and Conditions of Sale:
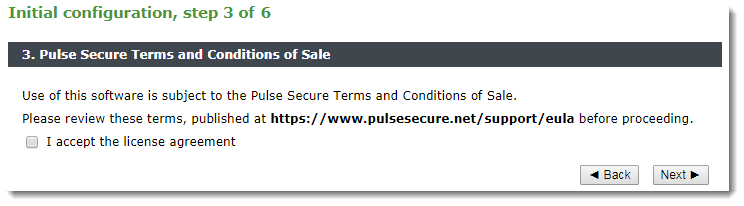
Please read the entire agreement. If you agree to its terms, click the “I accept the license agreement” check box and click Next to continue.
You cannot use the Traffic Manager software until you accept the license agreement and you have completed the wizard.
Setting the Date and Time
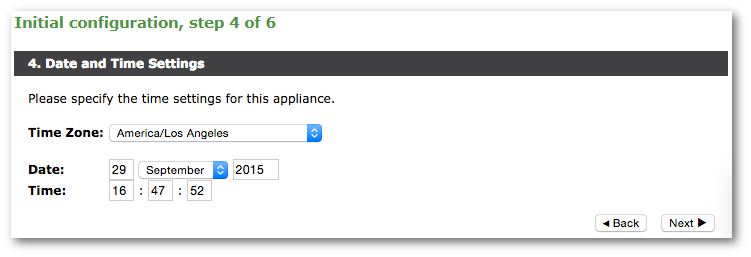
Set the date and time for your Traffic Manager instance. Setting this correctly ensures that any logs and diagnostic messages generated by the Traffic Manager have the correct timestamps:
Setting System Security
Use the password you set here when you log in to the Traffic Manager Admin UI through a Web browser. If you enable password authentication for SSH, you can also use this password when you log in to an instance using SSH (with the username “admin”).
For all newly created GCE virtual machines, TCP port 22 (used for SSH command line access) is open by default for connections through the firewall. The Traffic Manager contains an SSH intrusion prevention tool to help prevent brute-force SSH attacks on your Traffic Manager instance. Ivanti strongly recommends you enable this option.
You can additionally create a new GCE firewall to disable port 22 if so desired. For more information, see Before You Begin.

Uploading the License Key
The Traffic Manager is available as a range of set-frequency billing subscriptions where the license is built in, and as a Community Edition/Bring Your Own License (BYOL) instance. For the Community Edition/BYOL instance, the Initial Configuration Wizard provides an additional step to configure your instance with the required licensing.
For set-frequency billing subscriptions, this step does not appear.
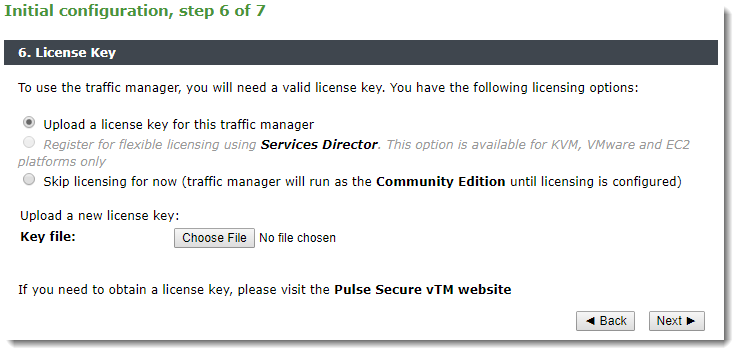
Click one of the following options:
•To upload a license key now, click “Upload a license key for this traffic manager” and then click Choose file to select a suitable key file from your local workstation. Click Next to verify.
•To add a license key later, or to use the Traffic Manager as the Community Edition, click “Skip licensing for now” and then click Next.
To learn more about the Community Edition, see The Community Edition.
Viewing the Summary Page
The Summary page displays the configuration settings for you to review.
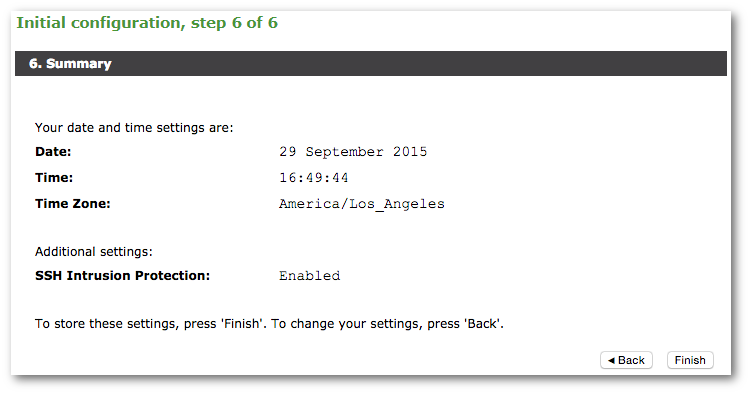
Click Back to make changes or click Finish to complete the installation.
The Traffic Manager settings shown here are replicated on the System > Traffic Managers page once you have completed initial configuration.
After clicking the Finish button, status message appear as the Traffic Manager is being configured.
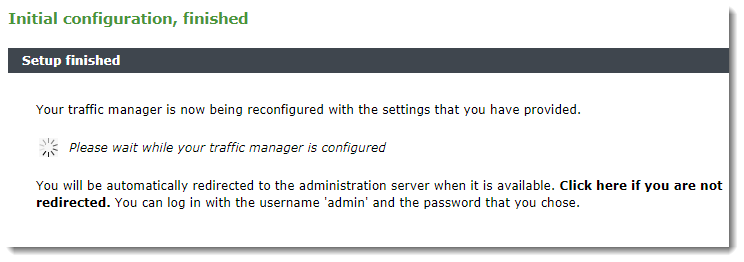
After a short wait, you are redirected to the login page of the Admin UI. Log in using the username (admin) and the admin password you set during the installation wizard.