Configuring the Traffic Manager Appliance
This chapter describes how to configure a newly installed Traffic Manager appliance. It assumes you have already performed the installation procedure described earlier in this guide.
This chapter also documents further configuration tasks such as reconfiguring, uninstalling, and upgrading the appliance.
Checking the Initial IP Address
Before you switch on your Traffic Manager appliance, attach your required network connections. To obtain details of the available network ports and their configuration, consult your hardware specifications.
When you first switch on the Traffic Manager appliance after installation, it attempts to obtain initial IPv4 addresses on all connected interfaces using DHCP. The first assigned address is displayed in the appliance console, although you can use any of the assigned IP addresses to initially access the Traffic Manager appliance administrative interface (also known as the Admin UI).
ATTENTION
For appliances with a large number of network interfaces, the process of starting the appliance for the first time can take several minutes while the Traffic Manager attempts to obtain initial IP addresses for each interface. Do not switch off or reboot your appliance during this process.
The Traffic Manager provides the opportunity to configure all connected and unconnected network interfaces to your requirements during initial configuration.
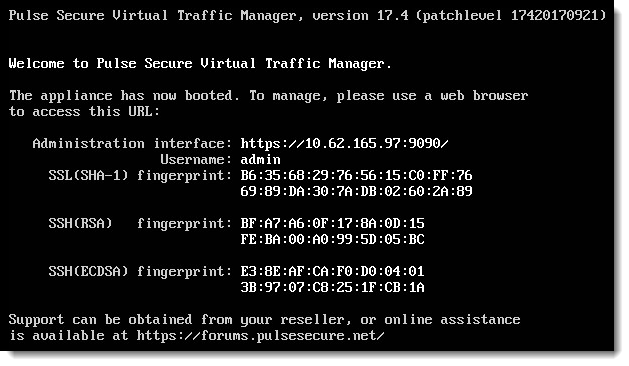
Connect to the appliance console to view the current primary management IP address (shown in the URL for “Administration Interface”).
If the Traffic Manager receives no response to its DHCP requests, the appliance configures itself with the static IP address 192.168.1.101 (on the 192.168.1.0/24 network).
If the appliance could not obtain an address using DHCP and the default 192.168.1.101 address is not appropriate for your network, you can manually set the initial management IP address from the appliance console.
To set the initial IP address from the console
1.Type Alt+F2 to switch to the alternative console display "tty2".
2.Log in as "admin" with the default password of "admin".
3.Run the following command:
z-set-initial-address
4.Type an IP address and netmask at the prompt.
5.Once the command terminates, type logout to log out of the console.
6.Switch back to "tty1" by typing Alt+F1.
7.Observe that the IP address in the URL for “Administration Interface” has changed to your new IP address.