Installing Through a PXE Boot Environment
This section applies only to installation through PXE. To install the Traffic Manager from a physical medium such as CD-ROM, DVD-ROM, or USB flash drive, see instead Installing the Traffic Manager From a Disk or USB Flash Drive.
This section describes a typical process for setting up a PXE environment with the Traffic Manager installation files. Before you begin, make sure you have the files described here.
The following files must be served from a tftpboot server:
•vmlinuz: Kernel file
•initrd.gz: Contains the minimal image required to download Traffic Manager ISO image file
•pxelinux.cfg: PXE configuration file
The following files must be served from a HTTP server:
•ZeusTM_<version>_Appliance-x86_64.iso: Traffic Manager ISO image file
•User-Data: Pre-boot configuration file
These files are all supplied as a ZIP archive package in ZeusTM_<version>_Appliance-x86_64-PXE.zip. Contact your support provider for details.
To configure a PXE environment with the Traffic Manager installation files:
1.Ensure you have a properly configured PXE environment, with DHCP records pointing to a working TFTP server.
2.Copy vmlinuz and initrd.gz into <TFTP_path> on the TFTP server.
3.Copy pxelinux.cfg into the directory <TFTP_path>/pxelinux.cfg/ on the TFTP server.
4.Identify the MAC address of the network interface on the appliance you want PXE to use for installing the Traffic Manager. This interface must be contactable from the TFTP server.
5.Using the format “01-<appliance_mac_address>”, create a symbolic link in the directory <TFTP_path>/pxelinux.cfg/ pointing to <TFTP_path>/pxelinux.cfg/pxelinux.cfg. For example, the link name might be “01-b6-39-b9-f6-91-2b”.
6.Reboot your appliance and check its console output to make sure it is able to load vmlinuz and initrd.gz through PXE.
7.Ensure that ZeusTM_<version>_Appliance-x86_64.iso is downloaded from the specified HTTP server.
8.The appliance shuts down after the installer has finished.
CAUTION
To avoid PXE attempting to re-install the Traffic Manager appliance software after the initial installation, you must remove the symbolic link containing the identifying appliance MAC address. Failure to remove this link results in the installer being run multiple times.
9.After the appliance starts, the ISO image begins extracting and then installing. This procedure is fully automated, requiring no manual intervention.
The following images provide examples of typical console screen output at various stages during the procedure.
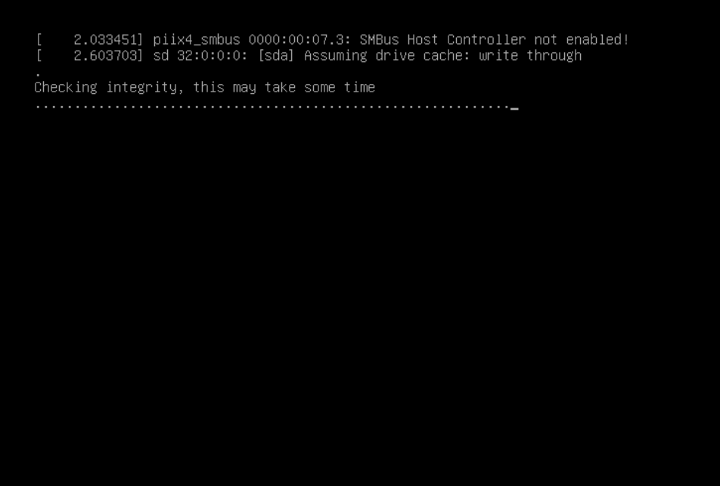
During extraction and verification of the ISO file, the following screen appears:

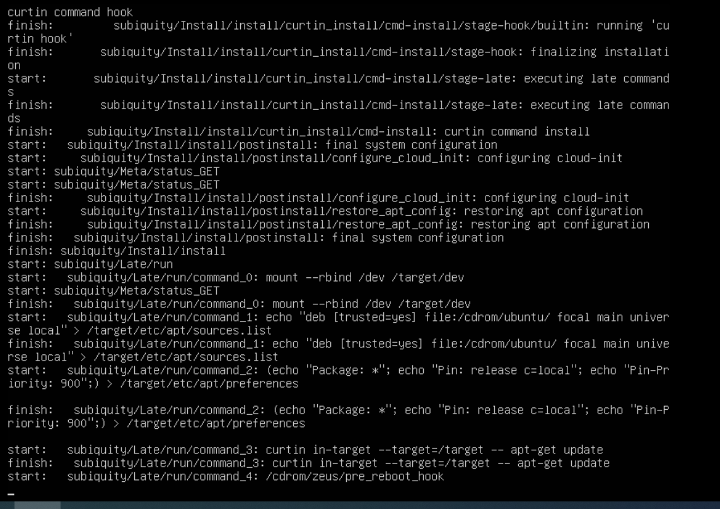
After installation is complete and during execution of the pre-boot script, the following screen appears:
This might take a few minutes. Do not restart your device.

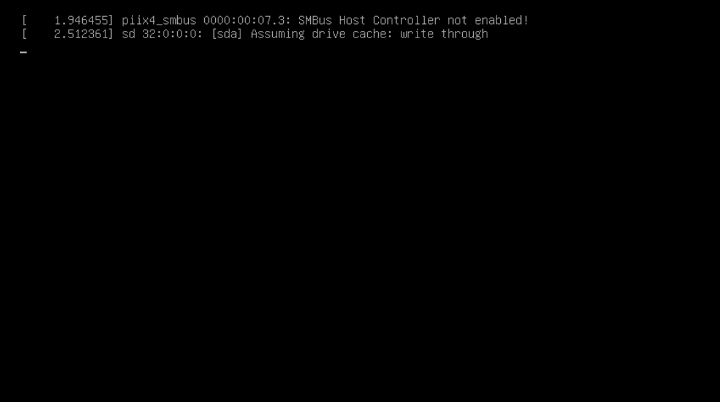
After the pre-boot script has completed and the device has restarted, the following screen appears:

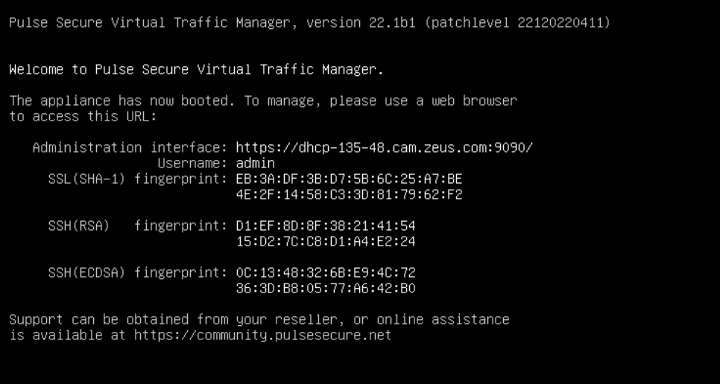
After the software has fully installed, the following screen appears:
