Integrating Ivanti Neurons for MDM with nZTA
Introduction
Ivanti Neurons for MDM enables to securely access and protect data. It validates the device to ensure that only authorized users, devices, apps, and services can access business resources.
Ivanti NMDM is an independent entity which has a tenant running on the cloud and the same will be used to communicate to the nZTA by adding the details of the NMDM in the nZTA, see Integrating Ivanti NMDM with nZTA.
Neurons for MDM integration with Neurons for ZTA achieves the below goals:
- Supports compliance check for mobile devices during login and application access.
This section explains steps involved in setting up NMDM cloud and configuring NMDM in nZTA.
Prerequisites
• Configuring Ivanti NMDM Cloud
Configuring Ivanti NMDM Cloud
As a prerequisite, an admin needs to configure Ivanti NMDM cloud configuration.
To configure Ivanti NMDM cloud:
1.Log in to Ivanti NMDM server.
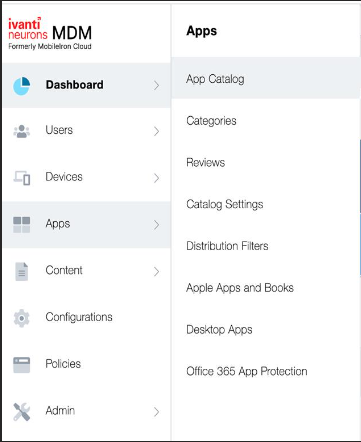
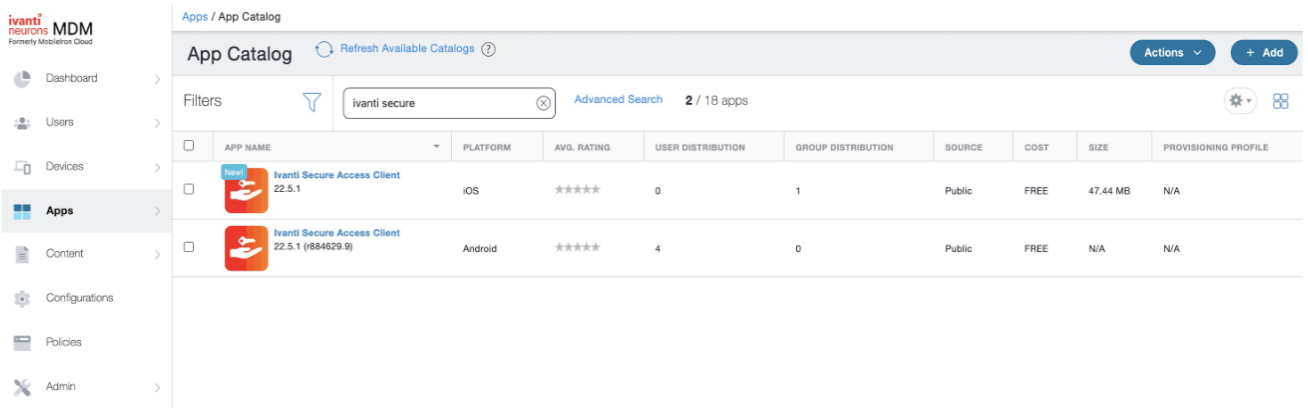
2.In the Ivanti Neurons for MDM menu, select Apps > App Catalog.
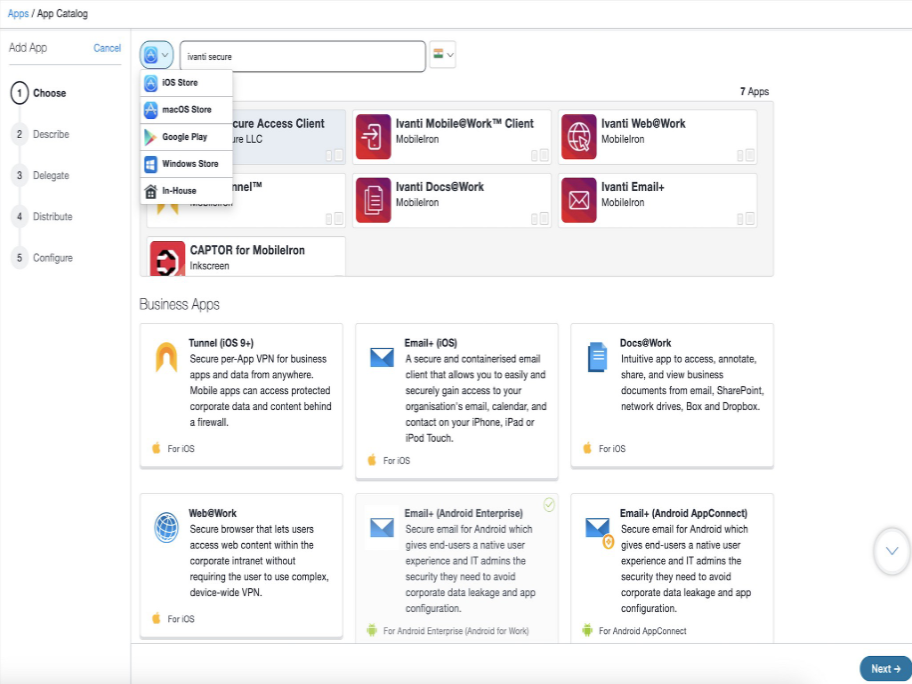
3.Search for Ivanti Secure Access Client iOS app. Select the app and click Next.
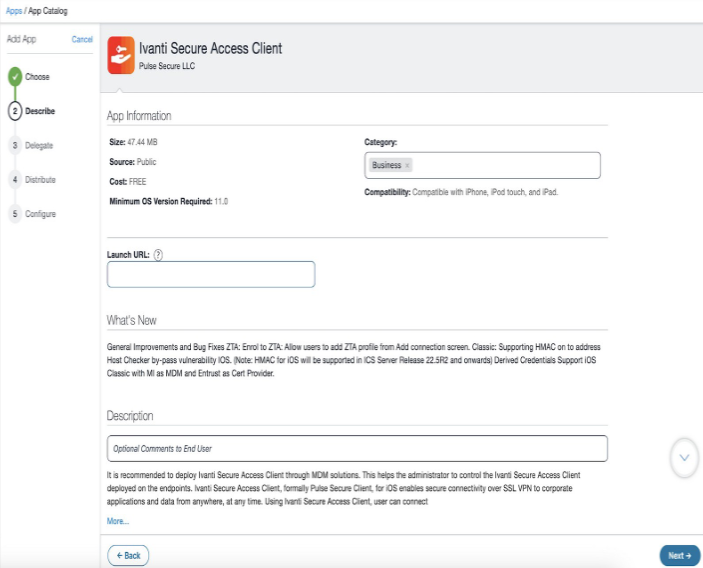
4.In the App Information page, specify Launch URL and click Next.
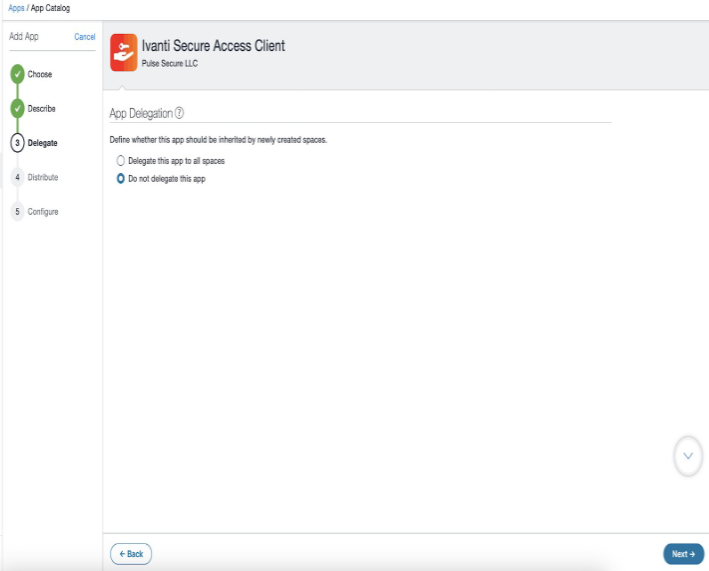
5.In the App Delegation page, select the Do not delegate the app option and click Next.
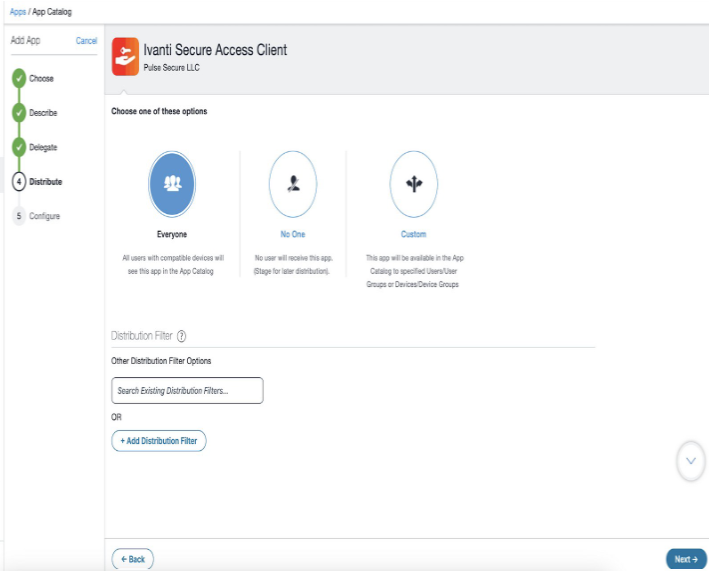
6.Choose a distribution level for this configuration of the app and click Next.
•To Everyone with App - The app is added to all the user compatible devices.
•To No One - The app is staged for distribution at a later date.
•Custom distribution - Select one of the options from "User/User Groups" or "Device/Device Groups".
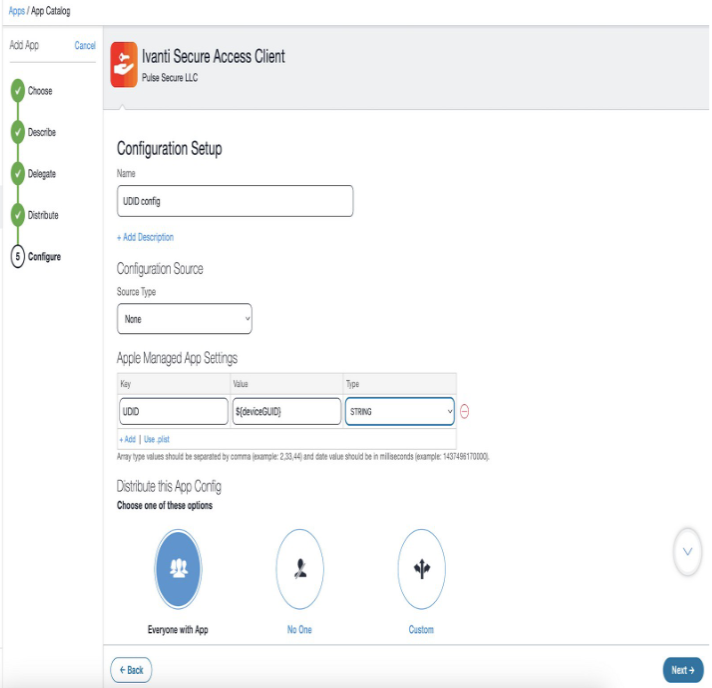
7.In the Configuration Setup page, create a new configuration using plistfile/device attribute ${deviceGUID} of type string. Click Next.
8.In the App Configuration page, select Apple Application Management Configuration Settings and click Done.
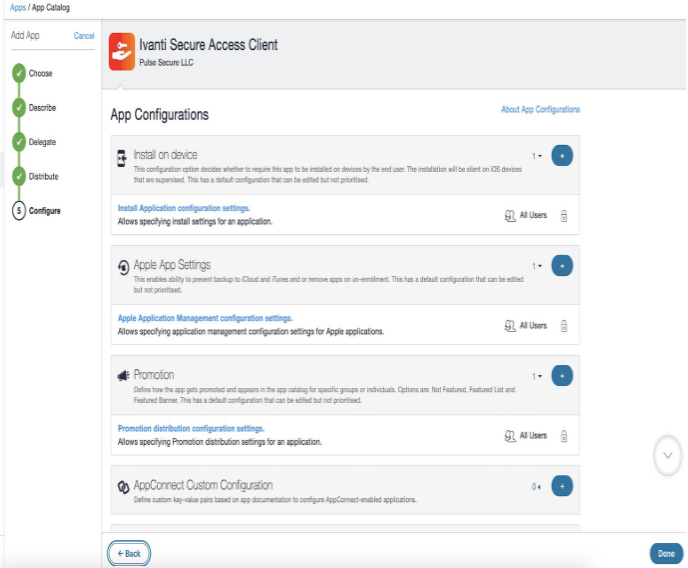
The app is listed in the Apps/App Catalog.
Integrating Ivanti NMDM with nZTA
To link Ivanti NMDM with nZTA:
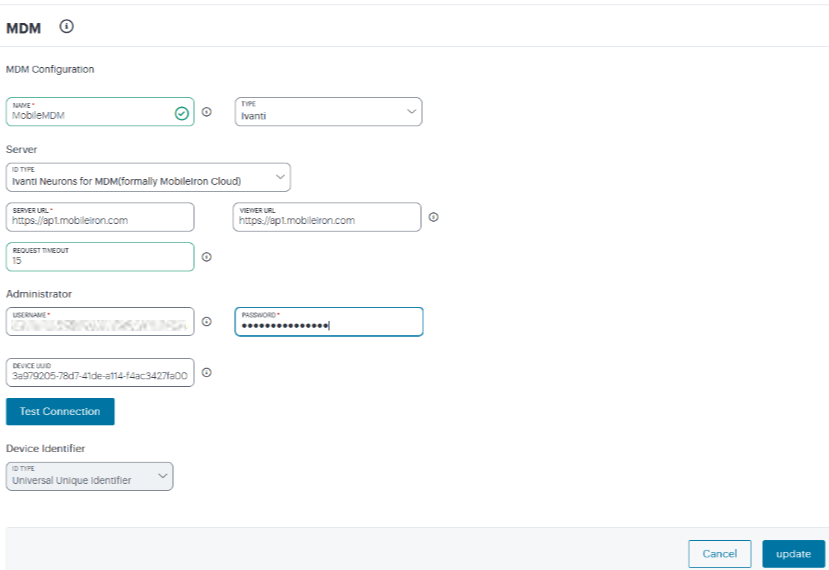
- From the nZTA menu, select Integrations > MDM.
- Specify a unique name for the MDM configuration.
- Select Type as Ivanti (default).
- Select Server Type as Ivanti Neurons for MDM (default), and enter its URL for connecting to the server.
-
Specify the URL for the MDM report viewer.
- Specify a timeout period (0-60 seconds) for queries to the MDM server.
- Specify the Administrator user name and corresponding password that has privileges to access MDM RESTful Web API.
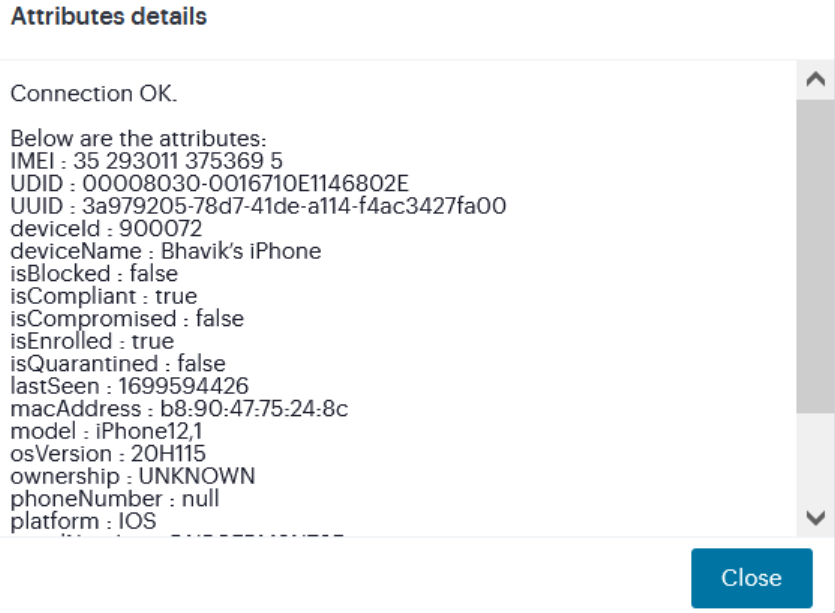
-
Enter your Device UUID, and click Test Connection. A pop up shows the supported device attributes.
- The Device Identifier Type for MDM certificate configuration is set as Universal Unique Identifier.
- Click Create.
The MDM Configuration page appears.
Creating Device Policy
You can create Device policies and then create / associate one or more Device Rules as required.
To configure device policy:
- Select Secure Access, and then select Manage Devices > Device Policies.
- Click Create Device Policy.
- Enter policy name and description.
- Click Create Device Rule.
The Create Device Rule dialog appears.
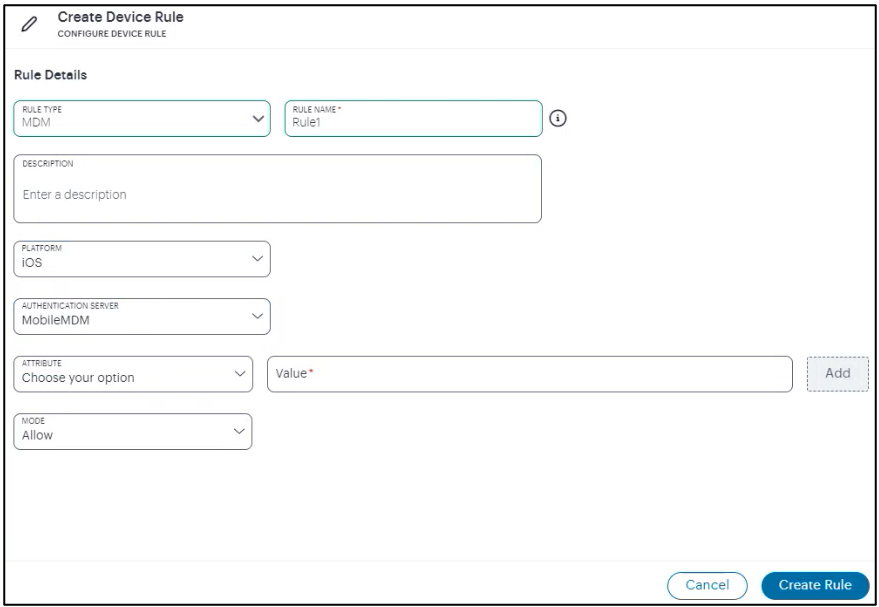
- Select MDM as Rule Type.
- Enter rule name and description.
- Select iOS from the Platform drop-down list.
- Select MobileMDM as Authentication Server.
-
Select a device attribute from the drop-down list, then enter a matching value for the selected attribute, and then click Add.
Repeat the step to add more device attributes. The list of supported device attributes:
deviceId deviceName isBlocked isCompliant isCompromised isEnrolled isQuarantined IMEI lastSeen macAddress model osVersion ownership phoneNumber platform serialNumber UDID UUID userId userEmail userName 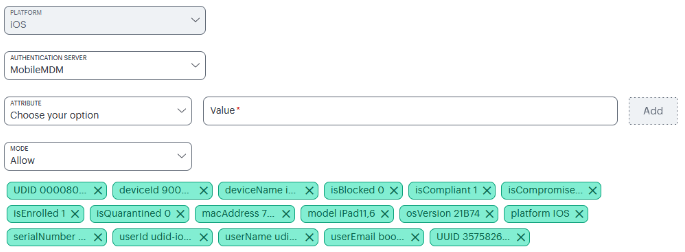
- The lastSeen attribue is supported with the unix timestamp.
- The isBlocked/isEnrolled/isCompliant/isQuarantined/isCompromised attributes support only 0(false) and 1(true) values in the configuration.To learn more about creating device rules, see Creating Device Policy Rules.
- Select Mode and select one of the following from the drop-down list.
- Allow: Enforces the policy rule.
- Deny: Denies the policy rule.
- Click Create Rule.
- In the Device Policies page, click Create Device Policy.
The 22.6R1.2 release supports only iOS platform.
Creating User Policy
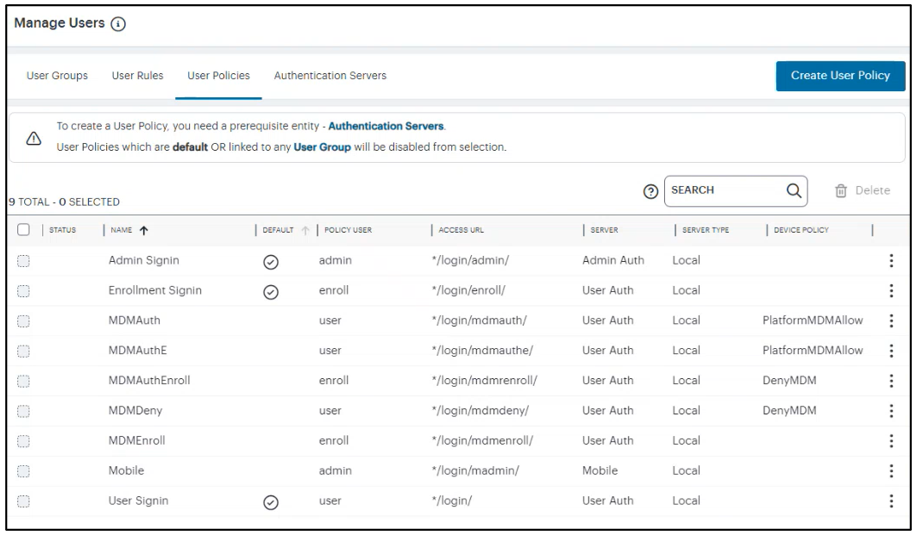
To create a user policy:
-
From the nZTA menu, select Secure Access and then select Manage Users > User Policies.
-
Click Create User Policy. For details, see Configuring Default Device Policy for Users.
Creating Secure Access Policy
To create a secure access policy:
-
From the nZTA menu, select Secure Access > Secure Access Policies.
The Secure Access Policies page appears. This lists all current secure access policies.
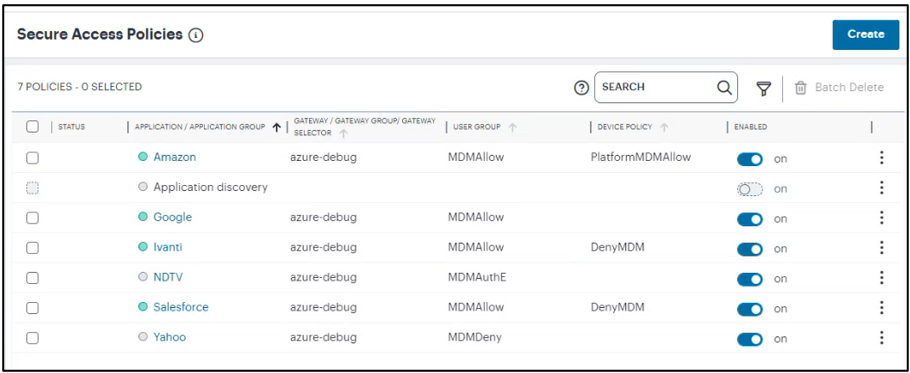
- Click Create. For details, see Creating a Secure Access Policy.
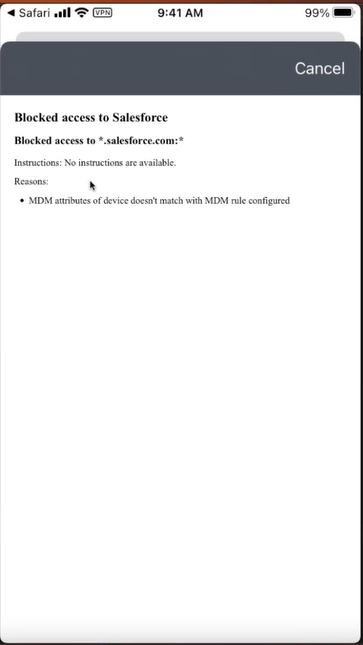
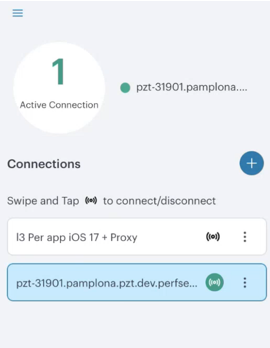
End User Experience
Ivanti Neurons for MDM provides compliance check and simplified onboarding experience for nZTA end users connecting via mobile.
•When MDM policies are not enforced, both Enrollment and Authentication are successful.
•If MDM policy is Deny for Enrollment, then Enrollment fails.
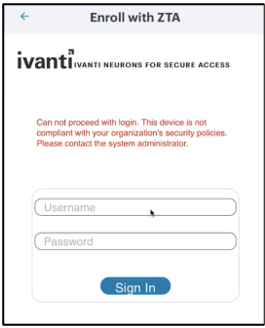
•If MDM policy is Allow for Enrollment, but Deny for Authentication, then Enrollment is successful but Authentication fails.
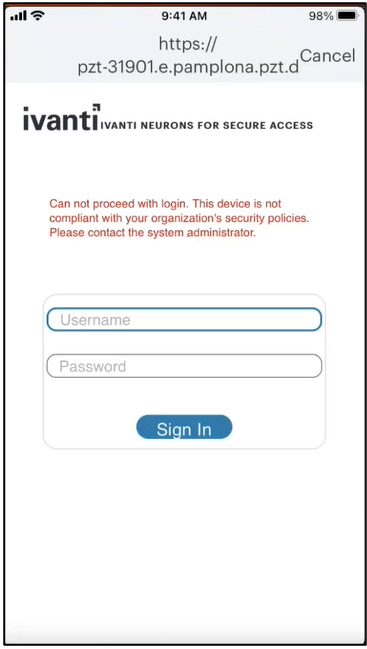
•If MDM policy for a certain application is Deny application access, then access to that application is blocked.