Adding a CA Certificate
For IOS 10.x devices and later, the custom certificates are not trusted by IOS device by default. When the iOS device tries to connect to the Pulse Connect Secure appliance whose device certificate was signed by the root CA certificate that is not in iOS device Trust Store, the device refuses the SSL handshake with the Pulse Connect Secure appliance.
The solution is to push the CA certificate with the MDM payload.
The CA Certificate page provides the following options to the Pulse One administrator:
•Upload a certificate or certificate chain.
•Update a certificate or certificate chain.
•Update a certificate or certificate chain after expiry.
•Fetch a CA certificate from a Windows server.
•Delete a certificate or certificate chain.
•Delete all certificates.
To upload a CA certificate from Pulse Workspace Console, do the following:
1.Click the Settings icon on top-right-corner of the page.
2.Select CA Certificate to go to the CA Certificate page.
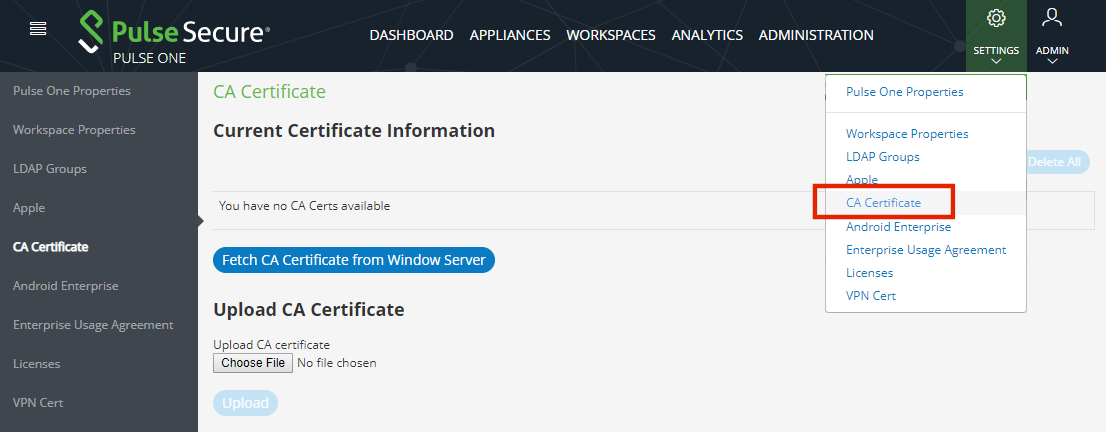
The Fetch CA Certificate from Windows Server button is only displayed when you have an external PKI server configured, see Configuring an External PKI Server.
3.Click Browse.
4.Select the certificate file(s), which must be in PEM format.
5.(Optional) If an external PKI server is configured, you can click Fetch CA Certificate from Windows Server. See Configuring an External PKI Server for details of the required configuration.
![]()
A confirmation dialog for the retrieved CA certificate appears. For example:

Click Save to add the CA certificate.
6.(Optional) Click Upload to upload one CA Certificate. You can upload one or more certificates.
7.Select Workspaces > Policies > Global > Properties > All > CA Certificate.
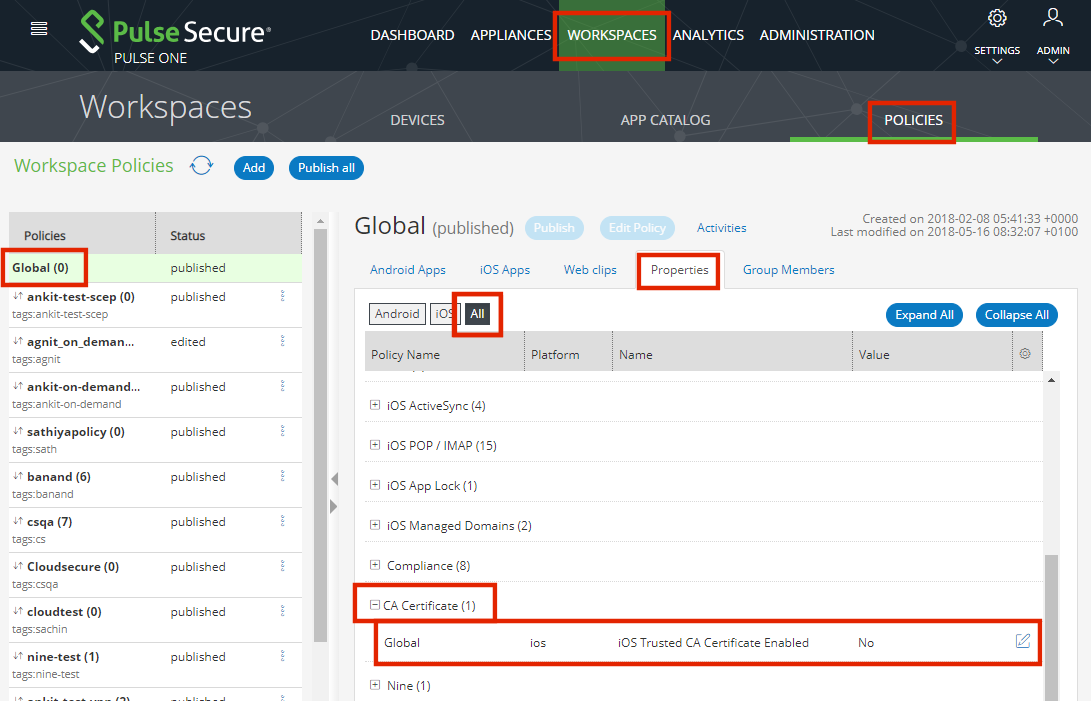
8.Set iOS Trusted CA Certificate Enabled to Yes.
9.Click Publish.
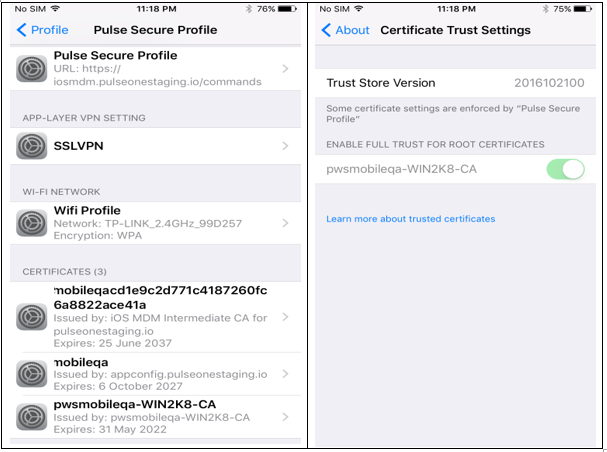
10.You must then provision an iOS device. To do this, from the device, navigate to Settings > General >
Profile and Device Management > Pulse Secure Profile > More Details and verify that the CA Certificate is pushed as part of MDM payload.
11.Navigate to Settings > General > About > Certificate Trust Settings and verify that the CA Certificate is trusted.
12.(Optional) To update a certificate, click Browse, select the certificate file and click Update.
13.(Optional) To delete a certificate, click the corresponding Delete button and confirm with Yes in the confirmation box.
14.Optional) To update a certificate chain, click Browse, select the certificate file and click Update.
15.(Optional) To delete a certificate chain, click the corresponding Delete button and confirm with Yes in the confirmation box.
16.(Optional) The Delete All option deletes all the certificates.
Configuring an External PKI Server
If you want to fetch CA certificates from a Windows server from the CA Certificates page, you must configure an external PKI server for use. To do this:
1.Click the Settings icon on top-right-corner of the home page.
2.Select Workspace Properties to go to the Workspace Properties page.
3.Expand Enterprise PKI Integration.
4.Set Use external PKI server to Yes.
5.Set Windows CA Server 'certsrv' URL to the required URL. For example:
https://www.example.com/certsrv/
6.Set Windows CA Server certsrv page user name to the required CA server user name. For example: Administrator.
7.Set Windows CA Server certsrv page user password as the password for the specified user.
The configuration is complete.