Install the Console
The first step in configuring a Ivanti Automation environment is to install the Console. You can install the Console on any computer that can connect to the database server that hosts or will host the Datastore. It is usually installed on the administrator's workstation.
To install Ivanti Automation, use the Ivanti Automation Installer. This is an installation package that contains the MSI files for the components of Ivanti Automation, wrapped up into one executable. The Ivanti Automation Installer supports both 64-bit and 32-bit operating systems for all components of Ivanti Automation. This makes their installation easier.
- Log on to this computer with a valid System Administrator account. This computer must be able to connect to the database server.
- Run the Ivanti Automation Installer on the computer on which you want to install the Console. This opens the Ivanti Automation Installer window.
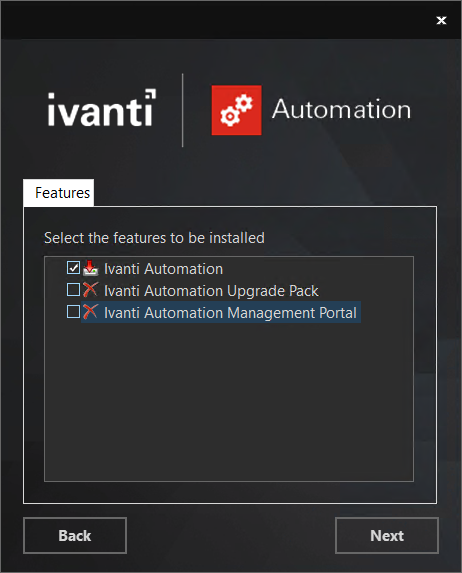
- When prompted, select Select and install components, select Ivanti Automation and click Next.
- If you select Extract all components you can perform unattended installations of the components by using the MSI files.
- Start the installation and follow the Setup Wizard prompts. By default, the Console will be installed at C:\Program Files (x86)\Ivanti\Automation\Console for 64-bit devices and C:\Program Files (x86)\Ivanti\Automation\Console for 32-bit devices.
- At the end of the Setup Wizard, select Launch Ivanti Automation. This will launch the Console when you click Finish. Alternatively, you can launch the Console from the Start menu and from the desktop icon.