Create the Web Service
In this configuration example, acmelabs is used as the name of the Web Service component.
This name is used for example purposes. In your configuration, use a name that is appropriate to your business requirements.
To create the Web Service, follow these steps:
-
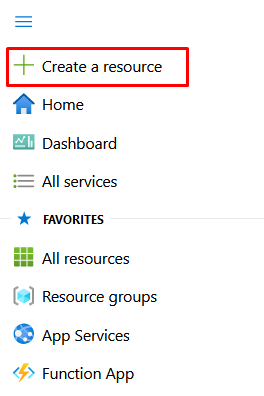
Open the Azure portal menu
 and click on Create a resource.
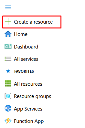
(click the image to enlarge it) -
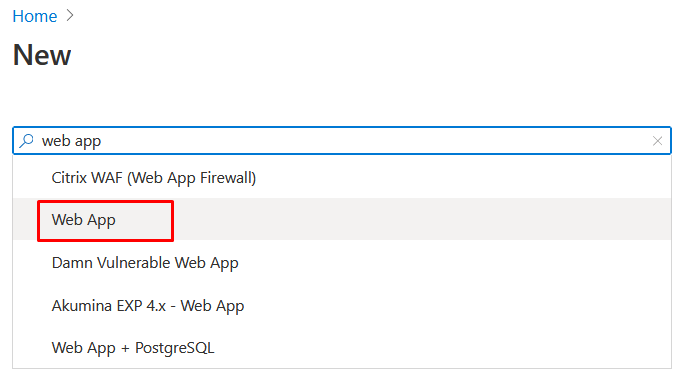
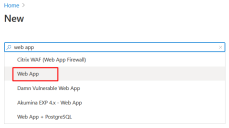
Select Web App from the list of available resources.
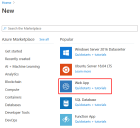
(click the image to enlarge it)If the option is not visible, enter web app in the Search the Marketplace textbox and select it from the results. Then, click on Create.
(click the image to enlarge it) -
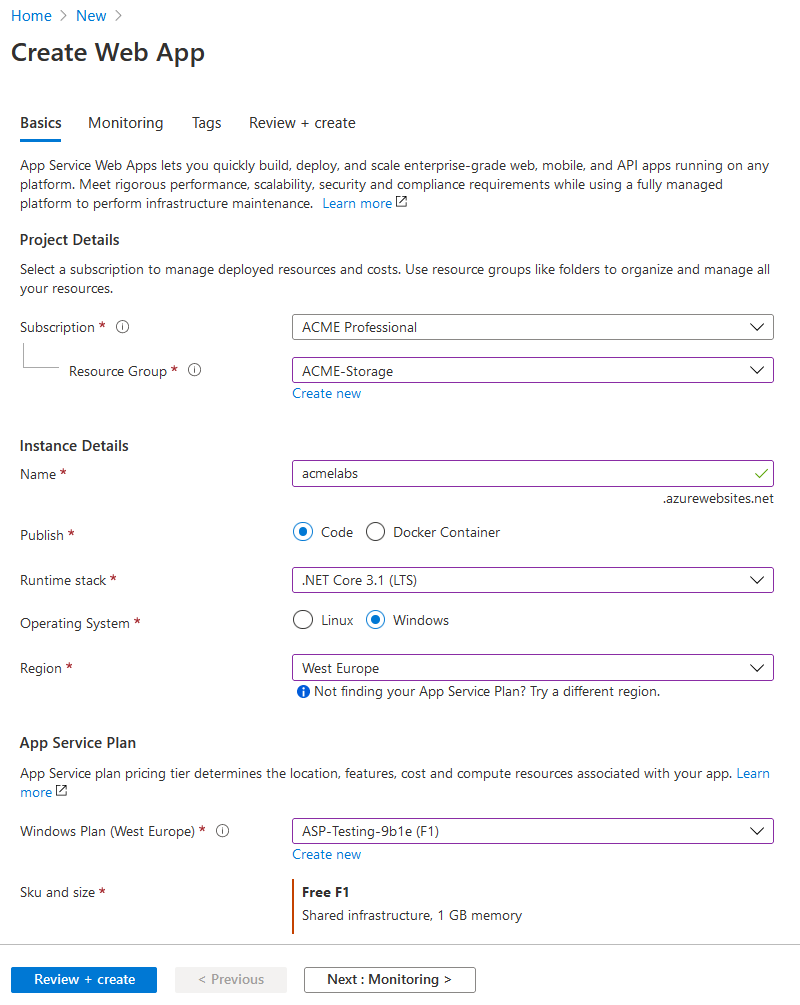
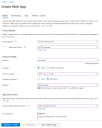
Fill in the required fields in the Basics tab:
-
Subscription: Select an appropriate subscription.
-
Resource group: Select a resource group as the residence of the Web Service.
You can also create a new resource group. -
Name: Enter a name for the Web Service.
The name of the Web Service must be unique in the Azure environment and not bound to the current subscription of your business.
-
Publish: Code
-
Runtime stack: NET Core 3.1 (LTS)
-
Operating System: Windows
-
Region and App Service Plan: consider your business requirements and select the appropriate options.
A different Windows Plan than Free F1 can be selected. While the Web Service does not generate a high load, this is dependent on the number of users that concurrently log in.
(click the image to enlarge it) -
-
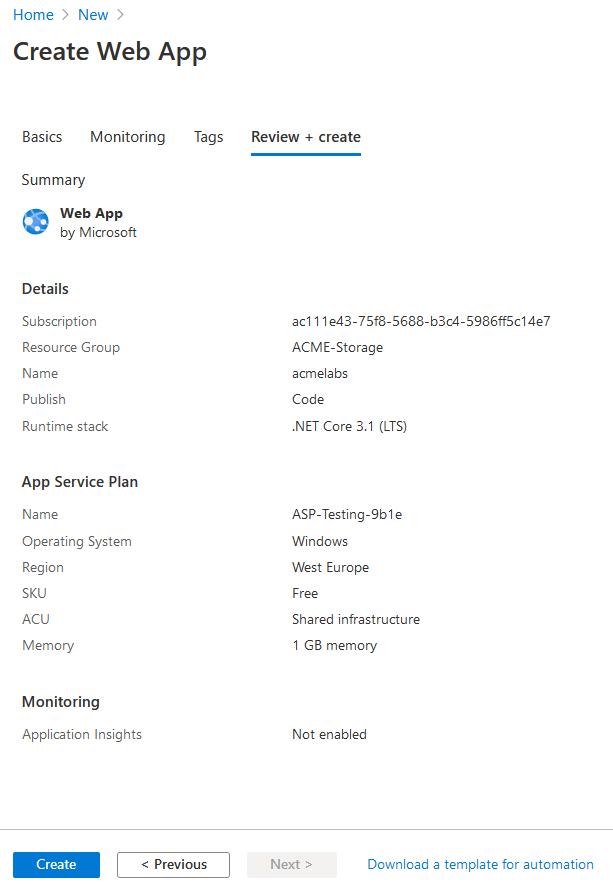
Complete the rest of the Web Service configuration (Monitoring and Tags) according to your business requirements, and then click Review + Create.
Azure starts validating the Web Service configuration.

(click the image to enlarge it) -
Once the validation process is complete, review the configuration and then click Create.
The deployment process starts and can take a few minutes until it is complete.