This is not the latest version of Ivanti Workspace Control documentation.View available documentation.
Set up Cloud Tunnel Adapter
After configuring the Ivanti Cloud Relay from the Workspace Control Console, install the Cloud Tunnel Adapter. This component of the Cloud Relay solution runs on-premises and connects to the Cloud Relay infrastructure and to the on-premises Relay Server.
To install and configure the Cloud Tunnel Adapter, follow these steps:
-
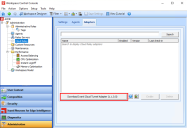
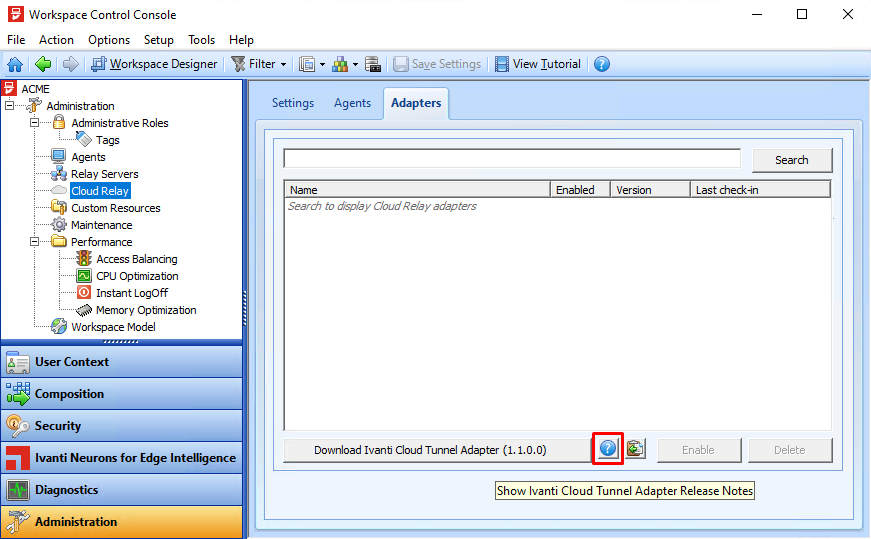
Open the Workspace Control Console and navigate to Administration > Cloud Relay.
-
Under the Adapters tab, select Download Ivanti Cloud Tunnel Adapter.
An Internet browser window opens and starts downloading the Ivanti Cloud Tunnel Adapter MSI file.
To view the Cloud Tunnel Adapter Release Notes, select the
 button next to Download Ivanti Cloud Tunnel Adapter.
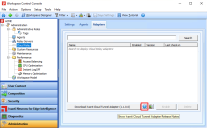
This opens an internet browser to the Release Notes.
-
Copy the Cloud Tunnel Adapter MSI installation command-line. This information is needed later in the setup.
Under the Adapters tab, select the
 button to copy the Cloud Tunnel Adapter MSI installation command-line to the clipboard. Paste the information into TXT file.
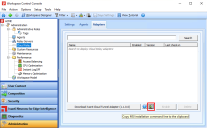
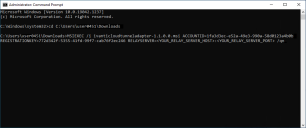
The copied data is structured as follows:
MSIEXEC /i ivanticloudtunneladapter-1.1.XX.msi
ACCOUNTID=3bc372eb-7806-2f40-93c0-5d45257028b0
REGISTRATIONKEY=19ddae36-195d-854f-52a9-f0953adac575
RELAYSERVER=<YOUR_RELAY_SERVER_HOST>:<YOUR_RELAY_SERVER_PORT> /qnThe information in the MSI installation command-line above is provided as an example. The values used in your environment will be different.
ACCOUNTID=3bc372eb-7806-2f40-93c0-5d45257028b0
This information is referred to as the account ID.REGISTRATIONKEY=19ddae36-195d-854f-52a9-f0953adac575
This information is referred to as the adapter registration key.RELAYSERVER=<YOUR_RELAY_SERVER_HOST>:<YOUR_RELAY_SERVER_PORT>
Replace the value of RELAYSERVER with the host name of your Relay Server and access port, separated by a colon (:).
Multiple Relay Server host name and access port pairs can be present, separated by a semicolon (;).
For example: relay_server_rl21:1943;relay_server_rl22:1942. -
The Cloud Tunnel Adapter can be installed on the same machine as the Relay Server, or on a separate machine that is connected to both the internet and the Relay Server.
Use one of the following methods to install the Cloud Tunnel Adapter:
 Install the Cloud Tunnel Adapter using the MSI file
-
Open the Ivanti Cloud Tunnel Adapter MSI file and complete the installation wizard.
-
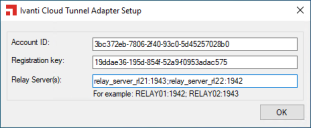
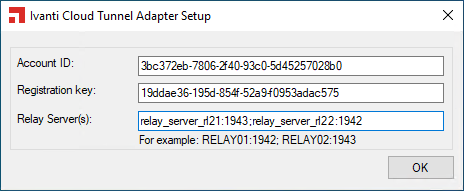
After completing the installation wizard, the Ivanti Cloud Tunnel Adapter Setup window appears. Enter the information copied previously into the appropriate fields:
-
Into the Account ID field, enter the value of the account ID.
-
Into the Registration key field, enter the value of the adapter registration key.
-
Into the Relay Server(s) field, enter the host name and access port of the desired Relay Server(s). Multiple Relay Server host name and access port pairs can be entered in the Relay Server(s) field. Separate them using semicolons (;).
For example: relay_server_rl21:1943;relay_server_rl22:1942.
-
-
Select OK.
Install the Cloud Tunnel Adapter using the command-line
-
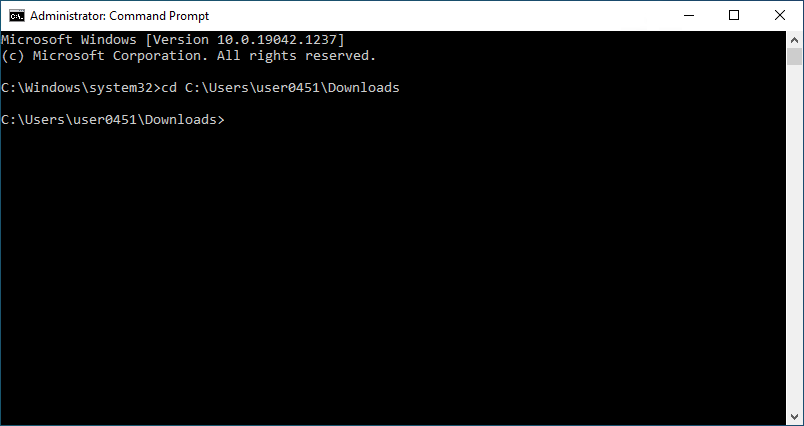
Launch the command-line tool of your choice. For example, the Windows Command Prompt.
The command-line tool requires administrator privilege to execute the install.
-
In the command-line window, change to the Cloud Tunnel Adapter MSI file location using the cd command.
The default download location of the MSI file is the Windows Download folder — C:\Users\<username>\Downloads.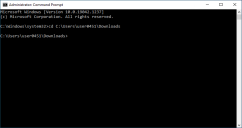
-
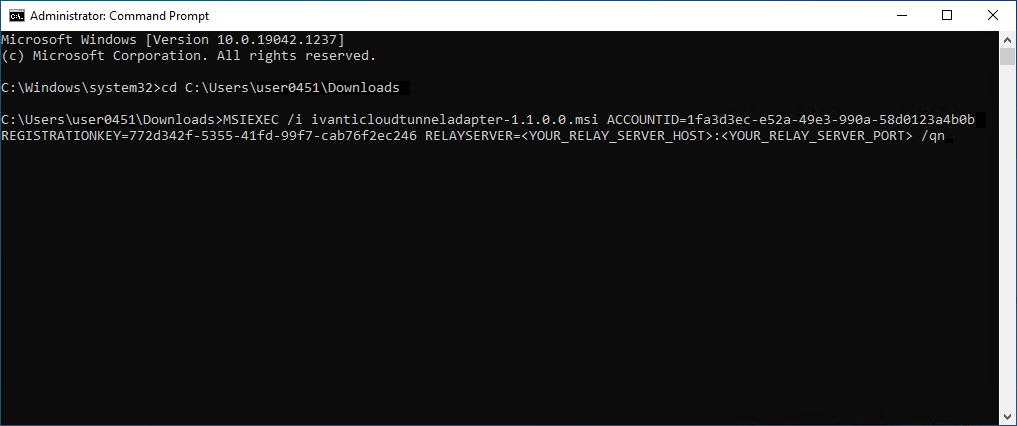
Enter the previously copied Cloud Tunnel Adapter MSI installation command-line.
-
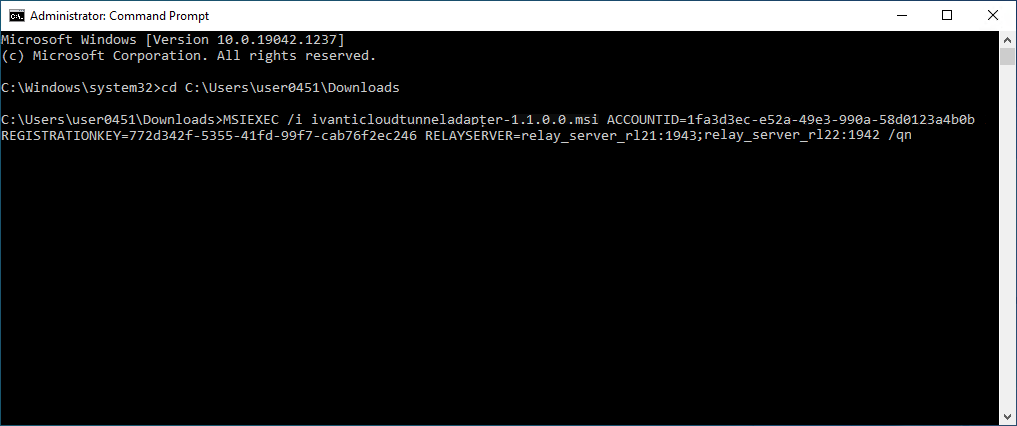
Replace the value of RELAYSERVER with the appropriate Relay Server host name(s) and access port(s).
Enter the host name of the Relay Server of your choice and its access port, separated by a colon (:). Multiple Relay Server host name and access port pairs can be entered. Separate them using a semicolon (;).
For example: relay_server_rl21:1943;relay_server_rl22:1942.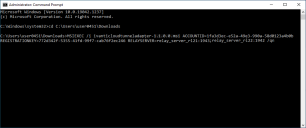
-
Press Enter.
-


The Cloud Tunnel Adapter is now up and running, and it connects to the Ivanti Cloud. It is visible under the Adapters tab.
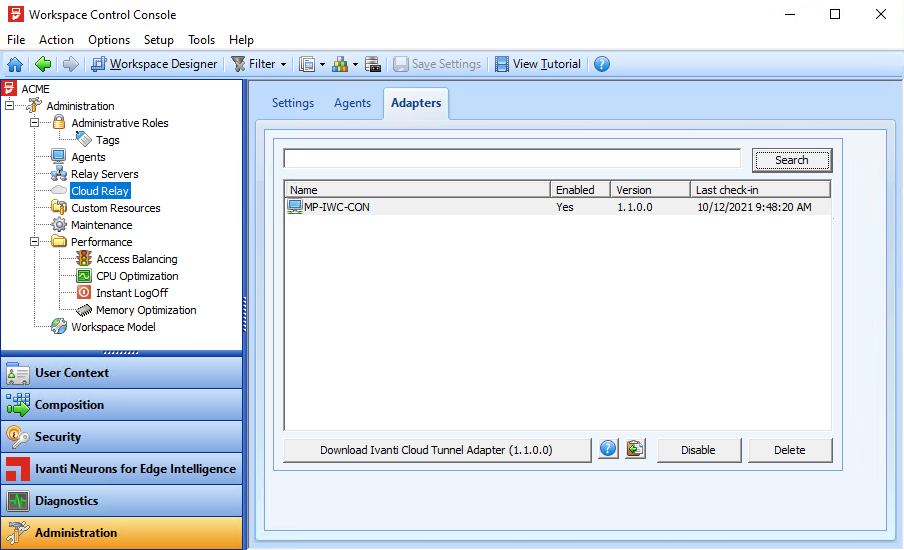
Use the Search button while the search field is empty to refresh the list of Cloud Tunnel Adapters.
To disable a Cloud Tunnel Adapter, select it from the list and then select Disable.
To remove a Cloud Tunnel Adapter, select it from the list and then select Delete.
Update the Ivanti Cloud Tunnel Adapter
After installing the Cloud Tunnel Adapter, the current version of the component is displayed in the Adapters tab, under the Version column. When a new version is available, an informational symbol  is displayed over the icons of outdated Cloud Tunnel Adapters and their tooltip reads This Adapter is not running the latest version.
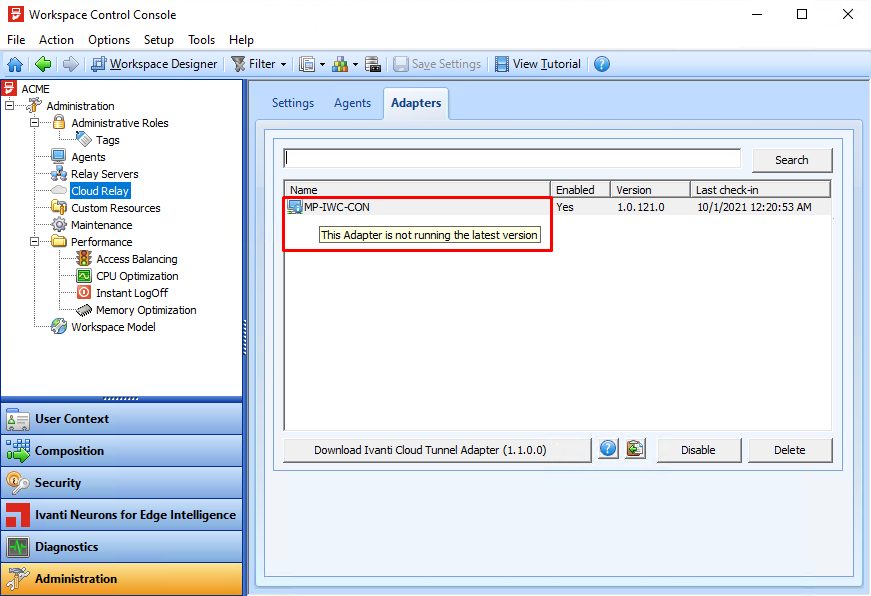
To update the Cloud Tunnel Adapter, download the latest version of the installer by using the Download Ivanti Cloud Tunnel Adapter button, and then run the MSI file and complete the installation wizard.