Tags
Tags are scope options that can be associated to administrative roles, managed applications and printers. They influence what applications and printers can be viewed and modified by administrative roles.
Tags affect administrative roles in the following ways:
-
Technical Managers can view and modify all managed applications and printers regardless of configured tags.
-
Only Technical Managers can create, associate, manage or modify tags.
-
For administrative roles with no associated tags, only applications and printers without any configured tags are visible under Composition > Applications.
-
Administrative roles with one or more associated tags can view and modify the following applications and printers:
-
Applications and printers without any associated tags.
Other scope options such as Access Control and Workspace Containers still apply. -
Applications and printers with identical associated tags as the administrative role.
-
-
Administrative roles that are associated with only a subset of the tags associated with managed applications or printers can only view such applications and printers, but cannot modify them.
Configuring Tags and Associations
Tags can be created and then associated with administrative roles and managed applications or printers.
To create new tags, follow these steps:
-
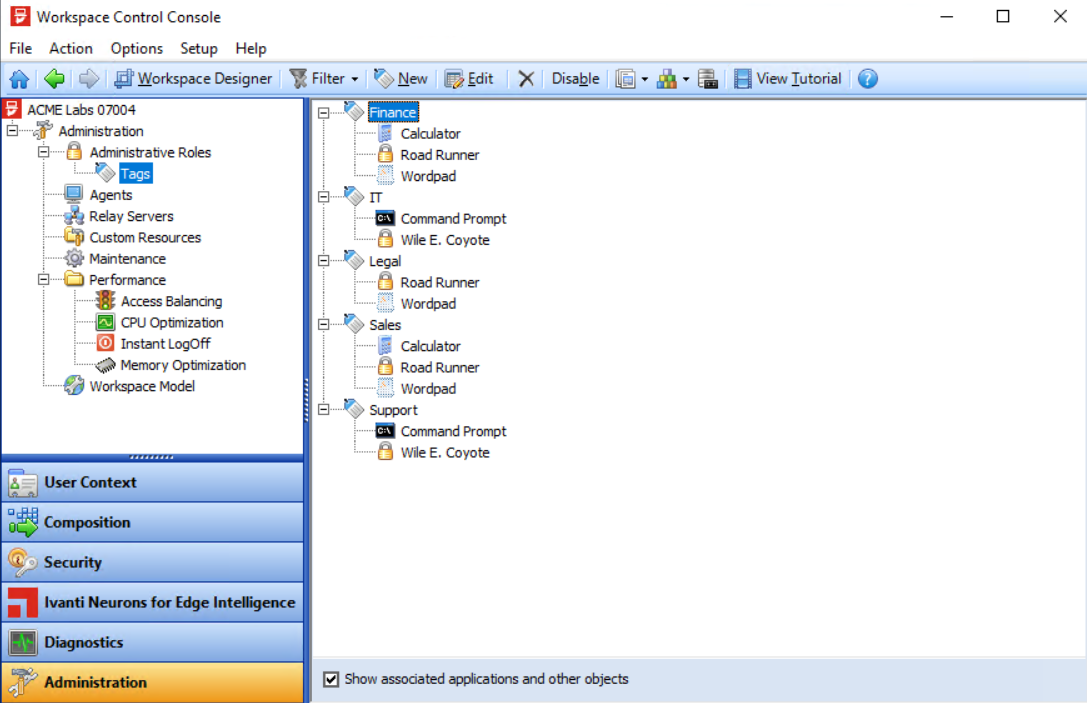
In the Workspace Control Console, navigate to Administration > Administrative Roles > Tags.
-
Click the New button from the top menu, or right-click in the right pane and select New.
-
In the New Tag window, provide a name in the Tag name field.
Optionally, provide a short description of the tag in the Administrative note field.
-
Click OK to save the tag.


To modify tags, right-click on a tag and select Edit.
To remove tags, right-click on a tag and select Delete.
To deactivate tags and their effects without removing them, right-click on a tag and select Disable.
To re-enable tag, right-click on a tag and select Enable.
Tags cannot be removed as long as they are associated with administrative roles or managed applications and printers. First disassociate the tag, then delete it.
To view the administrative roles and managed applications or printers associated with tags, check the box next to Show associated applications and other objects.
After creating tags, first associate them with different administrative roles. Then associate tags with managed applications or printers.
To associate a tag with an administrative role, follow these steps:
-
In the Workspace Control Console, navigate to Administration > Administrative Roles.
-
Right-click on a role and then select Edit.
-
Go to the Scope Control tab > Tags sub-tab.
-
Check the boxes next to the tags to associate them with the administrative role.

-
Click OK to save the changes.

To associate a tag with a managed application or printer, follow these steps:
-
In the Workspace Control Console, navigate to Composition > Applications or Composition > Actions By Type > Printers.
-
Right-click on an application or printer, and then select Edit.
-
From the Properties > General tab, click on the ellipses button
 to the right of the Tags field.
-
In the Select a Tag window, check the box next to a tag to associate it with the application or printer.
-
Click OK once all the desired tags are associated.

-
Click OK to save the changes.


Tag Use Case Examples
Following are some case examples showing how to apply tags in a Workspace Control environment:
-
Create a new tag.
-
Associate the tag with the desired administrative role.
-
Associate the tag with the applications and printers to be managed by the desired administrative role.
-
Create two new tags.
-
Associate both tags with the administrative role that can edit the applications and printers.
-
Associate only one of the tags with the other administrative roles.
-
Associate both tags with the desired applications and printers.
-
Create a new tag for every administrative role.
-
Associate each tag with their respective administrative role.
-
Associate all applications and printers with the tag corresponding to the administrative role.