Azure Application Registration
The application registration retrieves Azure AD user and group information and delivers this information to the Workspace Control Composer.
Ivanti provides an application registration to access Azure AD information. If you do not want to set up your own, you can use the Ivanti application registration. If so, skip this section and go to Integrate Azure Active Directory into Workspace Control.
In this configuration example, acmeapp is used as the name of the registered application.
This name is used for example purposes. In your configuration, use a name that is appropriate to your business requirements.
To create the application registration, follow these steps:
-
Log into the Azure portal at portal.azure.com.
-
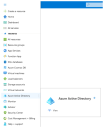
Open the Azure portal menu
 from the top-left corner and select Azure Active Directory from the menu.
 -
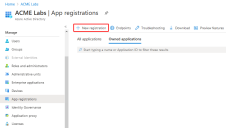
From the left-side navigation menu, go to Manage > App registrations, and then, from the right-side pane, click on New registration.
-
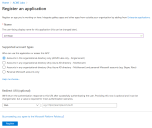
Fill in the required fields in the Register an application window:
-
Name: Enter a name for the application
-
Supported account types: Accounts in this organization directory only (Single tenant)
Click Register.
-
-
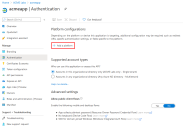
From the left-side navigation menu, go to Manage > Authentication, and then, from the right-side pane, under Platform configurations, click on Add a platform.
-
In the Configure platforms window, select Mobile and desktop applications.
-
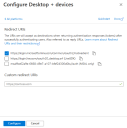
In the Configure Desktop + devices window, check the box next to the following option and then click Configure.
https://login.microsoftonline.com/common/oauth2/nativeclient
The application registration is complete.
From the left-side navigation menu, go to Manage > API permissions. In the right-side pane, the Microsoft Graph API has been granted the following permissions:
-
To allow Azure AD users to sign-in to the app.
-
To read profile information of signed in users.
