If Avalanche resides on a system that has Internet access, you can use automatic license activation. Avalanche connects with a secure Wavelink Web Server to verify your license.
Note: If your Internet access is restricted through a proxy server, you will need to configure HTTP Proxy settings before you can activate licenses automatically. For information on configuring proxy settings, see Configuring HTTP Proxy Settings.
To activate Avalanche:
| 1 | Obtain the Avalanche product licensing code from Wavelink. You receive this information in an e-mail from Wavelink upon purchasing Avalanche. |
| 2 | From the Avalanche Console, click Tools > Manage Licensing. |
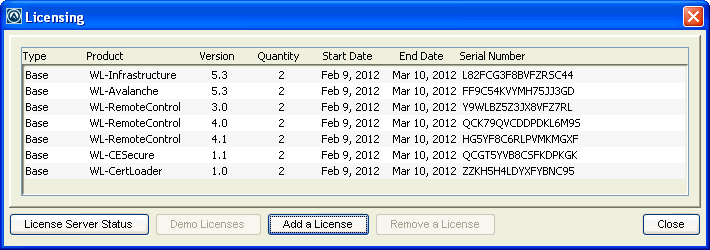
The Licensing dialog box appears. This dialog box displays all entered licenses.

Licensing dialog box
| 3 | Click Add a License. |
| 4 | The Add a License dialog box appears. Click Activate a License. |
| 5 | The Activate a License dialog box appears. Type the Product License in the text box and click Activate. |
Avalanche connects with a secure Wavelink Web site and your license is verified. The details of the new license appear in the Add a License dialog box.
| 6 | Verify that the license information is correct and click Use License. |
The licenses appear in the Licensing dialog box.

© 2012 Wavelink Corporation. All Rights Reserved.