File Director
This page refers to an older version of the product.View the current version of the online Help.
File Director SAN certificates
This section provides information about configuring a File Director certificate that contains SAName entries.
Subject Alternative Name (SAN) extensions allow a certificate subject to be associated with the service name and domain name components of a DNS Service Resource Record. This enables us to publish multiple DNS names using one SSL web listener.
This allows administrators to use CNAME alias DNS records with an SSL certificate that has a different Common Name set within the subject of the certificate.
This section assumes that you have a functioning File Director appliance with a base DNS, AD, admin user and license configuration applied already.
The configuration is in three parts, DNS, General Certificate and File Director Appliance.
In this section:
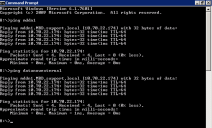
DNS and SAN certificates
General certificate
- Open Microsoft Management Console.
- Select Add Certificates > Computer account > local computer.
- Click Finish and OK.
- Expand Personal and select Certificates.
-
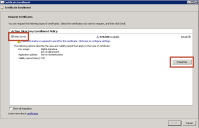
Right-click in the center pane and select Request New Certificate.
The Certificate Enrollment wizard displays.
- Click Next and Next again.
-
Select Web Server and click Properties.
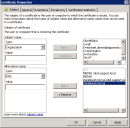
The Certificate Properties options are displayed.
- Complete the following fields in the Subject name options:
- Common Name
- Organizational Unit
- Organization
- Locality
- State
- Country
Email
This would be the same information you enter into the File Director appliance when generating a CSR request.
- In the Alternative name section, select DNS from the Type drop down.
-
In the Value field, add the Alternative DNS names to be included in the certificate request.
-
Select the General tab and enter a Friendly Name and optional Description.
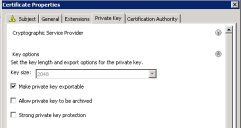
- Select the Private Key tab and expand the Key Options.
-
Select Make private key exportable.
- Click Apply and OK.
-
In the Certificate Enrollment dialog, click Enroll.
-
When the certificate has successfully enrolled, click Finish.
You should see the certificate in the Personal store.
- Right-click on the new certificate and select Open.
-
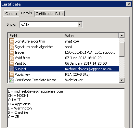
Click on the Details tab and select Subject.
You will see the subject details for your certificate.
-
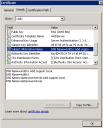
Scroll to the Subject Alternative Name section.
The alternative DNS names you configured should be visible.
- Click Copy to File and then OK.
- Click Next.
-
Enable the Yes, export the private key option and click Next.
-
In the export file format section, select Include all certificates in the certification path possible and click Next.
- Type and confirm a password and click Next.
- Save the certificate to a suitable location.
-
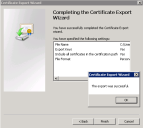
Complete the wizard by clicking finish.
SAN certificates in the File Director appliance
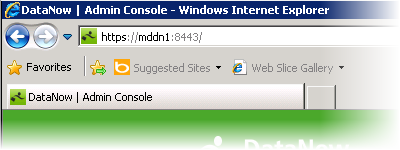
- Open a web browser and connect to your appliance admin console.
-
Select Configuration > SSL Certificate.
- Click Browse and select the required certificate.
- If the certificate was created with an encryption password, type it into the field.
- Click Upload Certificate and your certificate should be installed and enrolled for the host name you specified in the Certificate Subject.
You should now be able to use the A and CNAME record to connect to the appliance using SSL.

