Create an On Call Record
Use the On Call Form in the CSM Desktop Client to create an On Call record.
To create an On Call record:
- On the
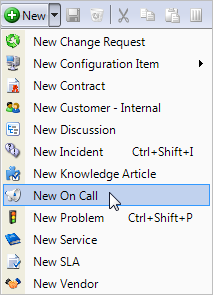
CSM Desktop Client toolbar, click
New>New On Call.
A new On Call record opens.
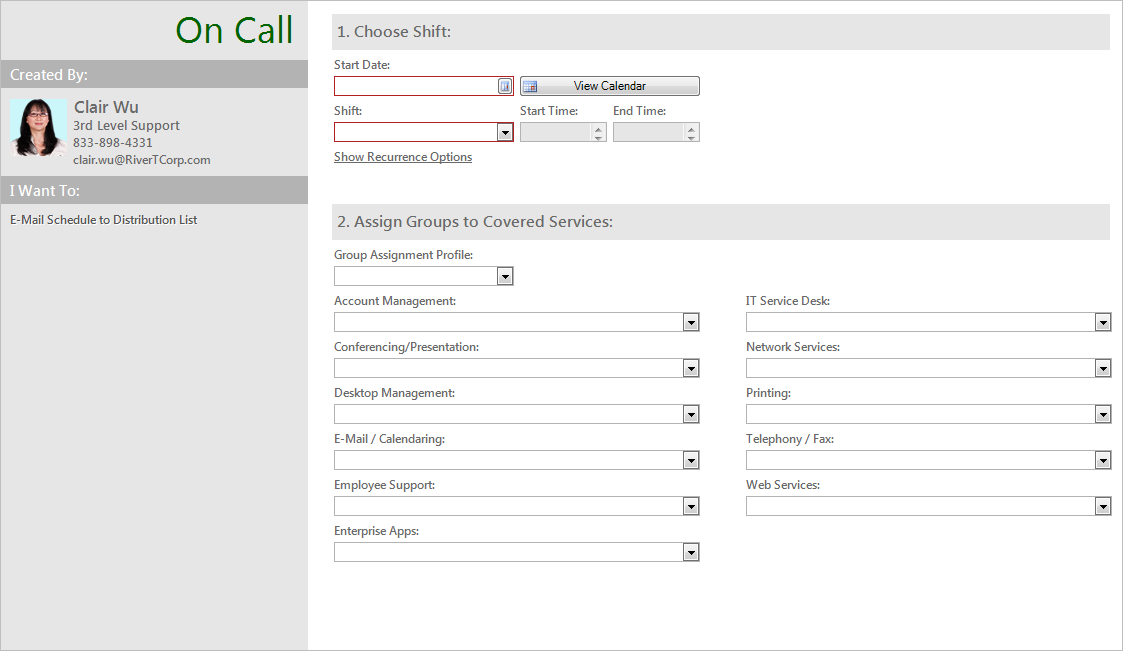
- Choose a shift:
- Start Date: Click the
Date Selector button
 to access the Calendar and select the date in
which the On Call schedule begins (example: 3/28/2015).
to access the Calendar and select the date in
which the On Call schedule begins (example: 3/28/2015).
Note: To view the Calendar, you must leave the On Call record.
- View Calendar: Click this button to view the On Call schedule on the Calendar.
- Shift: Select a defined shift
from the drop-down (example: Weekend – First).
Note: When a shift is selected, the Add Shift to Calendar button and E-Mail to groups? check box display in the Assign Groups to Covered Services section of the Form.
- Start Time: Autopopulates based on the Start Time of the selected shift.
- End Time: Autopopulates based on the End Time of the selected shift.
- (Optional) Show Recurrence Options: Click this link to define a recurring On Call schedule.
- Start Date: Click the
Date Selector button
- Assign each On Call Group to a Service:
- Select an
On Call Service Profile
from the Group Assignment Profile drop-down (ex: Weekend Crew).
The Service fields autopopulate with the defined On Call Groups from the On Call Service Profile.
Note: Change an On Call Group assignment by selecting a different On Call Group (example: Rotation B) from a Service drop-down (example: Account Management). This does not affect the On Call Service Profile Lookup Object in Table Management.
Tip: Click the E-Mail Schedule to Distribution List link in the I Want To section of the Quick Info Tile to send a notification e-mail to each On Call Group member.
- Select an
On Call Service Profile
from the Group Assignment Profile drop-down (ex: Weekend Crew).
- Finalize the On Call record:
- (Optional) Select the E-Mail to groups? check box to send a notification e-mail to each On Call Group member.
- Click the Add Shift to Calendar button to add the On Call schedule to the Calendar and save the On Call record.
- Click the
Home button
 .
.
- On the
CSM Desktop Client toolbar, click
New>New Incident.
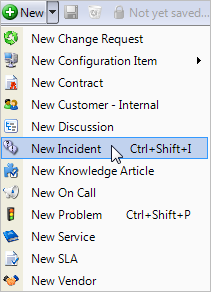
A new Incident Record is created.
- Record the basic details (Who, What, How):
- Requestor (in the Quick Info Tile): Provide the name of the Customer who initiated the contact, and then press ENTER or TAB to search for the Customer Record.
- Short Description: Provide a concise description of the Incident.
- Description: Provide a detailed description for the Incident.
- Call Source: Select a source for the initiation.
- Classify the Incident:
- Service: Select the affected Service.
- Category: Select the affected Service category.
- Subcategory: Select the affected Service subcategory.
- Priority: Incident priority:
- Click the
Priority drop-down to reveal the
Priority Matrix (determined by invoked SLA), and then click a
priority number.
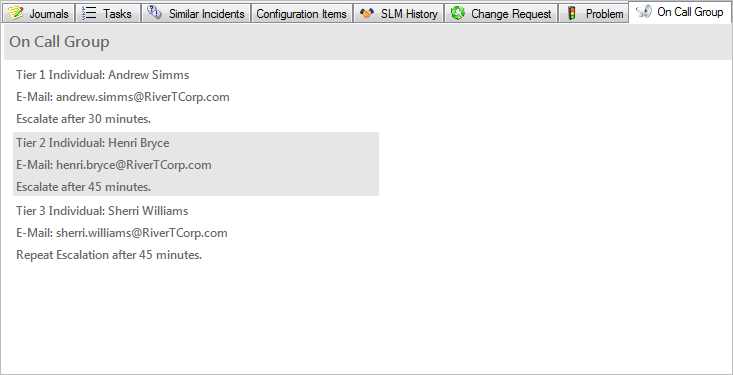
The On Call Group tab displays in the Form Arrangement.
- Click the
Priority drop-down to reveal the
Priority Matrix (determined by invoked SLA), and then click a
priority number.
- Click
Save
 .
.
A notification e-mail is sent to the Tier 1 Individual (example: Andrew Simms).
Note: The On Call process can also be initiated (notification e-mail is sent to the Tier 1 Individual) by clicking the Escalate to On Call Individual button in the Incident Actions section of the CSM Desktop Client Task Pane.Note: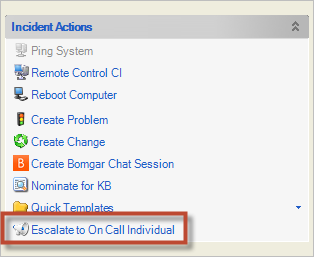
- Tier 1 Individual (example: Andrew Simms) takes ownership:
- In the I Want To section of the Quick Info Tile, click Take Ownership.
- Click
Save.
A notification e-mail is sent to the Tier 1 Individual.
Note: If the first User does not take ownership within the defined timeframe on the On Call Group Form (example: 30 minutes), a notification e-mail is sent to the first and second Users in the group (example: Andrew and Henri). If the first and second Users do not take ownership of the Incident within the defined timeframe (example: 45 minutes), a notification e-mail is sent to all Users in the group (example: Andrew, Henri, and Sherri). If no one responds within the defined timeframe (example: 45 minutes), a notification e-mail is all Users in the group until one of the individuals takes ownership.
- Complete the Incident logging process.