Configure CherwellMQS/RabbitMQ
The Cherwell Message Queue Service (CherwellMQS) is required for queuing. CherwellMQS requires minimal configuration.
The RabbitMQ User ID and password are set to admin/admin during installation. It is highly recommended that you change this password after installation and update the RabbitMQ credentials in CSM. When you change the RabbitMQ credentials, you must also update the credentials in CSM.
The RabbitMQ credentials are set using the RabbitMQ Management Interface and the credentials are configured in CSM using the Command-Line Configuration option or the Message Queue configuration in the Server Manager. The following procedures describe credential configuration using the CLC option.
Both Cherwell Service Host and the Application server use message queuing and must be recycled if any CherwellMQS details change.
Disable Queuing
- Use the Cherwell Server Manager to stop the Cherwell Service Host.
- Use the Windows Services Manager to stop the CherwellMQS.
Change Administrator Credentials in RabbitMQ
- In a browser, enter the RabbitMQ Management Interface URL:
http://localhost:15672
- Log in with the RabbitMQ credentials.
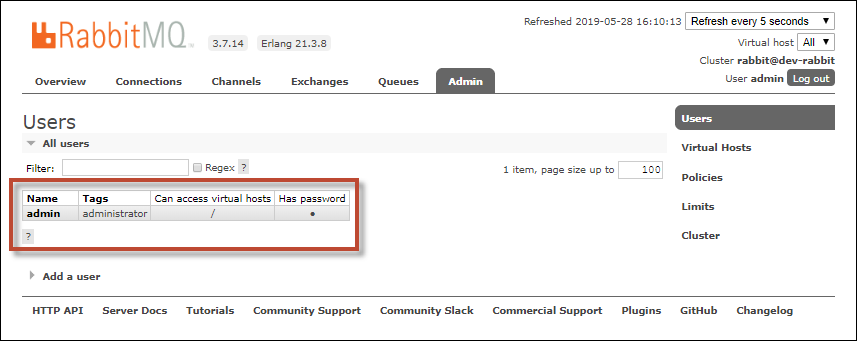
- On the Admin tab, select admin from the Name column of the Users table.

- In the Update this user section of the User page, enter the new password in the Password field and in the Confirm field.

- Click Update user.
Because you are changing the password for the user you are logged in as, you will see an error message with the message, "Login failed." To make additional changes in the RabbitMQ Management Interface, log out and log back in.
- Close the RabbitMQ Management Interface.

Update RabbitMQ Credentials in CSM
- Stop Cherwell Service Host and Cherwell Message Queue Service.
- On the primary Message Queue Service host machine, open a Command window from the Cherwell Service Management folder.
- Run the following command:
Trebuchet.CommandLineConfigure.exe -messagequeue -connectionuserid=[NEW USER ID] -connectionpassword:[NEW PASSWORD]
- Restart the Cherwell Service Host and the Application server.