Service Manager
Working with Email Servers
•About Working with Email Servers
•Accessing the Email Configuration Workspace
•Configuring the Outgoing and Incoming Email Servers
•Using the Email Configuration Tabs
About Working with Email Servers
The configuration for the email service provider is stored as a business object in the Service Manager database, while tenant-specific configurations are stored within each tenant database.
The email service sends emails using the individual configuration of the tenant. Service Manager currently supports the SMTP and Microsoft Exchange web service protocols.
Various options are available within the main Email Configuration workspace to fully customize your email settings. Click the tabs at the bottom of the workspace to see the options.
Accessing the Email Configuration Workspace
Do one of the following to access the Email Config workspace:
•Log in to the application and open the Email Config workspace.
•From the Configuration Console, click Configure > Email Configuration > Servers to open the Email Configuration workspace.
The default configuration includes a single inbox record. Use this inbox to create incidents from emails.
Configuring the Outgoing and Incoming Email Servers
Usually you configure the email servers during installation. Follow these steps to configure them after the installation. Any email configuration change takes affect in the next email poll interval.
1.Log into the Service Manager Application.
2.Open the Email Config workspace.
Email Configuration Workspace
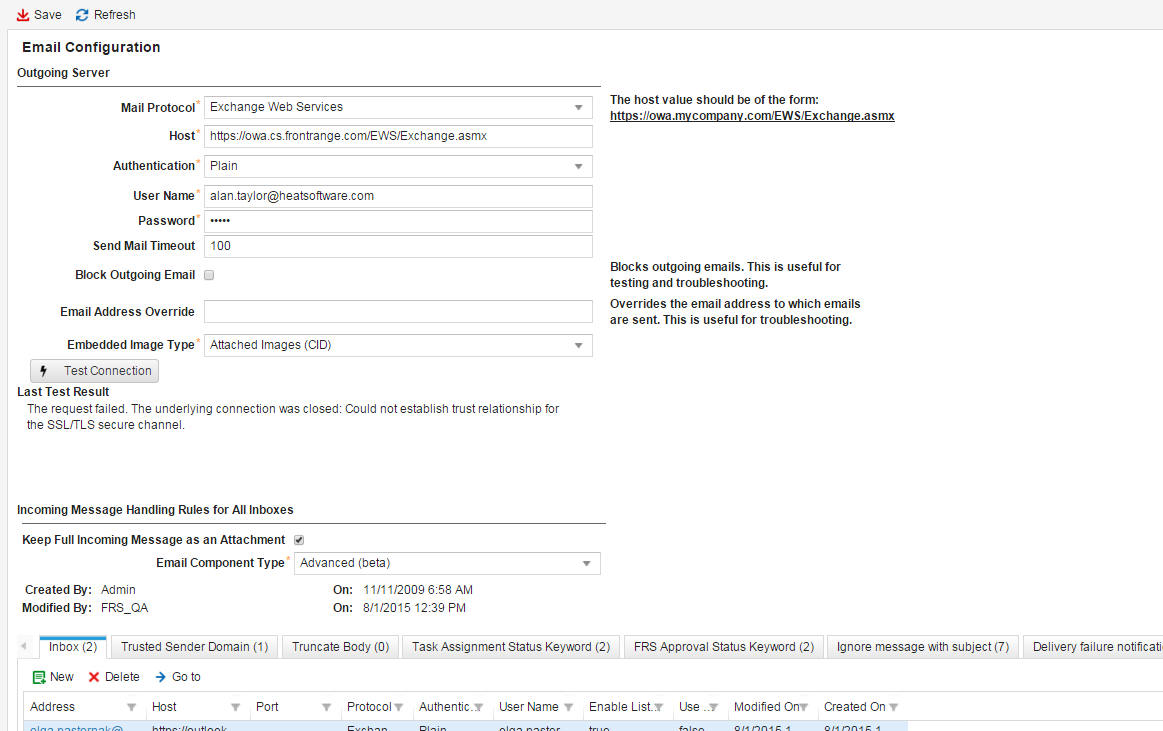
3.Enter information into the fields.
| Field | Description |
|---|---|
| Outgoing Server | |
| Mail Protocol |
The protocol used by the outgoing email server. Can be either SMTP or Exchange Web Services.
If you select Exchange Web Services, ensure the following: Your mail server supports the Microsoft Exchange web service. If you are also using Microsoft Office 365, click Test Connection to check if the account and environment is configured correctly. If it is not, work with your Microsoft Office 365 administrator to configure the account properly. |
| Host | The host address of the mail protocol. It should be entered using one of the format examples seen below: https://owa.mycompany.com/EWS/Exchange.asmx https://outlook.office365.com/EWS/Exchange.asmx |
| Port |
(Only shown if you select SMTP for the Mail Protocol field.) The SMTP port number. The default is 25.
NOTE: This field is not shown for the Exchange Web Services option, because the port number is part of the host address. |
| Authentication |
The authentication. If you select SMTP for the Mail Protocol field, the only available option is AuthLogin. If you select Exchange Web Services for the Mail Protocol field, the only available option is Plain. |
| Use SSL/TLS | (Only shown if you select SMTP for the Mail Protocol field.) Can be either SSL (secure sockets layer) or TLS (transport layer security). |
| User Name | A valid email address. |
| Password | The password for the email address. |
| Send Mail Timeout | The number of seconds to wait when sending an email. |
| Block Outgoing Email | Blocks outgoing emails (only receives emails). |
| Email Address Override | Overrides the email address to which the email is sent. |
| Embedded Image Type |
The type of embedded images to use. Can be either Attached Images (CID) or Inline Images (Base64).
We recommend selecting Attached Images (CID) if you are using Microsoft Exchange or Microsoft Outlook and selecting Inline Images (Base64) if you are using IBM Domino (formerly called IBM Lotus Domino). |
| Test Connection |
(Only shown if you select Exchange Web Services for the Mail Protocol field or if you select Advanced for the Email Component Type field.) Tests the Microsoft Exchange web services connection and displays the highest priority result of the most recent test.
After you click Test Connection, the application displays a confirmation message stating that the application will check the connection and then send an email to the specified user account. Click Yes to proceed.
|
| Incoming Message Handling Rules for All Inboxes | |
| Keep Full Incoming Message as an Attachment | Puts incoming messages into attachments. |
| Email Component Type |
The email mechanism to use. Can be either Advanced or Basic (default).
The Advanced option is a new email processing component that allows Service Manager to support newer certificate and authentication mechanisms. It will be phased in over the next release. We strongly encourage you to select it now to ensure that it works with your specific use cases.
After you select the email component type, the application disables the existing inboxes because the authentication type may not be supported by the email component type. Update the authentication values for the inbox records to match the value of the updated email component type. See Creating an Inbox. |
4.Click Save.
About the Test Connection Results
The following are the results that the application displays after you click Test Connection to test the connection between Service Manager and the Exchange Web Services mail protocol or the Advanced email component type.
| Result | Meaning |
|---|---|
| The request failed. The remote server returned an error: (403) Forbidden. | Use HTTPS instead of HTTP. |
| Invalid URL: The host name could not be parsed. | There is an invalid URL in the Host field. Verify the URL. |
| The request failed. The remote name could not be resolved: 'typo.something.com" | There is an invalid URL in the Host field. Verify the URL to check for typos. |
| The request failed. The remote server returned an error: (401) Unauthorized. | The credentials (user name or password) are invalid. Verify the credentials. |
Using the Email Configuration Tabs
•Using the Trusted Sender Domain Tab
•Using the Task Assignment Status Keyword Tab
•Using the FRS Approval Status Keyword Tab
•Using the Ignore a Message with Subject Tab
•Using the Delivery Failure Notification Tab
•Using the Object Name Mapping Tab
Using the Trusted Sender Domain Tab
Use the Trusted Sender Domain tab to manage the list of trusted domains. A trusted domain is one from which your organization expects a certain level of security of information. You should only receive emails from domains that you place on the trusted domain list.
You can only use the Trusted Sender Domain tab if you created your email inbox and selected Use Method 2 (for Custom BO) and Create record by creating or linking the Custom BO. See Creating an Inbox.
1.From the Configuration Console, click Configure > Email Configuration > Servers to open the Email Configuration workspace.
2.Select the Trusted Sender Domain tab.
3.Click New. The application displays the New Trusted Sender Domain workspace.
New Trusted Sender Domain Window
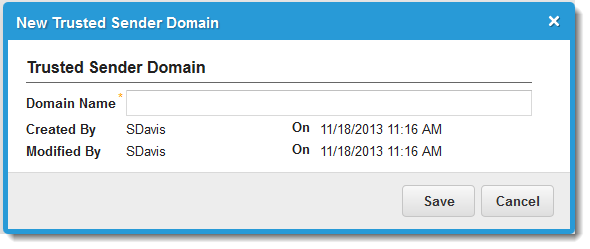
4.In the Domain Name field, enter a valid domain name or enter * to accept emails from all domains.
5.Click Save. The application adds the domain to the list.
Using the Truncate Body Tab
You can truncate (trim) a message body to remove reply content. This feature removes all text in the email after the word or words that you specify. For example, if you specify "Regards", then Service Manager looks through the email for the word "Regards". If it finds it, it removes, from both the email and the associated incident, all text that comes after that word.
1.From the Configuration Console, click Configure > Email Configuration > Servers to open the Email Configuration workspace.
2.Select the Truncate Body tab.
3.From the tab toolbar, click New. The application displays the New Truncate Body Rule workspace.
New Truncate Body Rule Window
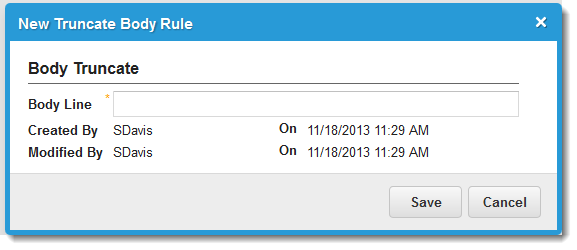
4.In the Body Line field, enter the text for which to look.
5.Click Save.
Using the Task Assignment Status Keyword Tab
You can manage lists of status keywords for task assignments. Upon receiving a task assignment notification, the assignee can respond to the assignment by entering any default keywords.
1.From the Configuration Console, click Configure > Email Configuration > Servers to open the Email Configuration workspace.
2.Select the Task Assignment Status Keyword tab.
3.Click New. The application displays the New Task Assignment Status Keyword workspace.
New Task Assignment Status Keyword Window
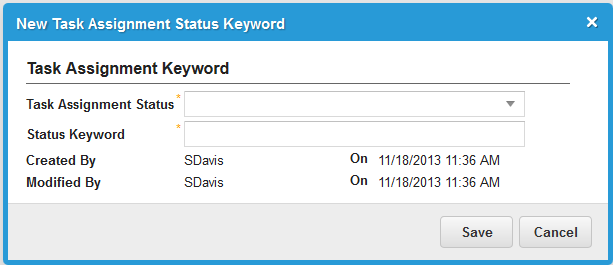
4.Enter information into the fields.
| Field | Description |
|---|---|
| Task Assignment Status | A task status. Select from the drop-down list. |
| Status Keyword | A keyword assigned to this status. For example, if you choose accepted in the Task Assignment Status field and enter the matching keyword accepted in this field, the task status sets to accepted when the task assignee enters accepted in the email subject line. |
5.Click Save. The application adds the task assignment status to the list.
Using the FRS Approval Status Keyword Tab
You can manage lists of status keywords for approval status changes. Upon receiving an approval notification, the approver can respond by entering any of the default keywords. By default, the approver can enter approved in the email subject line to set the approval request to approved or enter denied to set the approval request to denied.
1.From the Configuration Console, click Configure > Email Configuration > Servers to open the Email Configuration workspace.
2.Select the FRS Approval Status Keyword tab.
3.Click New. The application displays the New FRS Approval Status Keyword workspace.
New FRS Approval Status Keyword Window

4.Enter information into the fields.
| Field | Description |
|---|---|
| FRS Approval Status | Approval status. Select from the drop-down list. |
| Status Keyword | A keyword assigned to this status. For example, if you select approved in the FRS Approval Status field and enter the matching keyword approved in this field, the approval record sets to approved when the approver enters approved in the email subject line. |
5.Click Save. The application adds the approval status to the list.
Using the Ignore a Message with Subject Tab
You can manage lists of subject lines which can be ignored in an incoming message. This can help manage incoming messages by filtering out automated messages such as auto-replies.
1.From the Configuration Console, click Configure > Email Configuration > Servers to open the Email Configuration workspace.
2.Select the Ignore message with subject tab.
3.Click New. The application displays the New Tenant Email Subject Line workspace.
New Tenant Email Subject Line Window
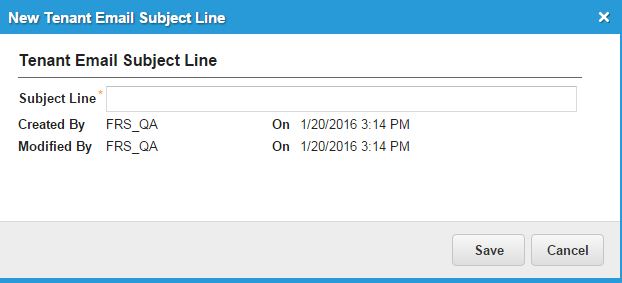
4.In the Subject Line field, enter a subject line.
5.Click Save. The application adds the subject line to the list.
Using the Delivery Failure Notification Tab
You can manage lists of delivery failure messages that can be ignored in an incoming message. This can help manage incoming messages by filtering out certain automated messages. A best practice is to always use this feature.
Not defining a keyword here could cause the application to send excessive emails. For example, if your inbox receives a "Delivery Failure" email, a new incident is created and a new notification is sent. This notification causes another "Delivery Failure" email, causing an infinite loop.
1.From the Configuration Console, click Configure > Email Configuration > Servers to open the Email Configuration workspace.
2.Select the Delivery failure notification tab.
3.Click New. The application displays the New Tenant Email Subject Line workspace.
New Tenant Email Subject Line Window
4.In the Subject Line field, enter a subject line.
5.Click Save. The application adds the subject line to the list.
Using the Object Name Mapping Tab
You can update an existing record, based on additional data in the subject line. This process maps a custom pattern in the subject line of an email, then attaches the email to a specific business object. For example, the default pattern (such as Incident#incident_subject) tells the application to update an existing incident from this email and attach the email to the this record. However, you can create a custom pattern that does the same thing (such as CodeIncident). The custom mapped part of the subject string (in this example, "Code") triggers this behavior.
The feature only processes emails based on the subject line, and does not affect other behaviors; that is, you can only create or update the record of the business object configured for the inbox. For example, if the email listener is set to manage incident records, you cannot update change records.
1.From the Configuration Console, click Configure > Email Configuration > Servers to open the Email Configuration workspace.
2.Select the Object Name Mapping tab.
3.From the tab toolbar, click New. The application displays the New Email Object Name Mapping workspace.
Email Object Name Mapping Window
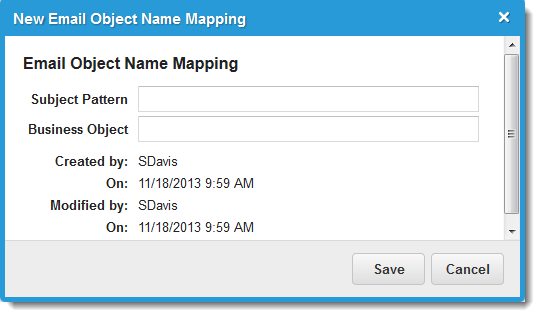
4.Enter information into the fields.
| Field | Description |
|---|---|
| Subject Pattern | The pattern that triggers the mapping behavior. For example, if you designate CAT as a pattern, then every email containing a subject starting with "CAT" is mapped to the business object defined for the inbox. |
| Business Object | The designated object to be appended to the subject line, such as incident. |
5.Click Save. The application adds the pattern to the list.
When the email listener receives an email, it evaluates the subject. If the subject contains the mapped value, the application updates the business object. If the subject value does not match, the application processes the business object as normal.
For example, say you have two inboxes: one to process incidents and one to process other business objects. Also, you have set up email object name mapping as follows:
| Subject Pattern | Business Object |
|---|---|
| CAT | Incident |
| DOG | Change |
An email arrives with the subject line CAT# 1234.
•The email listener sees the hashtag (#), and the keyword CAT is identified.
•CAT tells the application that this is an incident record (as defined in the mapping).
•1234 identifies the business object ID.
• The email is sent to the incident inbox and processed. If it matches an existing record, the record is updated. If it does not match and if Create Incident On Error is checked in the Inbox Configuration workspace, the application creates a new record. If it does not match an existing record and you did not check Create Incident On Error in the Inbox Configuration workspace, the application gives an error.
Another email arrives with the subject line DOG# 9876.
•The email listener sees the hashtag (#), and the keyword DOG is identified.
•DOG tells the application that this is an change record (as defined in the mapping).
•9876 identifies the business object ID.
•The email is sent to the other business object inbox and processed. See Home .
Was this article useful?
Copyright © 2019, Ivanti. All rights reserved.