Service Manager
Exporting a Report
You can export a report to a text file and use it within other applications, such as Microsoft Excel or Microsoft Word.
•Configuring a Report for Export
•Monitoring the Progress of the Report Export
Exporting Report Data
1.Log into the Service Desk Console.
2.Open the Report workspace. The system displays a list of reports.
3.Open a report.
4.In the Parameter Information section, enter start and end dates.
5.From the Select a format drop-down list, select the output format for the report.
6.Click Export. You can view, save, or print the output file.
Configuring a Report for Export
•Restrictions for Exporting Data Reports
•Creating a Report That Can Be Exported
•Creating an Export Data Quick Action
Restrictions for Exporting Data Reports
•Only use the Export Data quick action to export table (list) reports.
•Use single value text parameters to pass the current context data to report.
•Do not export reports with hidden parameters.
•You can only export up to 10,000 records.
Creating a Report That Can Be Exported
You must set the report to be exportable before users can export it.
1.Create a report as described in Creating Reports and Report Templates.
2.Ensure that you check Can run from Export Data quick action.
3.Click Save.
Creating an Export Data Quick Action
1.After customizing the report template, log back into Service Manager as an administrator and open the workspace to use the quick action in.
2.From the Action Menu, choose Edit Actions. The system displays the Quick Action Center.
3.Click the Create New Actions tab.
4.Select Export Data. The system displays a blank quick action form.
5.Enter information
| Field | Description |
|---|---|
| Report Name | The report name. Choose from the drop-down list. |
| Can run for multiple records | Allows this report to run for multiple records. |
| Connection |
The connection. Choose from the drop-down list. Cloud users can only use an FTP connection. On-premise users can only use a file share connection. |
| Schedule | Schedule information. Leave this field empty. |
| Report Parameters | Automatically generated. In the Source Value field, you can use a field, enter an expression, or enter a specific value. |
6.Click Save.
Monitoring the Progress of the Report Export
To monitor the progress of the report export, open the Run Program / Export History workspace.
Run Program / Export History Workspace
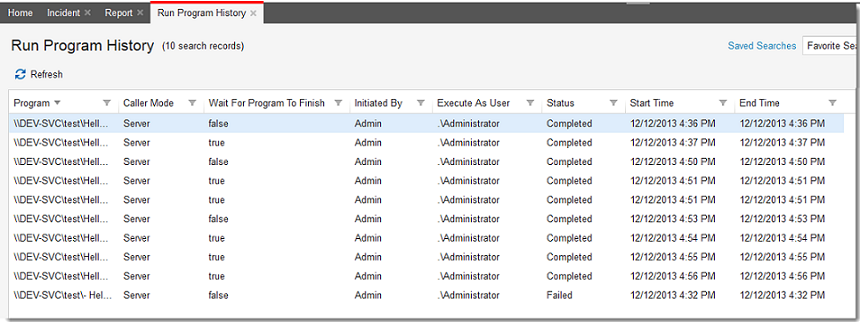
The system automatically logs the report in this workspace. If it is a long report, you might need to click the refresh icon  to see the updated status of the report.
Was this article useful?
Copyright © 2019, Ivanti. All rights reserved.