Adding a Quick Action Button to the Workspace Toolbar
You can add a quick action button to the business object form toolbar for a quick action you create. .
The default buttons (New, Delete, Refresh and Action Menu) are not quick action buttons. You cannot delete or select them while in quick action configuration mode (as indicated by the lock button).
1.From the Configuration Console, click Build > Automation Tools > Quick Actions to open the Actions Manager workspace. The list of business objects that have quick actions appears.
2.Click Add/Edit for a business object. The Quick Actions Center appears.
3.Open a quick action from either the Your Actions or the Create New Actions tab. The application displays the configuration interface.
4.Click Edit.
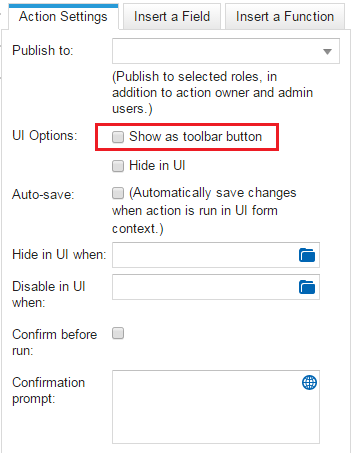
5.On the right side, under the Action Settings tab, check Show as toolbar button.
Show as Button on Toolbar
6.Click Save. The quick action is now a button on the toolbar.
7.Drag and drop the button along the toolbar to place it.
8.To change the position after you have placed it, drag and drop at the preferred position.
You can add/edit the Quick Actions from either the Configuration console or the Service Desk console (from any workspace > More > Edit Actions > Edit). You can change the position of the Quick Action button from where it was created. As in, if you create the Quick Action from the Configuration console, then you can change position of the Quick Action from Configuration console only. Similarly, if the Quick Action was created from Service Desk console, you can change position from Service Desk console only.
9.To remove the quick action button from the toolbar, drag it off the toolbar onto the main part of the page. The button is now gone, but the quick action still resides under the Your Actions tab.