Configuring the Deployment on the Neurons for ITSM Operations Console
•Configuring the Neurons for ITSM Operations Console
•Creating the Staging and UAT Instances of the Tenants
•Making Configuration Changes to Tenants
Perform these steps from the Operations Console, which you installed in the staging/UAT environment.
This section only contains brief, high-level instructions.
For complete information about using the Operations Console, including how to log in, see the Operations Console User Guide for Neurons for ITSM.
Configuring the Neurons for ITSM Operations Console
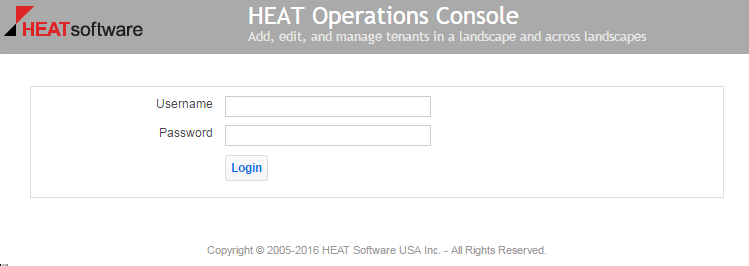
To log into the Operations Consoles, do the following:
1.In the Start menu, click the down arrow to see the Apps menu, and then click HEAT Operations Console.
2.Enter your user name and password and then click Login.
The default user name is admin and the default password is manage.
Operations Console Log In Screen
3.Use the Operations Console to update the values for the Neurons for ITSM application database by doing the following:
| a. | Click the Landscape tab. |
| b. | Click Database Server on the left. |
| c. | Click Add Database Server. |
| d. | Enter a database login ID and password and set the data and backup locations. See the example values in Adding a Database Server. |
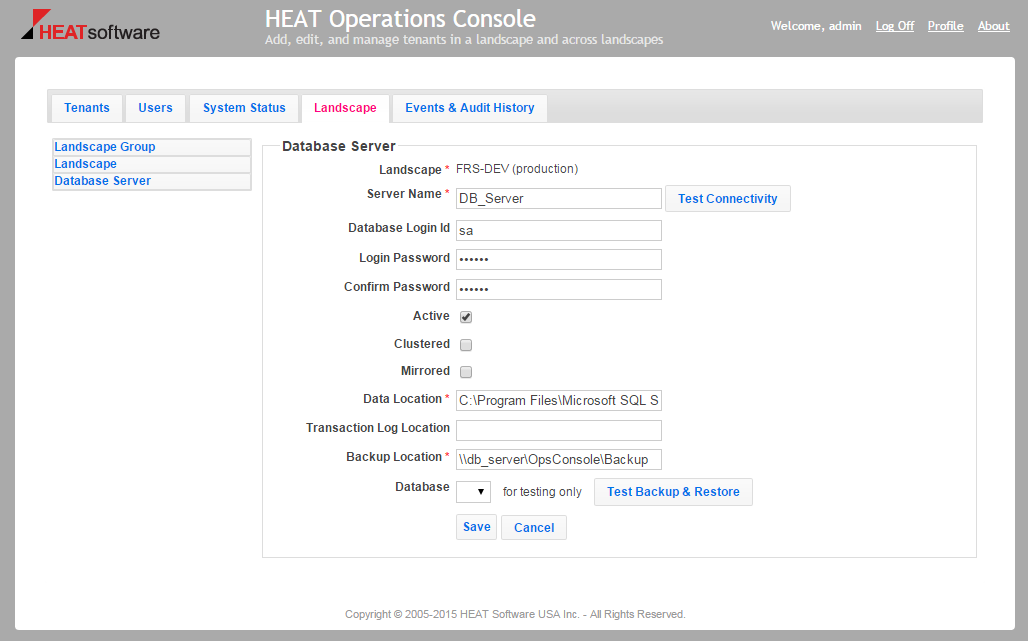
| e. | For the data and backup locations, change the application pool identity so that it has read access. See Changing the Application Pool Identity. |

See the Working with Database Servers section of the Operations Console User Guide for Neurons for ITSM for complete details about editing a database server.
4.Delete the Neurons for ITSM application databases on the staging and UAT instances of the tenant, by doing the following:
| a. | Click the Tenants tab. |
| b. | Click Expanded View to view all the details about the tenants. |
| c. | Find the staging instance of the tenant and click Deactivate. |
| d. | Click Deactivate at the confirmation prompt. |
| e. | For the staging instance of the tenant, click Delete. |
| f. | Check Skip Backup and click Delete at the confirmation prompt. |
| g. | Repeat steps c. through f. for the UAT instance of the tenant. |
You now have three instances of the configuration database and a production instance of the tenant.
See the Editing a Tenant section of the Operations Console User Guide for Neurons for ITSM for complete details about deleting tenants and tenant instances.
Creating the Staging and UAT Instances of the Tenants
To create the staging and UAT instances of the tenant, based on the production instance, do the following:
1.Log into the Operations Console.
2.Click the Tenants tab.
3.Navigate to the production instance of the tenant and click Manage Migration.
4.Create the staging instance of the tenant, by doing the following:
| a. | In the migration dashboard, click Push which is located inside the arrow going from the production instance of the tenant to the staging instance of the tenant. See Creating a Staging Instance of the Tenant. |
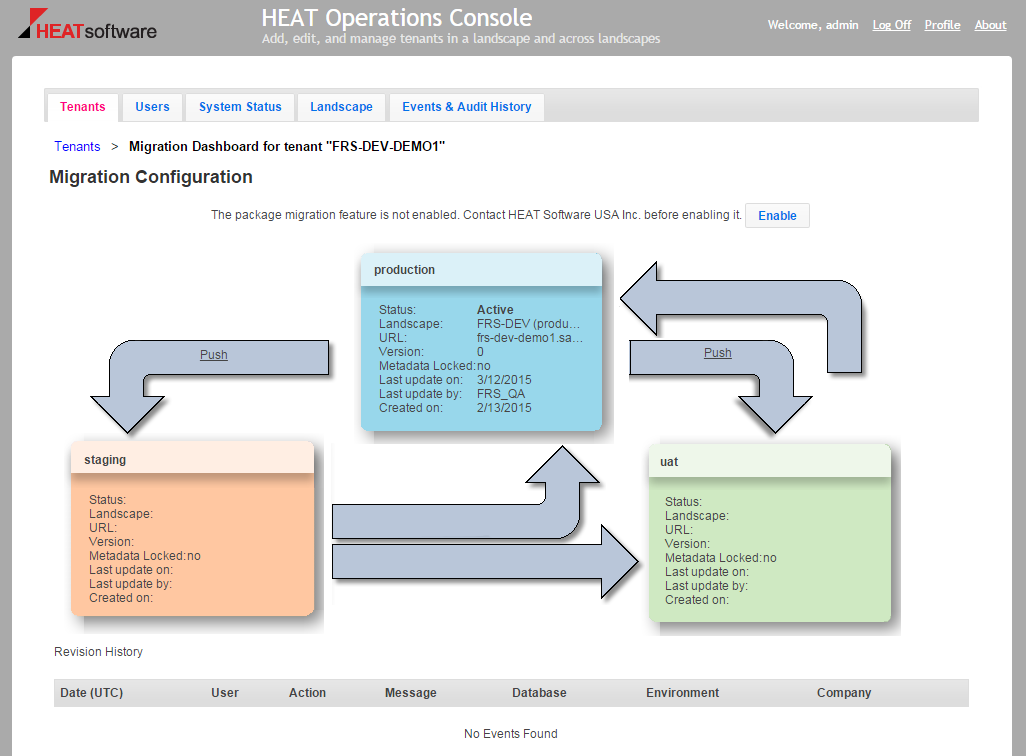
The system displays the Copy Production to Staging dialog box.
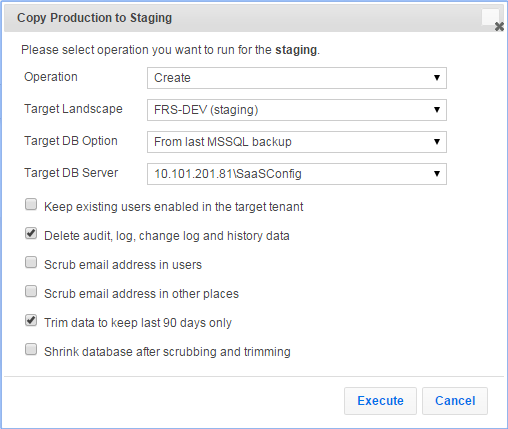
| b. | In the Target DB Option field, select From live MSSQL backup. See Copy Production Instance of the Tenant to the Staging Instance of the Tenant. |
| c. | Click Execute. |
5.Create the UAT instance of the tenant:
| a. | In the migration dashboard, click Push which is located inside the arrow going from the production instance of the tenant to the UAT instance of the tenant. See Creating a Staging Instance of the Tenant. The system displays the Copy Production to UAT dialog box. |
| b. | In the Target DB Option field, select From live MSSQL backup. See Copy Production Instance of the Tenant to the Staging Instance of the Tenant. |
| c. | Click Execute. |
You can now customize Neurons for ITSM and use the Operations Console to push those customizations to the other instances of the tenant.
Making Configuration Changes to Tenants
1.Log into the Operations Console.
2.Click the Tenants tab.
3.Make configuration changes in the staging instance of the tenant.
4.Push the configuration changes that you made in the staging instance of the tenant to the UAT instance of the tenant by doing the following:
| a. | Click Push which is located inside the arrow going from the staging instance of the tenant to the UAT instance of the tenant. See Creating a Staging Instance of the Tenant. The system displays the Copy Staging to UAT dialog box. |
| b. | You can use simple mode by leaving Advanced Mode unchecked, or you can use advanced mode by checking Advanced Mode. If you use advanced mode, select Copy Configuration in the Operation field and check your options. See Copy Production Instance of the Tenant to the Staging Instance of the Tenant. |
| c. | Click Execute. |
5.Verify that the configuration changes that you made to the staging instance of the tenant (in step 3) were successfully migrated to the UAT instance of the tenant.
6.Make additional configuration changes in the staging instance of the tenant as needed.
7.After you have finished making configuration changes and have verified them, push the configuration changes from the UAT instance of the tenant to the production instance of the tenant.