After you've published software, distribute it using your standard System Center Configuration Manager controls and
workflows.
Prerequisites:
Before deploying software, make sure:
- You have published the software that you want to deploy.
- The software publication event has completed successfully (view the latest Publication event).
- Per the standard System Center Configuration Manager workflow, you have created a network share that will be used as a location that your deployment targets can access the software.
-
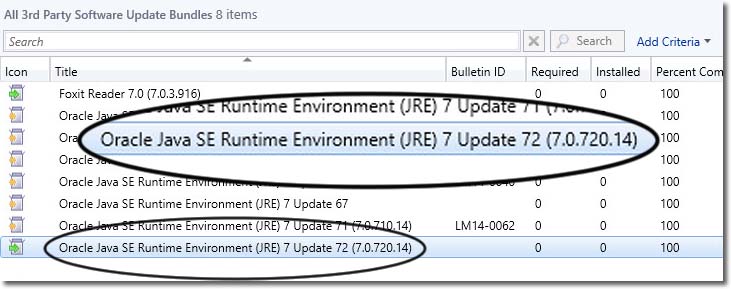
From the main pane, select the software that you want to deploy.
In our example, we're going to deploy the latest version of Java 7.Tip: Select multiple bundles by using Shift+Down Arrow or Ctrl+Mouse1.
-
From the Ribbon, click Deploy.
- If the Ribbon isn't displayed, click the Maximize arrow that's in the
upper-right corner next to the Help icon.

- You can also right-click your selection and choose Deploy.
Step Result: The Deploy Software Updates Wizard opens. - If the Ribbon isn't displayed, click the Maximize arrow that's in the
upper-right corner next to the Help icon.
Result: The software you selected is deployed. Use the standard System Center Configuration Manager controls to monitor its
progress.