If you didn't configure HEAT PatchLink DeskTop for System Center for your network following
installation, launch the HEAT PatchLink DeskTop for System Center
Configuration Wizard. This wizard allows end-to-end configuration of
HEAT PatchLink DeskTop so that it can operate in your network. You can use it to
point toward a proxy server, configure communication with a remote Primary Site Server/Central
Administration Site, and enter a serial number.
-
If your enterprise uses a proxy server between your network and the Internet, enter the proxy server information. If it
doesn't, skip to the next step.
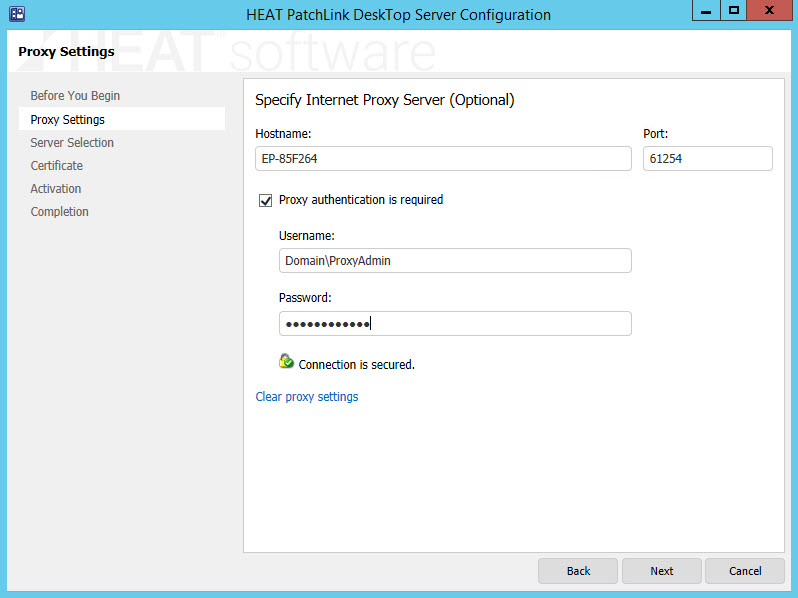
- In the Hostname field, type the proxy server's name or IP address.
- In the Port field, type the port number that the proxy uses to route communication.
- If your proxy requires user authentication to access the Internet, select the Proxy authentication is required checkbox and enter a Username and Password that authenticate.
-
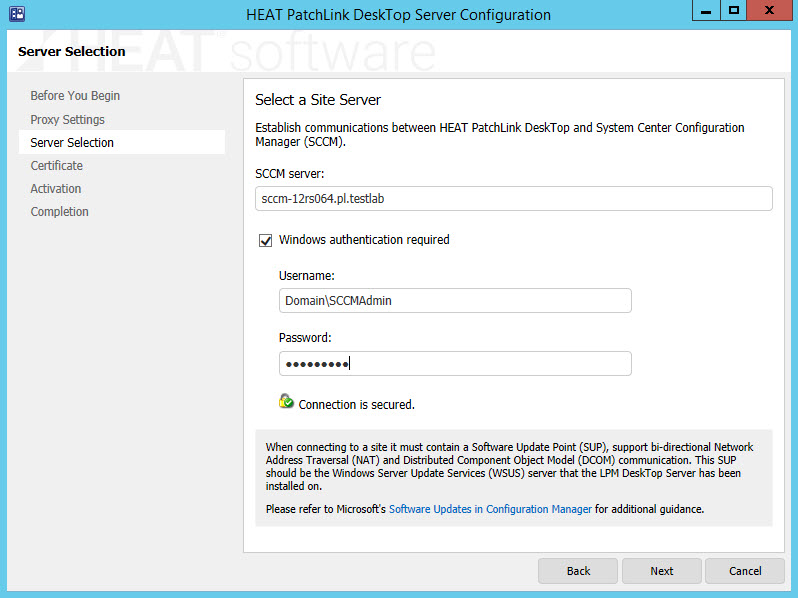
In the SCCM server field, type the name of your primary site server/CAS (if it
isn't filled in automatically).
-
Click the Import Certificate button to browse for the signing
certificate and import it to your
WSUS Server. If you already had a signing certificate installed
on your WSUS Server before installing HEAT PatchLink DeskTop, the certificate details are displayed.
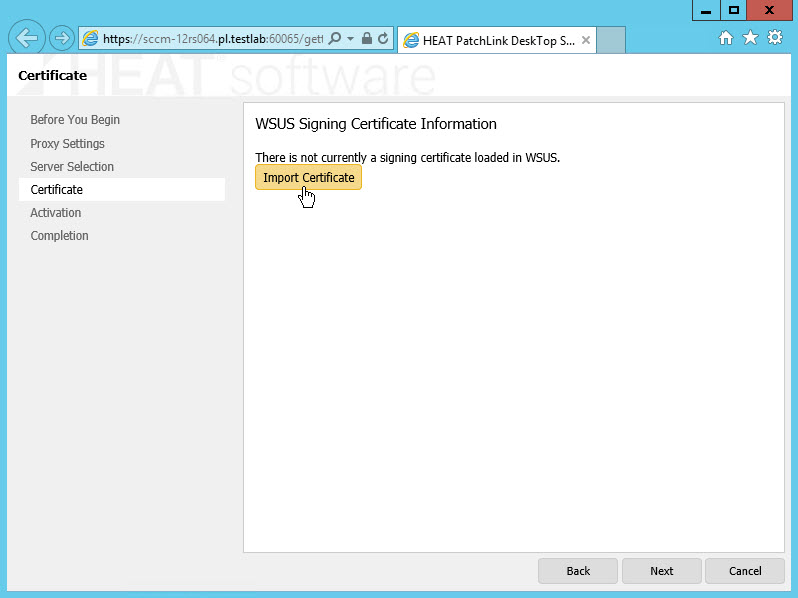 Note: Instead of clicking Update Certificate, you can drag and drop your certifcate into the WSUS Signing Certificate Information section.
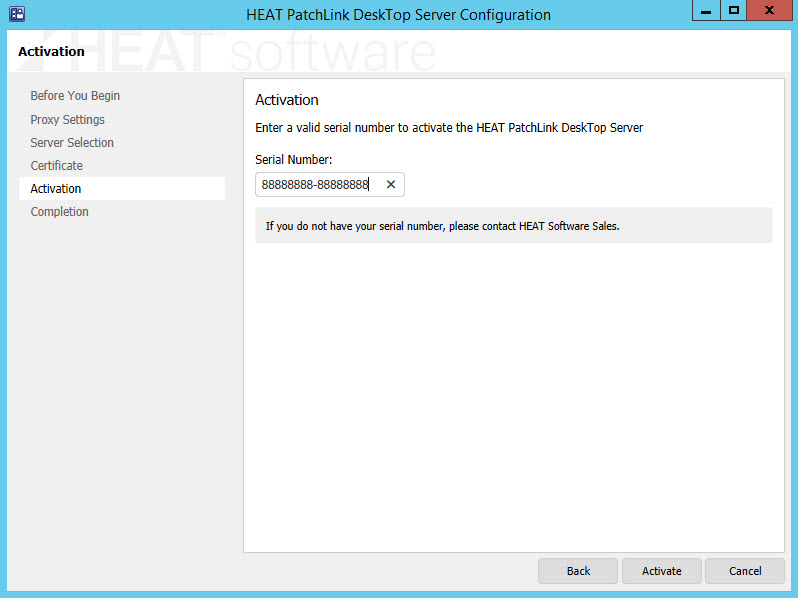
 - Enter the Serial number that you received in your email from HEAT Software when you purchased the product.
-
Review the Completion page to make sure all the information is correct.
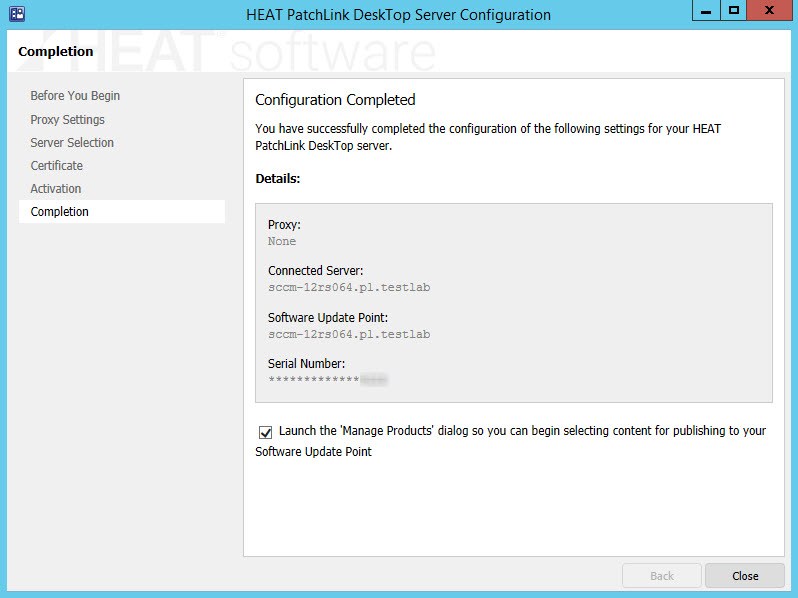
Result: HEAT PatchLink DeskTop is configured to work in your network environment. You can begin subscribing to 3rd-party
software and then deploy it. Refer to Getting Started in the HEAT PatchLink DeskTop for System Center User Guide or Help
for more info.