Installation
Ivanti Voice has two installation wizards:
•Server Installation - Run this installation wizard once on the Ivanti Voice host computer. Installs the Ivanti Voice server and has options for installing integrations with HEAT, Foundation (ITSM, CSM, and GMEE), GoldMine, and SaaS integrations, all operating from a central server.
•Client Installation - Run this installation wizard on client computers in your Ivanti Voice network. Do not run the Client installation wizard on the Ivanti Voice server host computer, since the Server installation wizard allows you to install all of the client components.
You can also create a .bat file to use for an unattended installation on end-user workstations. Refer to the "Unattended Client Installation" section for details.
Since you will not be specifying licensing info during the installation, Ivanti Voice runs in demonstration mode. The license file can be configured later, subsequent to the installation - refer to the online help topic "Host Configuration: License File Management."
Prerequisites
- For installation on the Windows 2012 server, updates would be required in sequential order, the details of which are given at the following URL: http://community.spiceworks.com/how_to/137874-install-windows-server-2012-r2-update-1-kb2919355
- For installation on Windows 7, the “Update for Microsoft Windows” set would be required up to KB3184143.
- For the Windows 2016 server and Windows 10, no specific prerequisites are required.
Server Installation
The server installation installs the Ivanti Voice server (on the Ivanti Voice host computer) and has options for installing HEAT, Foundation (ITSM, CSM, and GMEE), GoldMine, and SaaS integrations, all operating from a central server.
Ivanti Voice uses a SQL Server database for storing information such as statistical values and interaction data. Ivanti Voice supports MS SQL Server 2014 and MS SQL Server 2016. As indicated in the system requirements (refer to Preparation), MS SQL Server 2014 is recommended.
Microsoft SQL Server Setup
Install and configure Microsoft SQL Server prior to installing Ivanti Voice.
This installation chapter only discusses instructions specific to the Ivanti Voice database setup, and assumes readers are expert-level SQL Server users. For details on specific SQL tasks, refer to the Microsoft documentation.
Installation Procedure
If you are installing Ivanti Voice on a SQL server other than the included MSDE version, you will also need to create a database for Ivanti Voice. Note that Windows Authentication is not supported.
This installation procedure presumes you have already created an empty database (generally referred to as a database shell), and that database logon credentials have been created.
To Run the Server Installation Wizard:
1.Verify that the target computer meets or exceeds the system requirements.
2.Exit all programs running on your system.
3.Double-click the IvantiVoiceServer.exe file.
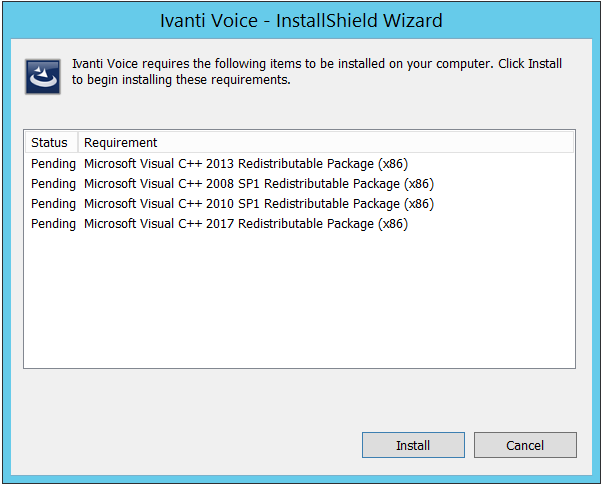
4.Before the Ivanti Voice installation wizard opens, you will be asked to install the missing prerequisites.
5.When complete, the IP Communications Management Server - InstallShield Wizard dialog box opens.
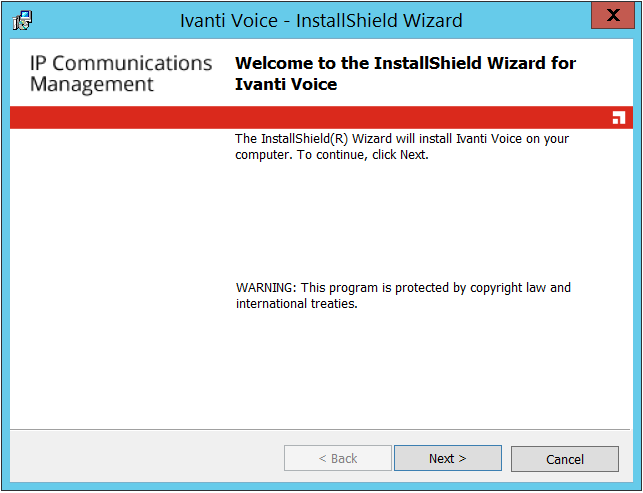
6.Click Next. The License Agreement dialog box opens.
If you are using Windows Server 2012, and have not yet installed Desktop Experience, you will see a prompt stating that Desktop Experience must be installed before proceeding with the Ivanti Voice installation. Click OK to close the message dialog box, then click Finish to close the wizard. Install Desktop Experience, then double-click the IvantiVoiceServer.exe file to start the installation wizard.
7.Review the licensing information and click the I accept radio button and check boxes if you agree to the terms.
8.Click Next. The Custom Setup dialog box opens, displaying the installation options as well as the default location for the program files.
9.In addition to installing the Ivanti Voice server, you have the option to install:
•Integration with HEAT
•Integration with Foundation
•Integration with GoldMine
•Integration with SaaS
The Integration with SaaS option refers to integration with ISM 2013 or newer, either hosted or installed on premise.
To confirm that you have adequate disc space to load the selected features, click the Space button.
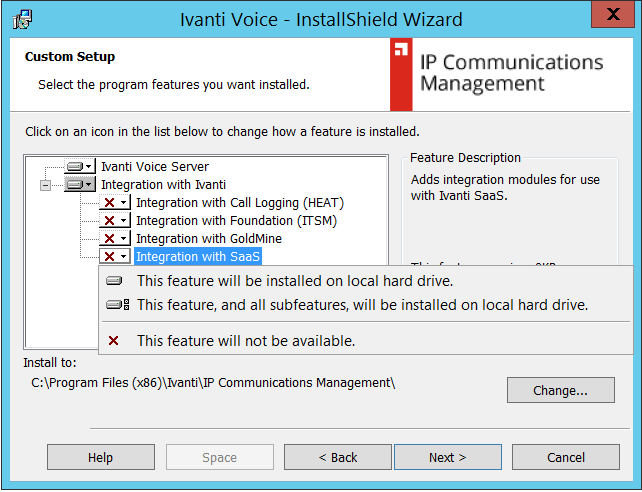
As you select the features to be installed, the default destination folder path displays. Accept the default folder as Ivanti recommends, or click the Change button to select another folder into which you will install the program files. If you select another folder, substitute that folder’s path as necessary when following the subsequent instructions in this guide.
10.Click Next.
•If you selected the Integration with Foundation option, the Integration with Foundation dialog box opens:
Select the appropriate version of Foundation.
As a result of specifying the Foundation version, three configuration files, ITSMConnector.dll.config, ITSMLiason.exe.config, and VxCCL.exe.config, do not have to be manually configured to reflect the correct assembly version. However, if you need to manually configure these files for any reason, refer to the online help topic "Ivanti Voice/Foundation Configuration" for details.
Click Next. Proceed to step 11.
•If you did not select the Integration with Foundation option, proceed directly to step 11.
11.The Database Server type dialog box opens.
12.On the Database Server type dialog box, you can choose the Select an existing MSSQL server option, or, if using an Oracle database, select the Setup connection string manually option.
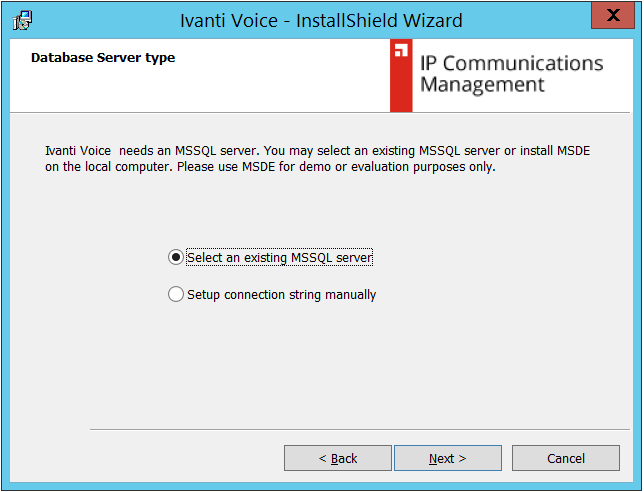
•If you selected the Select an existing MSSQL Server option, continue to step 13 on the following page.
•If you selected the Setup connection string manually option, follow the steps below to complete the Ivanti Voice installation:
a) Click Next. The Database connection string dialog box opens.
Do one of the following:
•Type the OLE DB connection string in the field provided (use the Ctrl+Enter keys for a line break). For example, for an Oracle database: Provider=OraOLEDB.Oracle.1; Password=password;Persist Security Info=True;User ID=IPCM55;Data Source=ORCL.
Or, if you need to store record notes for interactions that are longer than 100 symbols: Provider=OraOLEDB.Oracle.1;ChunkSize=500; Password=password;Persist Security Info=True;User ID=IPCM;Data Source=AGASIM.
•Click the Wizard button to open a wizard that will guide you in generating the connection string.
Click Next.
The Ready to Install the Program dialog box opens. Click Install.
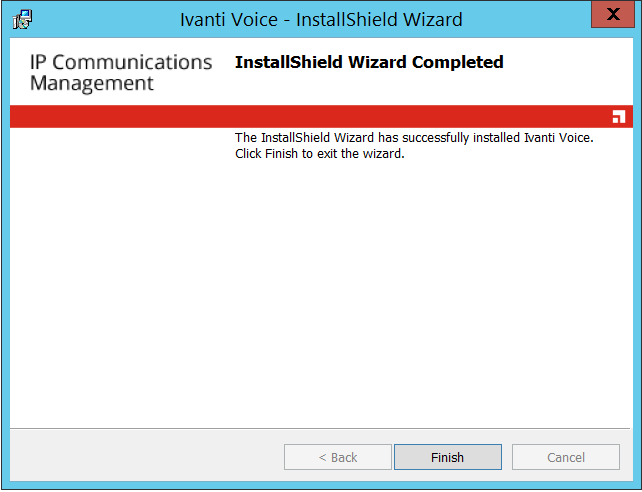
When the installation is complete, the InstallShield Wizard Completed dialog box opens. Click Finish.
13.After selecting the Select an existing MSSQL Server option, click Next. The Database Server dialog box opens.
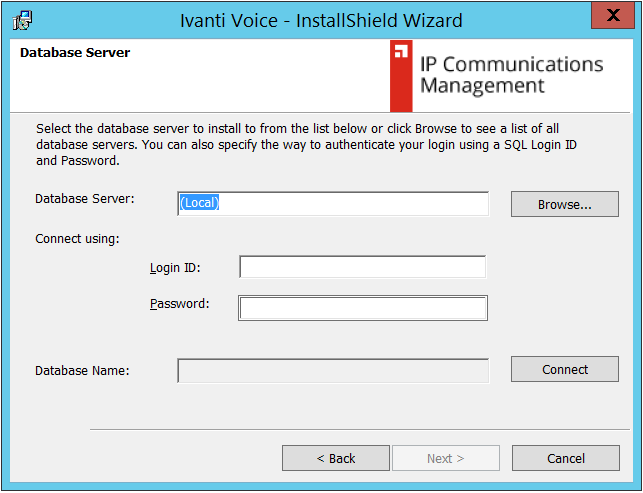
14.Accept the Database Server default or click Browse to select from the list of database servers. Or you can type the name of an existing server in the Database Server field.
15.Specify the SQL Login ID and Password.
16.Click Connect to select the database on the specified server.
17.Click Next. The Ready to Install the Program dialog box opens.

18.Click Install.
The Adobe SVG Viewer 3.0 Setup dialog box may appear. If so, click Yes since the Ivanti Voice server requires this specific version.
19.When the installation is complete, the InstallShield Wizard Completed dialog box opens. Click Finish.
Management Console
The Management Console is a client application that lets system administrators start and stop servers and application services, and monitor current server activity.
To open the Management Console, click Start > Programs > Ivanti, Inc. > Communications Management > Management Console.
The Objects Pane, on the left, displays the names and locations of all Ivanti Voice server objects in a hierarchy. The server objects listed depends on the installation. Examples: if the Integration with Foundation option was selected during installation, the Foundation Sync Server displays; if Outbound Dialer was installed, the Outbound server is listed.
For detailed information about the Management Console, refer to the Ivanti Voice online help topic "Server Administration."
Green icons indicate running servers; red icons indicate stopped servers. The data in the Properties pane, on the right, varies according to what you select in the Objects pane. For example, if you select the Contact Center Server in the Objects pane, the Properties pane displays information about Agents and Interactions. If you select the voice server, the Properties pane displays information about Application Contexts, Calls, and ASR Channels. The Events Log, at the bottom, displays critical log messages.
Server Verification
To Verify Successful Ivanti Voice Server Installation:
1.On the Ivanti Voice server host computer, select Start > Programs > Ivanti, Inc.>
Communications Management > Management Console. The first time an installation of the Management Console launches, the New Connection dialog box opens, requesting a user name, password, and the Ivanti Voice server selection. Enter the default user name and password, which are admin and password, respectively. The Management Console opens. Subsequent logins do not require a password
2.Expand the hierarchy in the left pane to view the servers. A green icon indicates the server is running; a red icon indicates the server is not running.
3.If a server has a red icon, right-click the icon and select Start Application. The icon turns green, indicating the server is running.
Client Installation
You can install the Ivanti Voice client directly on the end-user workstations, or create a .bat file to use for an unattended installation (refer to the Unattended Client Installation section for more information).
To Run the Client Installation Wizard:
1.Verify that the target computer meets or exceeds the system requirements in Preparation, and exit all programs running on your system.
2.Double-click the IvantiVoiceClient.exe file.
3.Before the Ivanti Voice installation wizard opens, you will be asked to install the required prerequisites. Click OK.
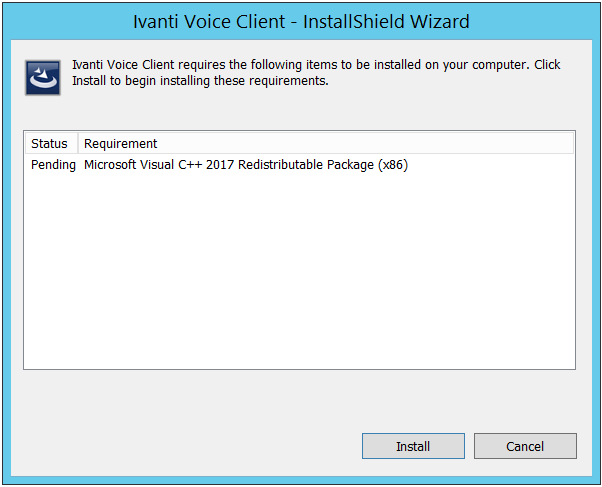
When complete, the Ivanti Voice Client InstallShield Wizard dialog box opens.
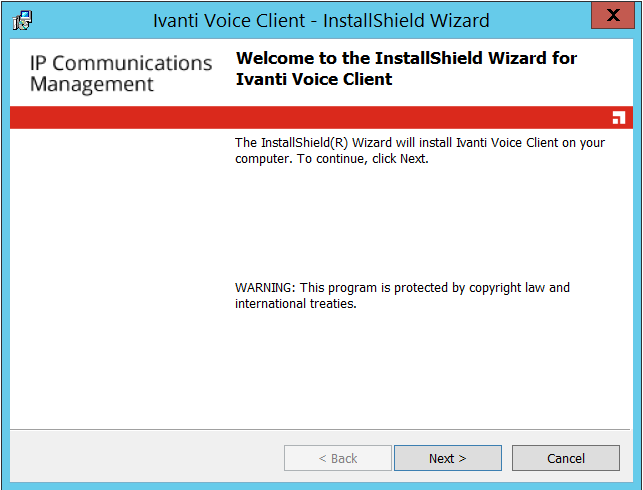
4.Click Next. The License Agreement dialog box opens.
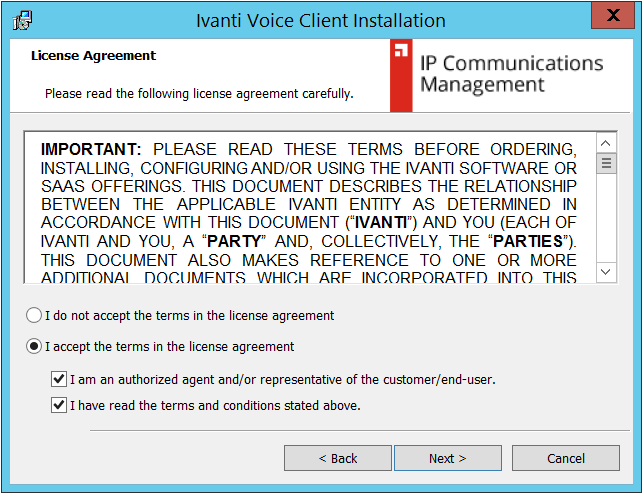
5.Review the licensing information and click the I accept radio button and check boxes if you agree to the terms.
6.Click Next.
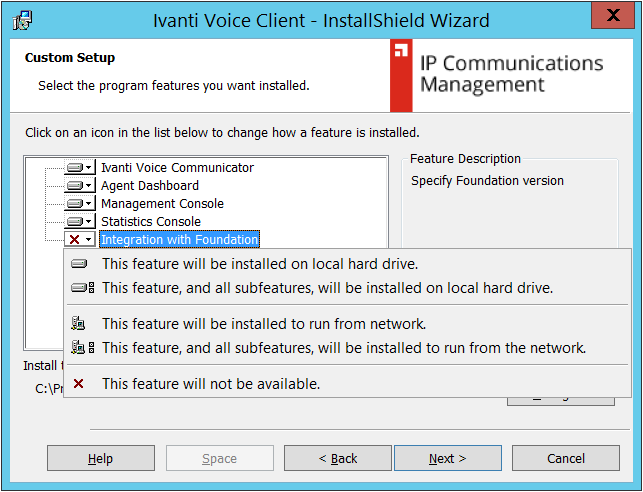
The Custom Setup dialog box opens, displaying the installation options as well as the default location for the program files. You have the option to install:
•Ivanti Voice Communicator - Installs the softphone for users other than contact center agents. Some communicator settings (on the SoftPhone, SIP Registration, and STUN tabs) are pre-configured during installation, but can be edited as needed.
•Agent Dashboard - Installs on client computers used by agents and supervisors.
•Management Console - Installs on the client computer used by the system administrator.
•Statistics Console - Installs on client computers used by supervisors.
•Integration with Foundation - Installs on client computers that need the two configuration files: ITSMConnector.dll.config, and VxCCL.exe.config, correctly configured with the appropriate assembly version for the Foundation version you specify (in step 10). Refer to the Ivanti Voice online help topic "Ivanti Voice/Foundation Configuration" for details.
To confirm that you have adequate disc space to load the selected features, press the Space key.
As you select the features to be installed, the default destination folder displays. Accept the default folder, or click the Change button to select another folder into which you will install the program files. If you select another folder, substitute that folder path as necessary when following the subsequent instructions in this guide.
7.Click Next.
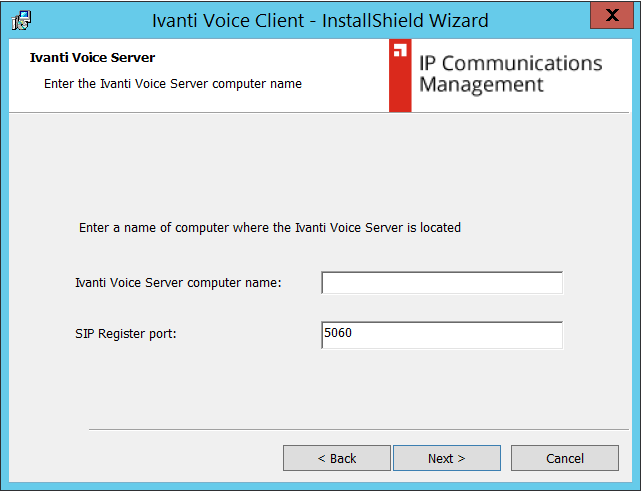
8.The IPCM Server dialog box opens:
Type the server computer name.
Accept the SIP Register port default or change it if needed.
Click Next.
9.If you selected the Integration with Foundation option, the Integration with Foundation dialog box opens. Otherwise, proceed to step 12.
•Select the appropriate version of Foundation, then click Next.
As a result of specifying the Foundation version, two configuration files, ITSMConnector.dll.config, and VxCCL.exe.config, do not have to be manually configured to reflect the correct assembly version. However, if you need to manually configure these files for any reason, refer to the online help topic "Ivanti Voice/Foundation Configuration" for details.

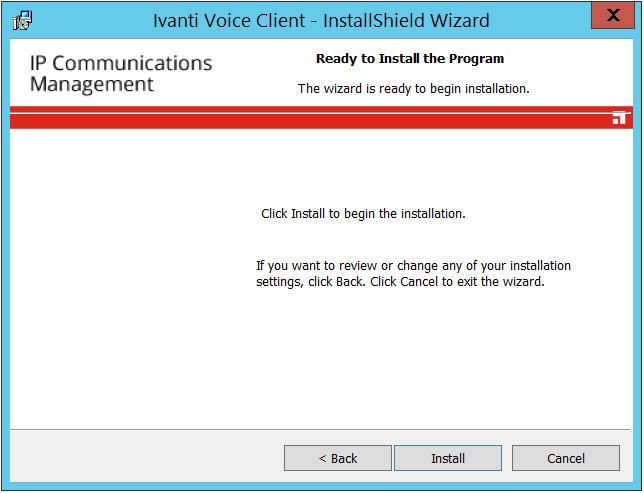
10.The Ready to Install the Program dialog box opens. Click Install.
11.When the installation is complete, the InstallShield Wizard Completed dialog box opens. Click Finish.
Unattended Client Installation
With an unattended installation, you can run the installation wizard in silent mode, with no user interface displaying and no interaction required by the user. An unattended installation is especially useful when deploying a large number of clients.
- Create a new directory on the client computer to contain the client .exe file and a .bat file you will create; for example, C:\Silent.
- Place the IvantiVoiceClient.exe on the new directory.
- Create a .bat file in the same directory with following information:
IvantiVoiceClient.exe /s /v"/qn INSTALLDIR=\"C:\Program Files\Ivanti\" ADDLOCAL=ALL IPCM_SERVER=<name_of_IPCM_server>
where:
•/s = silent mode
For some newer operating systems, you may need to use /silent.
•/v = pass arguments to msiexec
•/qn = no user interface
•INSTALLDIR = path to the installation folder
•ADDLOCAL = list of features to install (Root,Client,Agent,Manag,Stat)
Inclusion of the Root feature is mandatory.
•ALL = for full installation
•Client = install Ivanti Voice Communicator
•Agent = install the Agent Dashboard
•Manag = install Management Console
•Stat = install Statistics Console
If installing the Integration with Foundation option, the .bat file should specify the Foundation version. For example:
IvantiVoiceClient.exe /s /v"/qn INSTALLDIR=\"C:\Program Files\Ivanti\" ADDLOCAL=ALL ITSM=ITSM70 IPCM_SERVER=<name_of_IPCM_server>
12.Run the .bat file. The Ivanti Voice client is installed at C:\Program Files\Ivanti (or in the directory you specified).
Management Portal
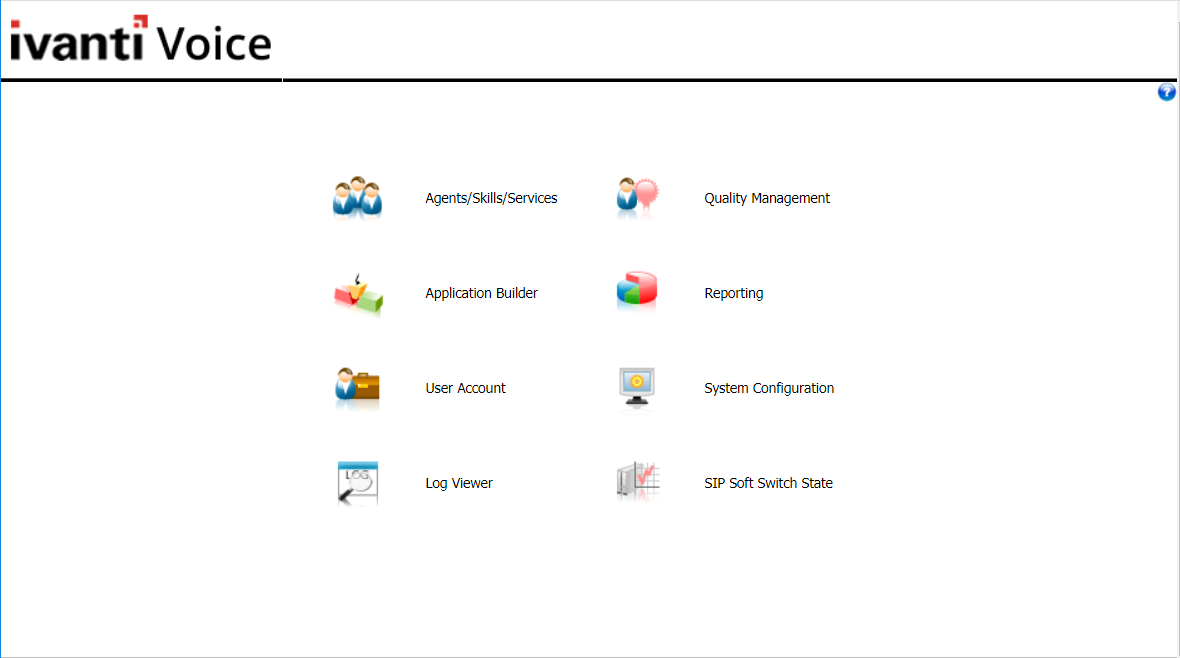
The Management Portal is a browser-based interface that provides the system administrator with access to the following:
|
|
Agents/Skills/Services - Configure agents, skills and skill groups, routing rules, services, and agent Not Ready reasons. |
|
|
Application Builder - Create multiple voice applications that implement call processing scenarios specific to your business needs. |
|
|
User Account - Configure and manage users, the Global Address Book, Unified Messaging, and user roles. |
|
|
Log Viewer - View log messages containing data about server events. |
|
|
Quality Management - Configure Quality Management functionality, including scheduled conversation recordings and recording rating criteria. |
|
|
Reporting - View historical reports, interactions (including agent recordings), application reports, and instant messaging reports. |
|
|
System Configuration - Configure the Ivanti Voice servers and host computer. |
|
|
SIP Soft Switch State - Monitor the current state of active calls, call history, DNs, and gateways. |


Navigation
To Open the Management Portal:
1.Click Start > Programs > Ivanti, Inc. > Communications Management > Management Portal.
The Enter Network Password dialog box opens.
2.Type your User Name and Password. The defaults are:
•user name = admin
•password = password
3.Click OK. The Management Portal menu page opens, displaying eight options. Click the desired option.
A navigation menu comprised of icons appears at the top of each page in the Management Portal.

•Move your mouse cursor over each icon to see the page that corresponds to that icon.
•Click an icon to advance to the desired page.
•Click the ISM IP Communications Management logo to return to the Management Portal menu page.
Entering/Editing Data
When you enter or edit data on the Management Portal, Ivanti Voice does not always apply those changes immediately (in some fields the text turns red indicating the changes are not applied). Use the following buttons to have your changes take effect:
•Update - Applies changes to the current screen, enabling you to go to another Management Portal screen without losing your changes. When you apply a change, the text changes to black if it was red.
•Commit Changes - Saves applied changes and immediately enacts those changes in Ivanti Voice. The Commit Changes button appears after you click an Update button. Once you click the Commit Changes button, you can close the Management Portal without losing your changes as long as you first clicked the Update button associated with the fields or forms you changed. If you edit multiple forms or multiple pages, you must click the Update buttons associated with each edited form before you click the Commit Changes button. (In the SIP Soft Switch configuration pages, this button will not appear; all SIP Soft Switch configuration changes are auto-committed.)
You cannot restore previous settings once you click the Commit Changes button. If you have not clicked the Commit Changes button and you want to discard your changes, use the Discard Changes button to revert edited fields and forms to the previous values.