Contract and Warranty Management
Contract
Use the Contracts workspace to create and manage contracts associated with your asset purchase orders. The Contract Manager Asset Administrator, and Asset Manager roles can access to this workspace, as do the Asset Administrator and Asset Manager roles.
The users with the role Contract Manager, the workspace is labeled as Contract Management.
If you are using Neurons for ITAM Cloud and are licensed to use Ivanti Neurons for Spend Intelligence, you can integrate the two products so that software asset contract data is automatically synchronized between the databases. For details, see Integrating with Ivanti Neurons for Spend Intelligence.
Device Warranty
In Neurons for ITAM, Configuration Item (CI) device warranty information is captured in the Device Details section, where the relevant warranty fields are defined and maintained. The following key fields are used to capture and maintain warranty details:
•Warranty Term – Text field to record the warranty term as provided by Neurons.
•Warranty Start Date – Date and time field to track the warranty start date.
•Warranty Expiry – Date and time field to track the warranty end or expiry date.
Warranty Workspace
The Warranty Workspace is a centralized area in Neurons for ITAM where all device warranty-related data, activities, and views are grouped together to quickly see and manage warranty and contract information for Configuration Items (CIs). The following fields are displayed in the workspace:
|
Field |
Description |
|---|---|
| Title | Provide a clear, descriptive name for the warranty or contract (for example, “Dell Latitude 5440 – 3 Year ProSupport Warranty”). |
| Description | Provide a brief summary of what the warranty or contract covers, including any important inclusions, exclusions, or special conditions |
| Start Date | The date on which the warranty or contract coverage becomes effective. |
| End Date | The date on which the warranty or contract coverage ends. After this date, the asset is no longer covered under the agreement. |
| Service Level | The agreed level of service provided under the warranty or contract (for example, response time, resolution time, on-site versus remote support). |
| Provider | The vendor or service provider responsible for delivering the warranty or contract services (for example, Dell, HP, Lenovo, or a third-party service partner). |
| Number | The unique reference or identifier for the warranty or contract (for example, contract number, agreement ID, or warranty registration number). |
Warranty for Contracts
When a contract is logged by the Asset Admin, any associated warranty information for covered assets must be recorded and kept in sync with the contract details.
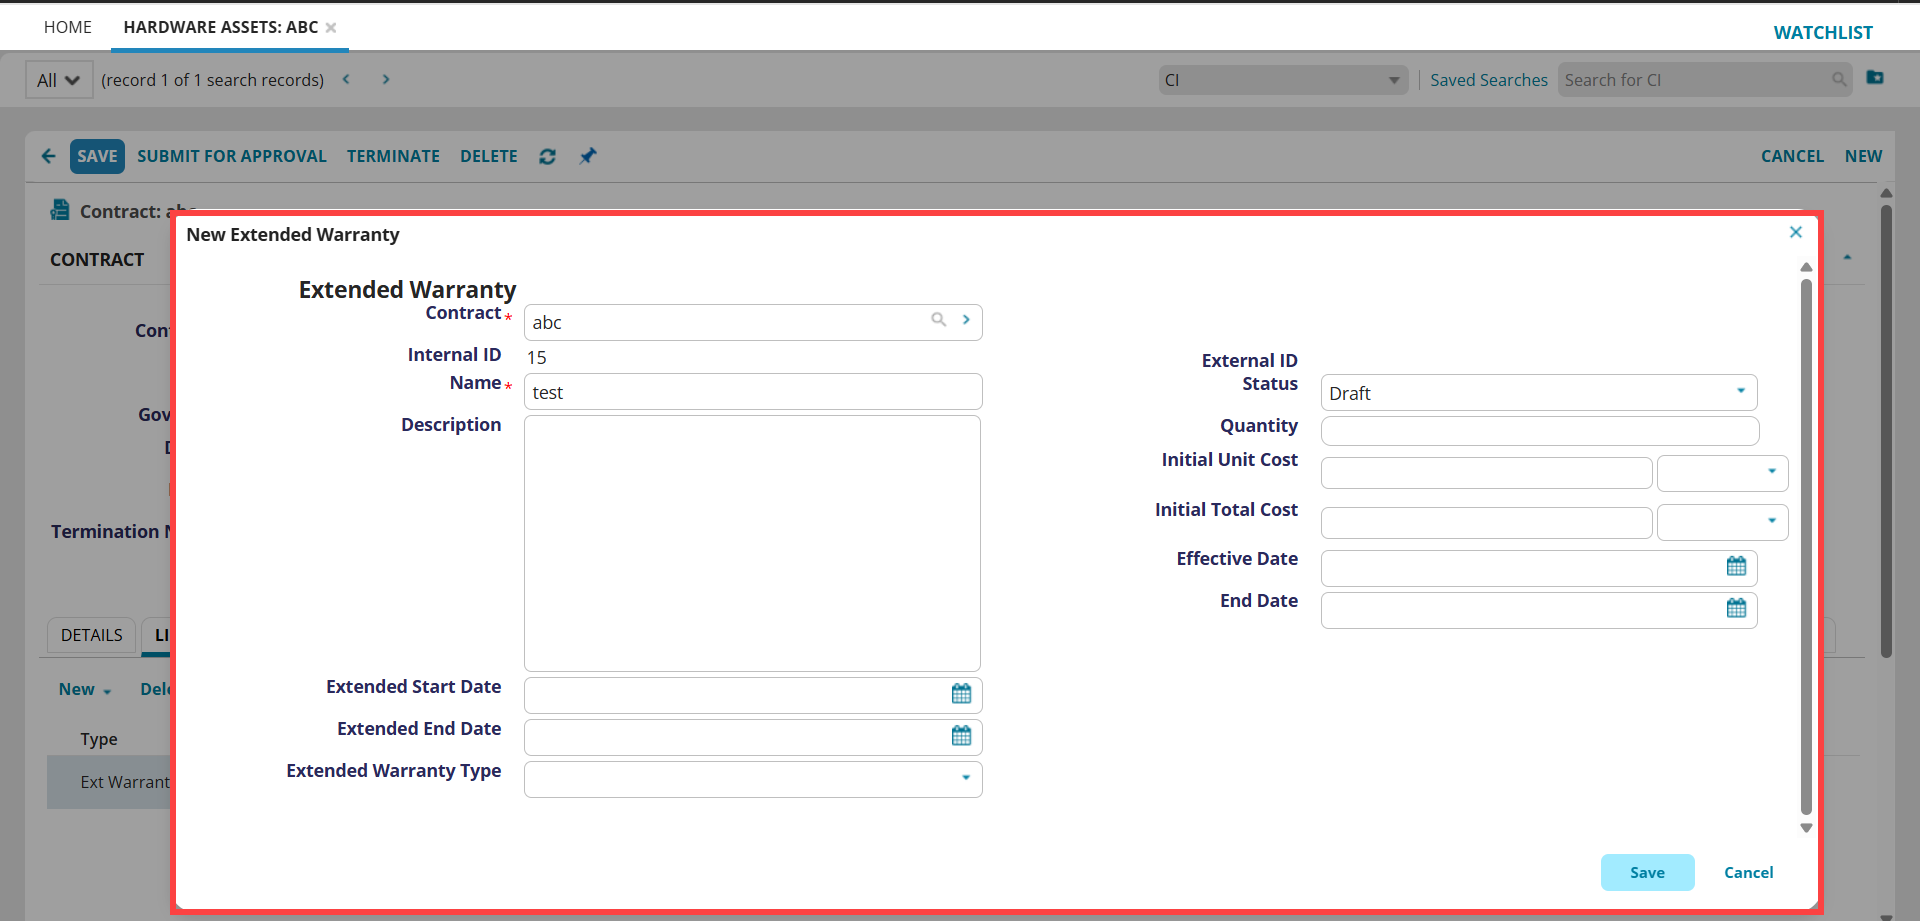
Under the Line Items tab, when you select New, the New Extended Warranty functionality is available. By using the New Extended Warranty functionality, you can create a warranty for a Contract and for a Contract Line Item.
1.Open the Contracts workspace and click New.
2.Enter the following required information:
•Contract Name, Vendor
• Expiry Date - The contract expires automatically on this date.
•Internal ID - Your organization’s contract tracking identifier.
3.Complete the other fields as required:
•Governing Law
•Date Signed
•Termination Notice Days -The number of days notice you give before terminating the contract
4. Click Save. The contract is saved with an initial Status of Draft.
5.Complete the associated tabs as required:
•Details – Enter text description of the contract.
•Line Items – Create line items for the contract. Line items created here also appear in the Contract Line Items workspace. Select a line item and choose Go To to open it in that workspace.
•Line Item Scorecards – Select Go To to view vendor scorecards associated with line items in this contract.
•Purchase Orders – Select Go To to open purchase order line items associated with this contract. For details about linking purchase-order line items, see Procurement > To create a purchase order.
•Termination Details – Record contract termination information.
The Termination Notice Days and Date Signed fields are the same as those at the top of the page.
You can specify:
• Termination Type
• Termination Date,
• Termination Reason.
•Language – Enter terms and conditions associated with this contract.
Click New to add a new entry. You can specify:
• Contract Language Type,
•Addendum number
• Associated Contract and Contract Line Item
•Details
•Participants – Details of all participants involved with the negotiation of the contract. Click New to add details about a new person involved with the contract. Add the Participant Role, the Participant Type (either Internal or External), and a description of their Responsibility.
Typically, a participant will be an internal employee or external contact that currently exists in your database. If you need to add a new contact here, that person is also added to the Employee or External Contact workspace respectively.
•Attachments – Attach documents or add a URL to a relevant website. URLs must include the https:// prefix.
•Journal – Add emails or notes to this contract record.
•Audit History – Tracks changes to key contract attributes automatically.
6.Select:
• Save -If you plan to continue editing later.
•Submit for Approval only when the contract is ready for approval.
When submitted, the contract Status changes to Submitted.
After you create a contract, you can use the toolbar to: Cancel or Terminate the contract, or change the Status manually.
If you cancel or terminate a contract, you can capture the Reason.
If you terminate a contract, you can also select the Type of termination from Company Breach, End Term, Mutual Agreement, or Vendor Breach.
Contract line items
A single contract can comprise many line items of different types, such as entitlements, maintenance, support, and so on. Use the Contracts workspace or the Contract Line Items workspace to add and modify line items for a contract.
Line items created in the Contract Line Items workspace will automatically display under the Line Items tab for the associated contract.
1.In the Contracts workspace, open the required contract and click the Line Items tab.
2.Click the New dropdown, then select the type of line item to add.
3.Enter a Name for the line item and choose an appropriate Status.
4.Enter the Quantity and Initial Unit Cost.
The system calculates the Initial Total Cost automatically. Also enter the Effective Date and End Date.
5.Complete any other additional fields specific fields, then click Save. The line item is added to the list.
6.To add more detailed information. Under the Line Items tab, select the required line item, then click Go to to open the full record in the Contract Line Items workspace.
To return to the parent contract at any point, you can click ![]() alongside the Contract field, then click Go to.
alongside the Contract field, then click Go to.
7.Complete the associated tabs to add more details:
For line items that are entitlements, leases, or volume purchases, an extra details tab displays:
•Entitlement Details – Add information about license entitlements. The available fields match those in Ivanti Neurons for Spend Intelligence if it's integrated with your ITAM Cloud system. For details about setting up integration, see Spend Intelligence in the Ivanti Neurons for Spend Intelligence help.
•Lease Details – Add information that is specific to a lease, such as the lease schedule, early termination calculations, and shipping costs.
•Vol Purchase Details – Add information that is specific to a volume purchase, such as minimum purchase quantities, periods, discounts, and prices.
The following tabs display for all types of contract line items:
•Renewal Details – If a line item is renewable, select the Renewable check box on this tab. Enter the following values:
•Renewal Amount – The cost of the renewal.
•Renewal Notice (days) – The number of days notice you need to give to the vendor if you DO NOT want to renew the agreement or want to make changes to it.
•Renewal Reminder (days) – The number of days before the renewal notice period starts when you want to be reminded about the renewal.
•Frequency – How frequently the renewal occurs.
•The other fields are automatically calculated by the product.
•If a contract line item has the Renewable check box selected and a status of Active when the End Date is reached, the Renewal Amount for the line item is applied to each of the assets linked to it. You can see this on the Financial Transactions tab for the asset.
•The Uplift Amount shows the cost increase from the previous renewal, and the Uplift Percent shows this as a percentage difference. The Last Renewal Unit Cost shows the cost for each unit when this line item was last renewed, and this value is multiplied by the quantity to give the Last Renewal Total.
•Termination Details – Record the Termination Notice Days. To terminate a contract line item by setting its Status field to Terminated, and use the remaining fields on this tab to record details about the termination.
•Language – View or add the terms and conditions associated with this contract line item. To add a new entry, select New Contract Language. Select the Contract Language Type, then enter the Addendum number, associated Contract and Contract Line Item, and required Details.
•Assets – Link asset records from the Hardware Assets workspace that are associated with this contract line item.
•Purchase Orders – View the purchase orders associated with this contract line item.
•Journal – Add notes to this record.
•Employee – This tab displays only for contract line items of type Entitlement. It enables you to link employees whose license entitlement is associated with this record.
•Attachments – Attach a document to this record, or add a URL link to a relevant website. URLs must include the https:// prefix.
•Audit History – Automatically tracks any changes made to key attributes of this record.
8.Click Save.
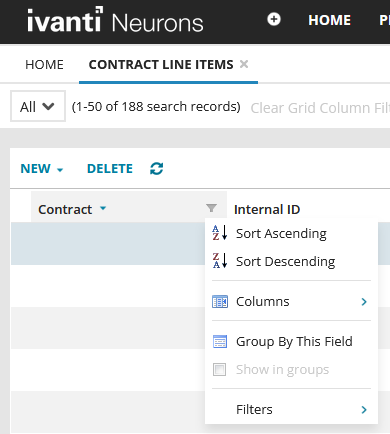
Tip: To change the view within this workspace so that contract line items are grouped under their contracts, click the down arrow in the Contract column header, then select Group By This Field.