Data Migration Tool
The Data Migration Tool is used when installing Patch for Configuration Manager for the first time or when upgrading from a prior version. In both instances, it adds the custom roles 3rd Party Patch Administrator and 3rd Party Patch Read-Only User if they are missing, which you can then use to control access in Patch for Configuration Manager.
Additionally:
- New installations: The tool will create and configure your new Patch for Configuration Manager database.
- Upgrades: If necessary, the tool will create a new database. It will also migrate settings and user data that were used in your previous version of Patch for Configuration Manager.
Who Needs to Use the Data Migration Tool?
The Data Migration Tool can be run just once by any user on any console. The user who installs the database must have db_create permissions on the SQL Server.
Accessing the Data Migration Tool
There are two ways to access the tool:
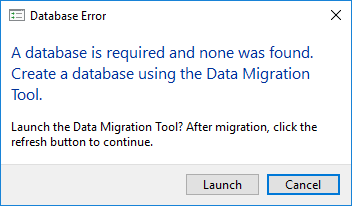
- A dialog requesting you to launch the tool is displayed automatically when you access Patch for Configuration Manager for the first time following a new installation or an upgrade.
- The tool can also be launched manually. You might do this if you prefer to automate the data migration process.
- Navigate to the C:\Program Files (x86)\Microsoft Endpoint Manager\AdminConsole\bin\ directory and double-click the file named ST.SCCM.DataMigrationTool.exe
- Launch the tool from a command line prompt. This enables you to automate the process if you choose. Adding the argument /? will present usage information. For example: ST.SCCM.DataMigrationTool.exe /?
The methods used to launch the tool manually are:
Using the Data Migration Tool
The Data Migration Tool will record log information to C:\Users\<username>\Ivanti\Patch\DataMigrationTool.log.
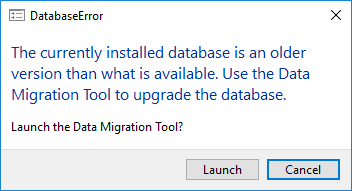
After accessing Patch for Configuration Manager for the first time following a new installation or an upgrade, one of the following dialogs is automatically displayed.
- If you are performing a new installation:
- If you are performing an upgrade from a prior version of Patch for Configuration Manager:
In either case, perform the following steps.
- Click Launch.
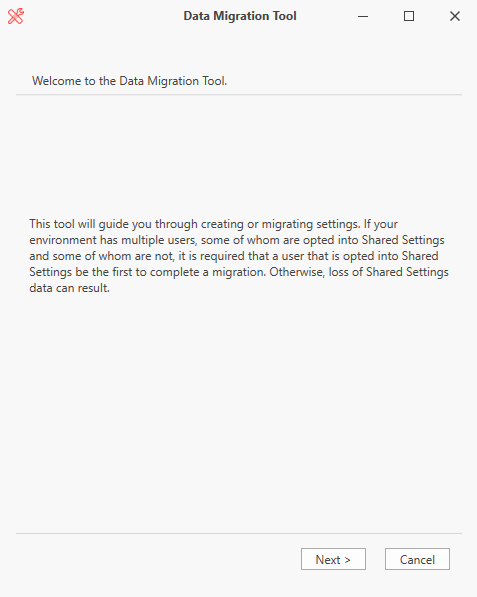
The Welcome dialog is displayed. - Click Next.
A dialog that asks for your Configuration Manager server name is displayed. - Type your server name
- Click Test server connection and verify that the connection succeeded.
You cannot advance to the next dialog until you successfully test the connection. - Click Next.
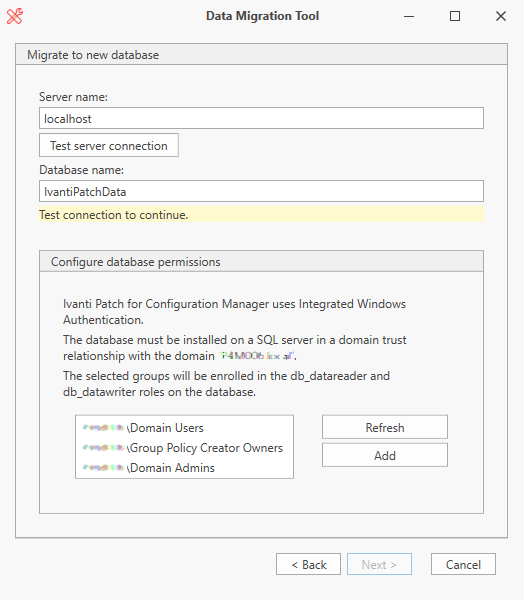
A dialog that shows your current server and database names is displayed. - If necessary, edit the server name and the database name.
- Server name: Type the name of the server that contains Microsoft SQL Server.
- Database name: If you are performing a new installation, feel free to use the default name (IvantiPatchData) or type a different name. If you are upgrading from an earlier version that had shared settings enabled, the database name that was used previously will be populated; do not change this name.
- Click Test server connection and verify that the connection succeeded.
You cannot advance to the next dialog until you successfully test the connection. - Configure the database permissions.
This area is used to select the groups that will be enrolled in the db_datareader and db_datawriter roles on the database. The roles apply to globally-scoped Active Directory groups. The group(s) shown are the Active Directory groups you belong to that are domain qualified. All members in the groups you select will be provided read/write permissions on the database. If you need to add a group, do so using your normal process and then click Refresh. This will poll Active Directory for any new groups and will update the list. - Click Next.
If you have one or more tasks that need to be rescheduled due to a smart filter name conflict, a dialog that asks for your credentials is displayed. If you do not have any tasks that require rescheduling, skip to Step 12. - Specify credentials to use when rescheduling a publishing task.
- Click Validate credentials and verify that the credentials were validated.
You cannot advance to the next dialog until you successfully validate the credentials. - Click Next.
- Click Next.
- Click Finish.

Permissions can also be added at any time outside of the Data Migration Tool using SQL Server Management Studio.

IMPORTANT! Do not cancel out of the Data Migration Tool at this point. Doing so will have the effect of leaving your settings migrated, but tasks that require rescheduling will be unscheduled.
 or
or 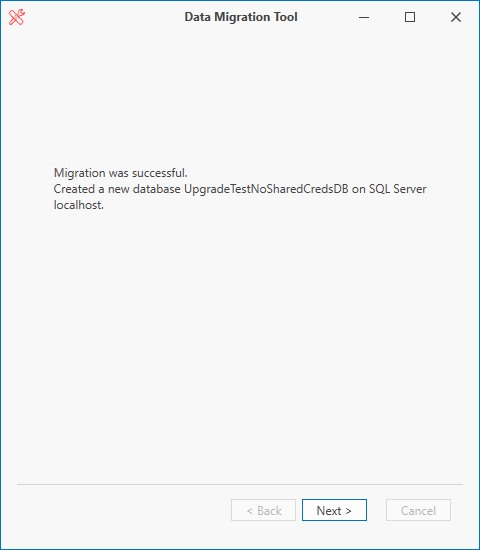
 or
or 
Your Next Steps
With the database now configured and ready for use, your next steps should be to configure your settings.