Configure inventory change settings
NOTE: You must first configure these settings if you want to view, print, or export inventory changes for any devices on your network.
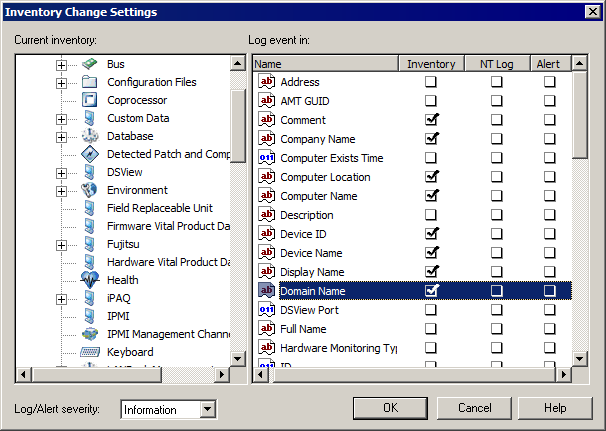
To configure inventory change settings
- Click Configure > Inventory history.
- In the Inventory change settings dialog, expand the Computer object in the Current inventory list, and select the system component you want to track.
- In the Log event in list, select the component's attribute you want to track.
- Select the appropriate check box to specify where to record a change in that attribute. Inventory changes can be recorded in the inventory changes history log, Windows NT event viewer log, or as an AMS alert.
- Select a severity level from the Log/Alert severity drop-down list. Severity levels include: None, Information, Warning, and Critical.
- Click OK.
For more information, see About the Inventory change settings dialog box.