Creating items for option buttons and lists
Before you can add custom lists and option buttons to your window, you need to create the list items using Object Designer.
Option buttons are available in Console only. In Web Access and Workspaces they appear as dropdown lists.
To create a set of option button items:
- Start the Object Designer component, and open the business object to which you want to add a set of items to be used as option buttons. For example, Incident.
- Create a new attribute, and name it as required.
- Alongside the Data Type property, select either Int16 or Int32.
- Alongside the Allowed Values property, click
 .
.
The List Designer dialog appears.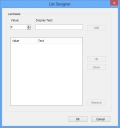
- In the Display Text, type the name for the list item, then click Add.
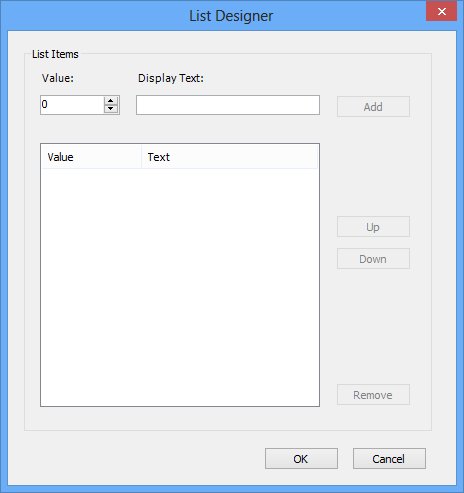
The Value of list items starts at 0.
- Repeat as required.
To change the order of the option buttons or list items, select the relevant item, then click either Up or Down. To remove an item, select it, then click Remove.
- Click OK.
- Save the changes you have made.
You are now able to add these option buttons to the window based upon this business object. For more information, see Adding option buttons and custom lists to a window.