Creating report templates for Web Access and Workspaces
Using Object Designer, you can design report templates that change the appearance and functionality of query results lists in Web Access and Workspaces. You can, for example, specify different fonts or add links that enable users to progress processes directly from the results list.
For more information about using these report templates in Web Access, see the Web Access Administrator Guide.
To create a report template:
- In Object Designer, open the object that you want to create a report template for.
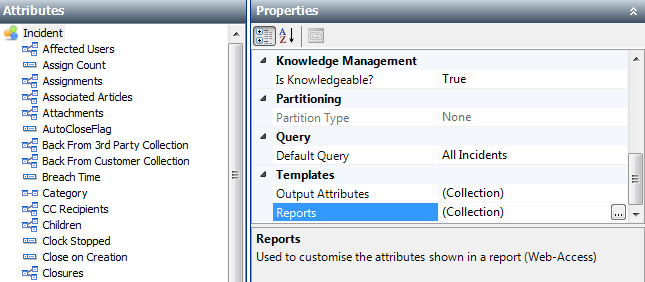
To display a query result in Web Access or Workspaces as a report, you need to have a report template for the object that the query is based on. - Click the object name at the top of the Attributes tree, then alongside Reports in the Properties grid, click
 .
.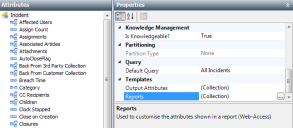
The Report Templates dialog appears.
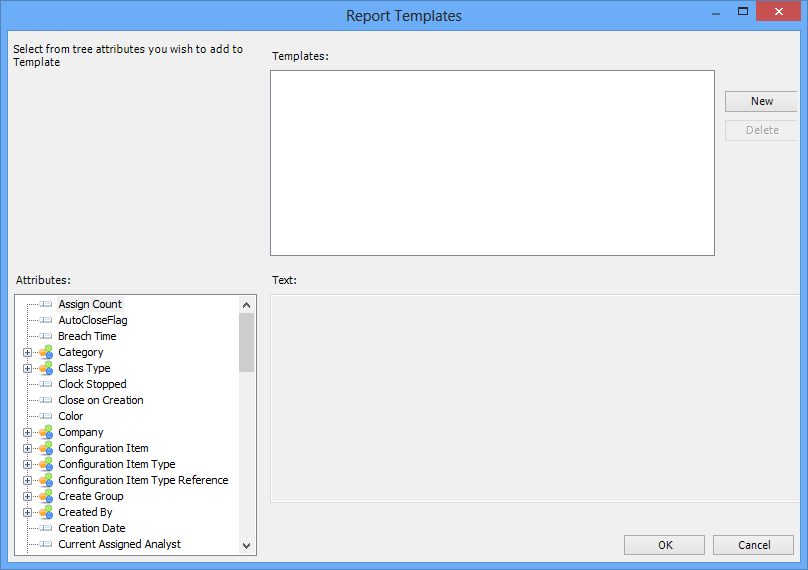
- Click New.
The New Attribute Template dialog appears. - In the Name box, type a name for the template, then click OK.
The name you typed appears in the Templates list. - In the Text box, type the text that you want to appear as part of the report. Drag attributes that you want to appear in the report from the Attributes tree to the appropriate place in the Text box.
- Click New to define other report templates that format the information in other ways, and which report different information, as required.
- Click OK to close the Report Templates dialog, then click
 .
.
The changes to the object are saved.
You can add links to other parts of the application when you design report templates for Web Access and Ivanti Workspaces. For example, you can add an Add Note action to the report template that you apply to a Change query so that users can add a note to the Change directly from the query list without having to open the record first. For information about this, see Adding links to report templates.
You can use simple HTML in the Text box, including HTML tables. If you want to specify table and column widths in pixels, you need to include a table class called reportFixedWidth in your HTML. Some examples are given below. However, specifying fixed widths can affect the responsive nature of Workspaces, so we recommend that you avoid specifying fixed widths in Report Templates used by Workspaces.
Web Access enables you to set a Report Template and an Expanded Report Template for a query results list. This enables you to choose to show more information for a specific row in the report by specifying an Expanded Report Template that returns more information.
You can use report templates to display information that is not displayed by the query that the report is based on.
Example report templates
This section gives examples of report templates:
Here is a title: {Title}, and here is a description: {_Description}.
The above example displays the text for the query result in the default font, with the Title value for the query result replacing the {Title} place holder, and the Description value replacing the {_Description} place holder. We recommend that you add the place holders by dragging them from the Attributes tree.
Here is a title: <b>{Title}</b>, and here is a description: <b>{_Description}</b>.
The above example is the same as the first example, but the Title and Description are now in bold (using the HTML <b>bold</b> tags).
<table class="reportFixedWidth" cellspacing="0" cellpadding="2" width="500px" border="0"><tbody><tr><td rowspan="2" valign="top" width="32px"><img style="MARGIN-RIGHT: 10px" height="32px" alt="" width="32px" align="left" src='{Image}'/></td><td class="Heading3">{Title}</td></tr><tr><td>Here are two attributes in the table's second row: {_Attribute1}, {_Attribute2}</td></tr></tbody></table>
The above example displays a table, where the first cell spans two table rows, and includes an image attribute. The second cell in the first row contains a Title, and the second row's cell contains some text and two attributes. The use of class="reportFixedWidth" in the table tag enables table and column widths in pixels to be specified:
| image | Title |
|
Here are two attributes in the table's second row: Attribute1, Attribute2 |